Leather car seats add a touch of luxury and comfort to your vehicle. However, they’re not immune to wear and tear. Rips, tears, and cracks can diminish their aesthetic appeal and even impact the car’s resale value. Thankfully, how to repair ripped leather seats in car is possible without breaking the bank. This comprehensive guide will walk you through the process of restoring your leather car seats to their former glory.
Understanding the Damage
Before diving into the repair process, it’s crucial to assess the extent of the damage. A small tear requires a different approach than a large gash or a deep crack. Additionally, the location of the rip matters; a tear on the seating surface will need a more robust fix than one on the side bolster.
DIY Repair vs. Professional Help
How can u repair ripped leather car seats yourself? For minor rips and tears, you can certainly try a DIY repair using readily available leather repair kits. These kits typically contain a bonding agent, a color matching compound, and tools to smooth out the repair. However, for significant damage, especially if it involves the seat’s structural integrity, seeking professional upholstery repair is highly recommended.
Essential Tools and Materials
If you decide to tackle the repair yourself, gather the following:
- Leather Repair Kit: Choose a high-quality kit that matches the color and grain of your leather seats.
- Cleaning Supplies: Mild leather cleaner, microfiber cloths, and rubbing alcohol for prepping the area.
- Scissors: For trimming loose threads and shaping the backing fabric.
- Heat Gun or Hair Dryer: To speed up the drying process of the repair compound.
- Leather Conditioner: To nourish the leather and prevent future cracking.
Step-by-Step Repair Guide for Minor Rips
Follow these steps for repairing minor rips and tears in your leather car seats:
-
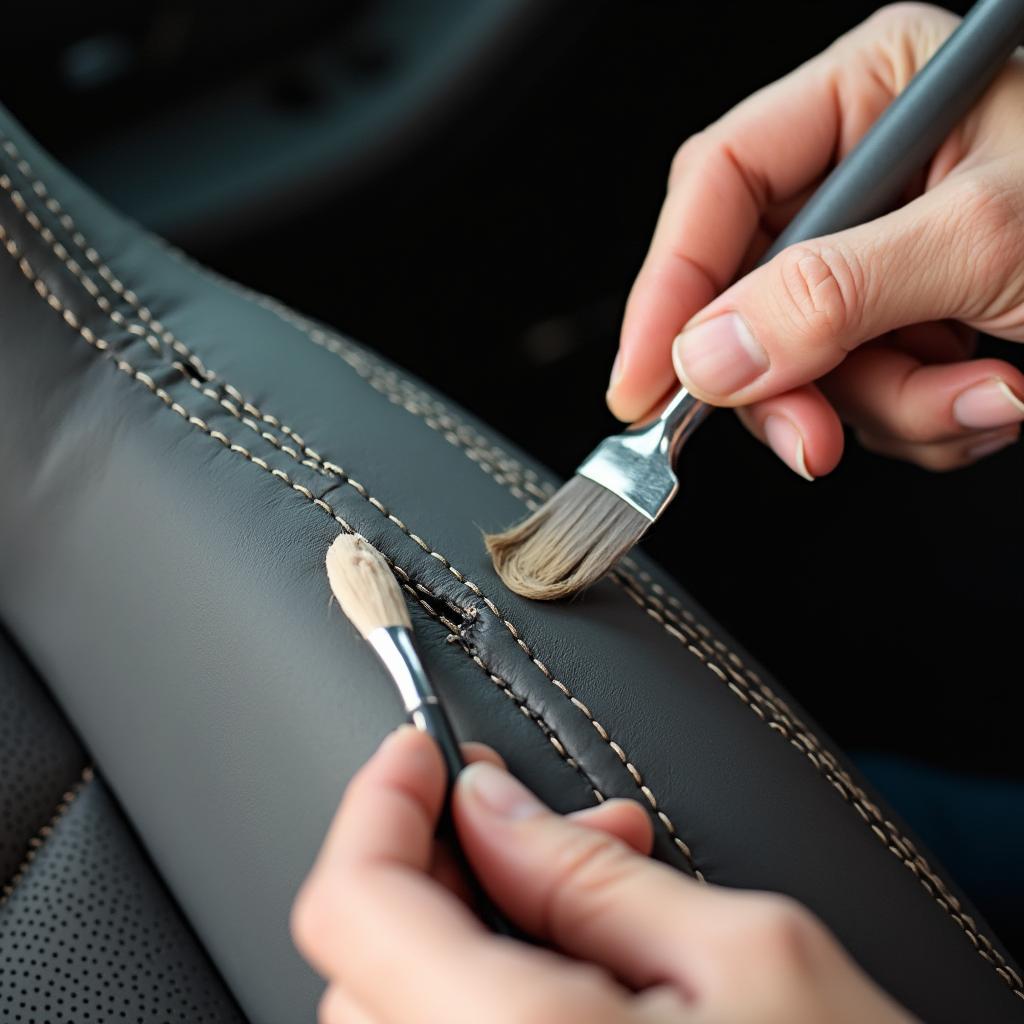
Clean the Area: Thoroughly clean the damaged area with a mild leather cleaner to remove dirt, grime, and oils. Use a microfiber cloth and rubbing alcohol for a final cleaning to ensure proper adhesion of the repair compound.
-
Assess the Rip: If there are any loose threads, carefully trim them with scissors. For rips with a gap, use a backing fabric from the repair kit, cut to size, and insert it beneath the tear using tweezers.
-
Apply the Repair Compound: Using a palette knife or a similar tool from the kit, carefully apply the leather repair compound onto the damaged area. Ensure a smooth and even application, filling in the gap completely.
-
Match the Texture: Most leather repair kits come with grain paper. Place the grain paper over the wet compound and gently press it down to imprint the texture onto the repair.
-
Heat and Dry: Use a heat gun or hair dryer on a low setting to speed up the drying process. Keep a safe distance to avoid damaging the leather.
-
Apply Additional Layers: If needed, apply additional thin layers of the compound, allowing each layer to dry before applying the next.
Tips for a Seamless Repair
- Practice Makes Perfect: If possible, practice the repair technique on a hidden area of the seat or a spare piece of leather before tackling the visible damage.
- Color Matching is Key: Spend time carefully matching the color of the repair compound to your leather. A slight variation in color will be noticeable.
- Patience is Vital: Allow each layer of the compound to dry completely before applying the next. Rushing the process can lead to a subpar result.
Maintaining Your Leather Seats
Once you’ve successfully repaired the rip, it’s crucial to maintain your leather seats to prevent future damage.
- Regular Cleaning: Clean your leather seats regularly with a mild leather cleaner to remove dirt and grime.
- Conditioning: Leather is prone to drying out and cracking. Use a good quality leather conditioner every few months to keep the leather supple and moisturized.
- UV Protection: Park your car in the shade whenever possible or use a sunshade to protect your leather seats from harmful UV rays that can fade and damage the material.
When to Call a Professional
While DIY repair kits can work wonders for minor rips and tears, some situations warrant professional intervention.
- Extensive Damage: Large rips, deep cuts, or tears that affect the seat’s structural integrity are best left to the professionals.
- Airbag Deployment: If the rip occurred due to airbag deployment, it’s crucial to have the entire seat inspected and repaired by a qualified technician to ensure proper airbag functionality.
- Lack of Confidence: If you’re unsure about your ability to repair the damage yourself or are uncomfortable working with the materials, don’t hesitate to seek professional help.
Conclusion
[How to repair ripped leather seats in a car](https://carrepairon.com/how-to-repair-ripped-leather-seats-in-a car/) can seem daunting, but with the right approach, it’s an achievable task. Whether you opt for a DIY repair using a leather repair kit or seek professional help, addressing the damage promptly will preserve the beauty and value of your car’s interior. Remember that regular maintenance is key to preventing future rips and tears and keeping your leather seats looking their best for years to come.
FAQs about Repairing Ripped Leather Car Seats
Can I use super glue to repair a ripped leather car seat?
It’s not recommended to use super glue as it can harden the leather and make the repair more noticeable. Leather repair compounds are designed specifically for this purpose and provide a more flexible and durable fix.
How long does it take for leather repair compound to dry?
Drying time varies depending on the product, ambient temperature, and humidity. However, most compounds will be dry to the touch within a few hours. It’s crucial to allow the compound to dry completely before applying additional layers or using the seat.
Will the repair be noticeable?
A well-executed repair using a high-quality leather repair kit can be nearly invisible. However, the visibility of the repair depends on several factors, including the extent of the damage, the color matching of the compound, and the skill of the person performing the repair.
How can I prevent future rips and tears in my leather car seats?
Regular cleaning, conditioning, and protecting your leather seats from UV rays can significantly extend their lifespan and prevent premature wear and tear. Additionally, be mindful of sharp objects and avoid wearing clothing with rough materials that can scratch or damage the leather.
How much does it cost to have a ripped leather car seat professionally repaired?
The cost of professional repair varies depending on the severity of the damage, the type of leather, and the location of the repair shop. For minor repairs, you can expect to pay around $100-$200. More extensive damage can cost several hundred dollars to repair.
For any further assistance or if you need help with your car repairs, don’t hesitate to contact us via WhatsApp: +1(641)206-8880, or Email: [email protected]. Our dedicated customer support team is available 24/7 to assist you.


