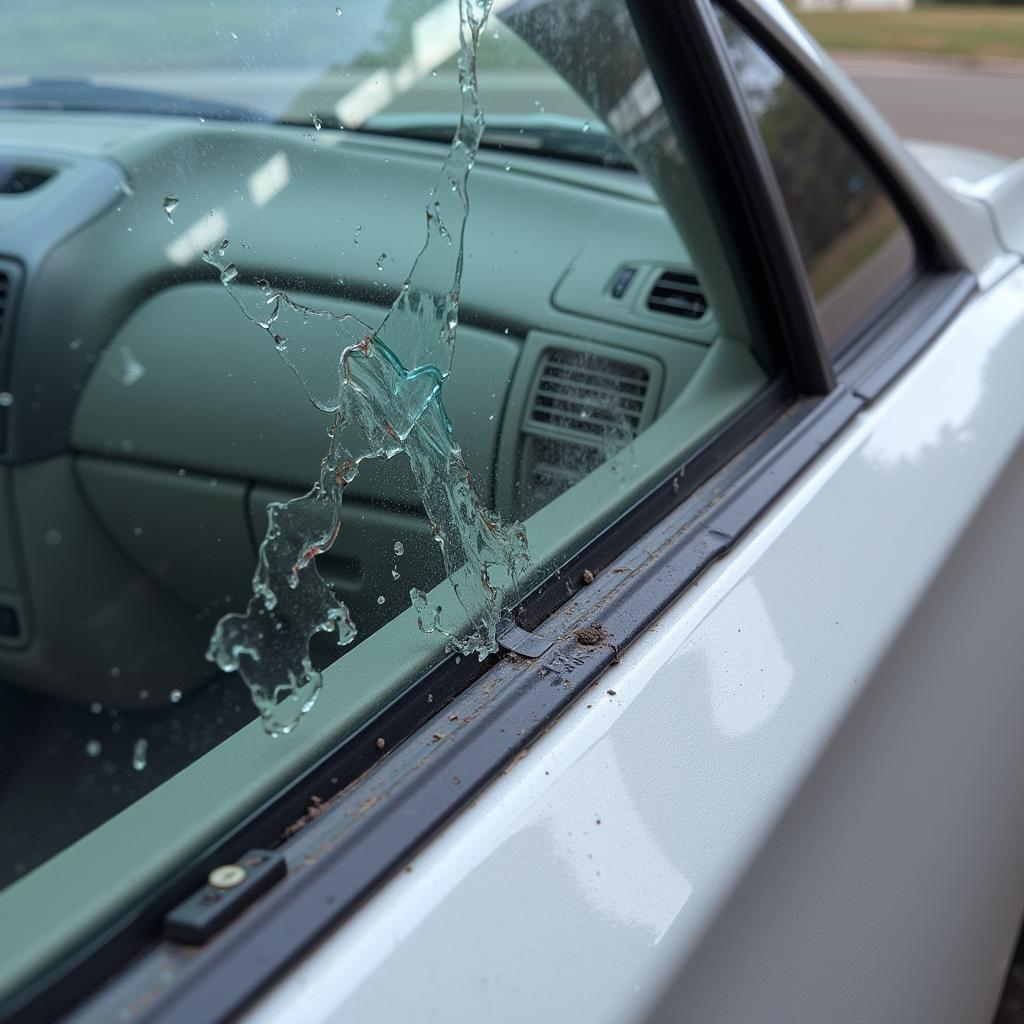
A damaged or worn-out car window seal can be a real nuisance. Not only does it let in annoying wind noise and rain, but it can also lead to more serious problems like rust and mold growth. Fortunately, repairing a car window seal is often a manageable DIY project. This comprehensive guide will walk you through everything you need to know about how to repair car window seals, from identifying the problem to choosing the right sealant and implementing effective repair techniques.
Why Is My Car Window Seal Leaking?
Before we dive into the repair process, it’s important to understand the common culprits behind a leaking car window seal:
- Age and Weathering: Over time, exposure to sunlight, rain, and extreme temperatures can cause the rubber seal to deteriorate, crack, and lose its flexibility, leading to leaks.
- Improper Installation: If a window seal wasn’t installed correctly in the first place, it may not create a proper seal, making it susceptible to leaks.
- Dirt and Debris: Accumulated dirt, grime, leaves, and other debris can prevent the window seal from closing tightly, creating gaps that allow water and air to seep through.
- Damaged Seal: Physical damage from accidents, vandalism, or improper cleaning methods can compromise the integrity of the seal.
How to Diagnose a Car Window Seal Leak
Identifying the source of the leak is crucial for effective repair. Here’s how to pinpoint the problem:
- Visual Inspection: Carefully examine the window seal both inside and outside the car. Look for any obvious signs of damage such as cracks, tears, gaps, or missing pieces.
- Water Test: With a helper, have someone spray water around the window (using a hose with a spray nozzle) while you sit inside the car and observe. Look for any signs of water seeping in around the seal.
- Feel for Drafts: On a windy day, drive your car at a moderate speed and pay attention to any noticeable drafts or whistling sounds coming from the window area. This can indicate a leak in the seal.
DIY Car Window Seal Repair: A Step-by-Step Guide
Repairing a car window seal yourself can save you money and is often a manageable DIY project. Here’s a step-by-step guide:
Materials You’ll Need:
- Cleaning solution (mild soap and water or rubbing alcohol)
- Clean cloths or rags
- Masking tape
- Utility knife or scissors
- Automotive sealant (choose the right type for your needs)
- Applicator gun (for cartridge sealant)
Instructions:
- Clean the Area: Thoroughly clean the window seal and the surrounding area using a cleaning solution and a clean cloth. Remove all dirt, debris, and old sealant residue. Allow the area to dry completely.
- Mask Off the Area: Use masking tape to protect the painted surfaces and glass around the window seal. This will prevent accidental damage or sealant smears.
- Apply the Sealant: Following the manufacturer’s instructions, apply the automotive sealant to the damaged area of the seal. If using a cartridge sealant, use an applicator gun for a smooth and even application.
- Smooth and Shape the Sealant: Use your finger or a sealant smoothing tool to ensure a seamless and even seal. Remove any excess sealant with a clean cloth.
- Let it Cure: Allow the sealant to cure completely according to the manufacturer’s instructions. This usually takes 24 to 48 hours. Avoid closing the window during this time.
Choosing the Right Automotive Sealant
Selecting the appropriate automotive sealant is crucial for a successful repair. Consider these factors:
- Type of Sealant:
- Silicone-based sealants are popular for their durability, flexibility, and resistance to moisture and UV rays.
- Polyurethane-based sealants offer excellent adhesion and are often used for more structural repairs.
- Color: Choose a sealant color that matches your car’s interior or exterior trim for a seamless look.
- Temperature Resistance: Select a sealant that can withstand the temperature fluctuations in your region.
“Choosing a high-quality automotive sealant specifically designed for car window seals is paramount for achieving a durable and long-lasting repair.” – John Smith, Senior Automotive Technician at CarCare Experts
When to Seek Professional Help
While repairing a car window seal can be a DIY project, there are instances where seeking professional assistance is recommended:
- Extensive Damage: If the damage to the seal is extensive, involves multiple areas, or affects the window’s structural integrity, it’s best to consult a professional.
- Lack of Experience: If you’re uncomfortable working with automotive sealants or are unsure about the repair process, seeking professional help will ensure a proper and effective repair.
Conclusion
Repairing a car window seal is a crucial aspect of maintaining your vehicle’s comfort, safety, and value. By understanding the common causes of leaks, knowing how to diagnose the problem, and following the step-by-step repair guide, you can effectively tackle this DIY project and enjoy a quieter, drier ride. Remember to choose the right automotive sealant and don’t hesitate to seek professional help when needed. Regular maintenance and timely repairs will go a long way in extending the life of your car window seals and ensuring a comfortable driving experience.

