Car tail lights are essential safety features that alert other drivers of your presence and intentions on the road. Malfunctioning tail lights can lead to dangerous situations, especially at night or in low-visibility conditions. This guide will walk you through the common causes of tail light problems and provide a step-by-step approach to repairing them.
Understanding the Importance of Functional Tail Lights
Imagine driving down a dimly lit road, and the car in front of you suddenly brakes without any warning. This scenario highlights the critical role your tail lights play in preventing accidents. They communicate crucial information to other drivers, signaling when you’re braking, turning, or reversing.
Common Causes of Tail Light Problems
Before diving into repairs, it’s essential to identify the root cause of the problem. Here are some of the most common culprits behind tail light malfunctions:
- Burnt-Out Bulbs: Just like any other light bulb, tail light bulbs have a limited lifespan and will eventually burn out.
- Blown Fuses: A blown fuse in your car’s electrical system can interrupt the power supply to your tail lights.
- Damaged Wiring: Worn-out or damaged wiring can prevent electricity from reaching the tail lights.
- Corroded Sockets: Over time, the metal parts of the tail light socket can corrode, hindering the flow of electricity.
- Water Damage: Exposure to water can damage both the wiring and the bulb, leading to tail light failure.
Troubleshooting Tail Light Issues
To accurately diagnose the problem, you can perform some simple troubleshooting steps:
- Check the Bulb: Inspect the tail light bulb for any signs of burning or damage. If the filament is broken, the bulb needs replacing.
- Inspect the Fuse: Locate your car’s fuse box (refer to your owner’s manual) and find the fuse associated with the tail lights. A blown fuse will have a broken wire inside.
- Examine the Wiring: Visually inspect the wiring harness that connects to the tail light assembly for any signs of fraying, cuts, or burns.
Repairing Car Tail Lights: A Step-by-Step Guide
If you’ve determined that the issue lies within the tail light assembly itself and you’re comfortable with basic car maintenance, here’s a general guide to repairing your car tail lights:
-
Gather Your Materials: You’ll need a replacement bulb (if necessary), a screwdriver, a socket wrench, electrical tape, and possibly a new tail light assembly.
-
Disconnect the Battery: As a safety precaution, always disconnect the negative terminal of your car battery before working on any electrical components.
-
Access the Tail Light Assembly: Open your car’s trunk or rear access panel to reach the back of the tail light assembly.
-
Remove the Assembly: You’ll need to unscrew the bolts or nuts holding the assembly in place. Be careful not to drop any screws.
-
Replace the Bulb (If Necessary): If you’re dealing with a burnt-out bulb, carefully twist and remove the old bulb from the socket. Insert the new bulb, ensuring it’s securely in place.
-
Repair or Replace the Wiring: If you find any damaged wiring, you can try to repair it using electrical tape. However, it’s often safer and more reliable to replace the entire wiring harness.
-
Clean the Socket: If you notice corrosion on the socket, use a wire brush or contact cleaner to remove it. This will ensure a good electrical connection.
-
Reassemble the Tail Light: Carefully put the tail light assembly back together, tightening all screws and bolts securely.
-
Reconnect the Battery: Once everything is back in place, reconnect the negative terminal of your battery.
-
Test the Lights: Turn on your car’s headlights and check if the repaired tail light is functioning correctly.
Seeking Professional Help
While some tail light repairs can be done at home, more complex issues involving extensive wiring damage or problems within the electrical system might require the expertise of a car lights repair shop.
Preventing Future Tail Light Problems
Here are a few tips to keep your tail lights in optimal condition and minimize the risk of future issues:
-
Regularly Inspect Your Lights: Make it a habit to visually check your tail lights (and all other lights) every few weeks to catch any problems early on.
-
Avoid Moisture: Be mindful of water exposure, especially when washing your car or driving through heavy rain.
-
Address Issues Promptly: Don’t ignore any signs of tail light problems.
Expert Insight
“Many drivers underestimate the importance of functional tail lights,” says John Smith, a seasoned automotive electrician with over 20 years of experience. “Even a minor issue like a blown bulb can significantly compromise your safety and the safety of others on the road.”
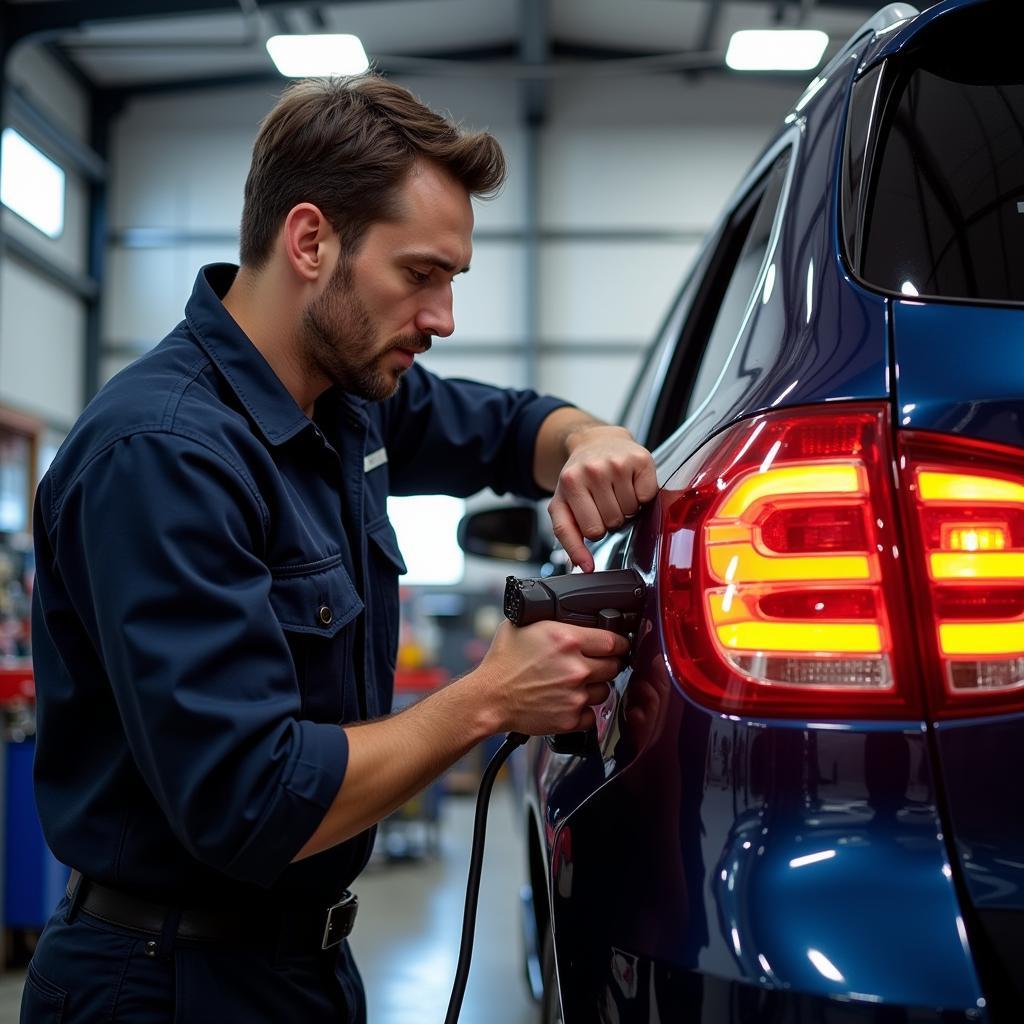
 Mechanic inspecting a car tail light in a repair shop
Conclusion
Maintaining your car’s tail lights is crucial for safety and visibility. By understanding the common causes of tail light issues and following the troubleshooting and repair steps outlined in this guide, you can ensure that your vehicle remains compliant with safety regulations and that you and your passengers stay safe on the road. Remember, if you’re unsure about any aspect of the repair process, it’s always best to seek professional assistance from a qualified car lights repair shop.

