When your car’s front window seal starts to deteriorate, it can lead to annoying wind noise, water leaks, and even potential damage to your car’s interior. Thankfully, repairing a front window seal is a manageable DIY project that can save you a trip to the mechanic. This comprehensive guide will walk you through the steps involved in identifying, repairing, and preventing future front window seal issues.
Understanding the Importance of a Secure Window Seal
The front window seal, also known as the windshield gasket or weatherstripping, plays a crucial role in maintaining a watertight and airtight barrier between your car’s interior and the outside elements. A damaged or worn-out seal can lead to a range of problems, including:
- Wind Noise: A compromised seal allows air to seep through, resulting in annoying whistling or whooshing sounds, especially at higher speeds.
- Water Leaks: Rainwater can easily penetrate a damaged seal, leading to water damage to your car’s interior, including the dashboard, upholstery, and electrical components.
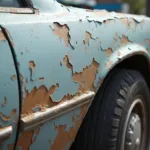
- Rust and Corrosion: Water leaks caused by a faulty seal can promote rust and corrosion on metal parts beneath the windshield, potentially compromising the structural integrity of your car.
- Reduced Visibility: Water accumulating inside the car due to leaks can obstruct your view, posing a significant safety hazard while driving.
Common Causes of Front Window Seal Damage
Several factors can contribute to the deterioration of your car’s front window seal, including:
- Age: Like any rubber component, window seals naturally degrade over time due to exposure to UV rays, heat, and moisture.
- Extreme Temperatures: Prolonged exposure to extreme heat or cold can cause the rubber seal to shrink, crack, or become brittle.
- Improper Cleaning: Using harsh chemicals or abrasive materials to clean your windshield can damage the seal.
- Accidental Damage: Objects striking the windshield, such as debris on the road or during a collision, can damage the seal.
- Improper Installation: If the windshield was replaced previously, an improperly installed seal can lead to premature wear and tear.
Assessing the Damage: Signs You Need a Repair
Recognizing the signs of a damaged front window seal early on can help you prevent further damage and costly repairs. Look out for these telltale signs:
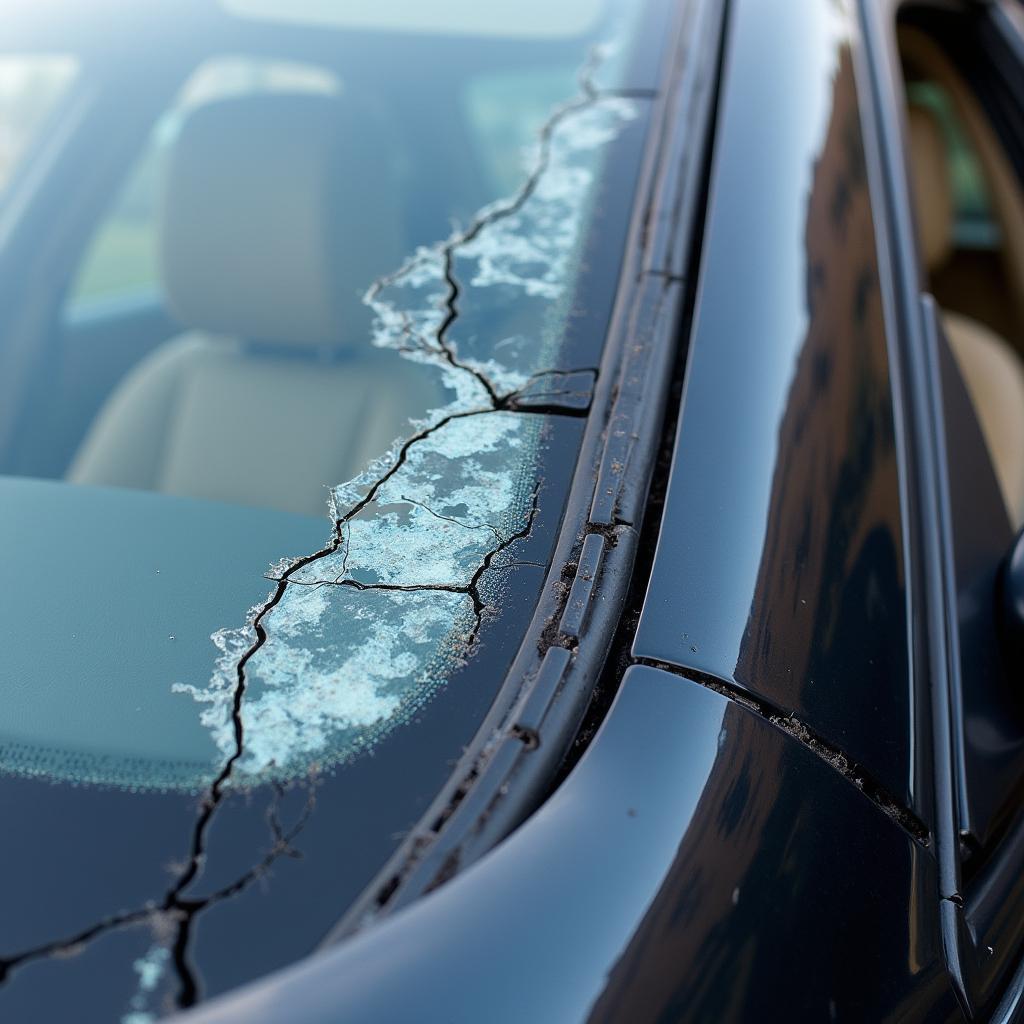
- Visible Cracks or Tears: Carefully inspect the seal around your windshield for any visible cracks, tears, or gaps.
- Wind Noise: Noticeable whistling or whooshing sounds, especially at higher speeds, can indicate a leak in the seal.
- Water Leaks: Check for water stains or dampness around the edges of the windshield, on the dashboard, or on the floor mats after rain.
- Loose or Detached Seal: If you can easily pull the seal away from the windshield with your fingers, it’s a clear sign of damage.
Repairing Your Front Window Seal: A Step-by-Step Guide
Before you begin the repair process, it’s essential to gather the necessary tools and materials:
- Automotive Sealant: Choose a high-quality polyurethane-based sealant specifically designed for automotive window seals.
- Utility Knife or Razor Blade: Used for removing the old sealant.
- Cleaning Solvent (Isopropyl Alcohol): Removes dirt, grease, and residue from the windshield and surrounding area.
- Masking Tape: Protects the paint around the windshield during the application of the sealant.
- Gloves: Protects your hands from the sealant and cleaning solvent.
Step 1: Prepare the Work Area
Park your car in a well-ventilated area and ensure the windshield is clean and dry.
Step 2: Remove the Old Sealant
Using a utility knife or razor blade, carefully cut away the old sealant around the damaged section of the window seal. Be careful not to scratch the windshield or the paintwork.
Step 3: Clean the Surface
Thoroughly clean the area where you removed the old sealant using a cleaning solvent and a clean cloth. This will ensure proper adhesion of the new sealant.
Step 4: Apply Masking Tape
Apply masking tape around the area where you’ll be applying the new sealant. This will help you create a clean and even sealant line.
Step 5: Apply the New Sealant
Using a caulking gun, apply a continuous bead of automotive sealant along the area where you removed the old sealant.
Step 6: Smooth the Sealant
Use your finger or a sealant smoothing tool to create a smooth and even sealant line.
Step 7: Remove the Masking Tape
Carefully remove the masking tape while the sealant is still wet.
Step 8: Allow the Sealant to Cure
Allow the sealant to cure completely according to the manufacturer’s instructions. This usually takes 24-48 hours.
Expert Insights:
“Many car owners underestimate the importance of regular windshield seal inspection. It’s a simple check that can prevent costly repairs down the line,” says John Smith, a seasoned automotive technician with over 20 years of experience.
Preventing Future Window Seal Problems
Here are some proactive measures to prevent future front window seal issues:
- Regular Inspections: Inspect your windshield seal at least twice a year, especially during spring and fall, for signs of damage.
- Gentle Cleaning: Use a soft cloth and a mild soap solution to clean your windshield. Avoid abrasive cleaners or harsh chemicals.
- Park in the Shade: Whenever possible, park your car in the shade to minimize the damaging effects of UV rays and heat on the rubber seal.
- Address Issues Promptly: If you notice any signs of damage to your window seal, address them promptly to prevent further damage and more extensive repairs.
Conclusion
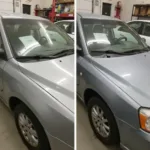
Repairing a front window seal on your car is a manageable DIY project that can save you time and money. By following the steps outlined in this guide and addressing any issues promptly, you can ensure a watertight and airtight seal, preventing potential damage to your car’s interior and ensuring a comfortable and safe driving experience.
If you’re unsure about tackling this repair yourself or if the damage is extensive, it’s always best to consult a qualified automotive technician.
FAQs
Q: Can I drive my car immediately after repairing the window seal?
A: It’s best to allow the sealant to cure completely before driving, typically 24-48 hours, to ensure a proper bond and prevent leaks.
Q: How much does it cost to have a professional repair a front window seal?
A: The cost can vary depending on the severity of the damage and the labor rates in your area. However, it’s generally less expensive than replacing the entire windshield.
Q: Can I use any type of sealant to repair my car’s window seal?
A: It’s crucial to use a high-quality polyurethane-based sealant specifically designed for automotive window seals to ensure proper adhesion and durability.
Need help with your car window? Check out these resources:
For immediate assistance, feel free to reach out to our team of experts via WhatsApp: +1(641)206-8880 or Email: [email protected]. We are available 24/7 to address your car repair needs.