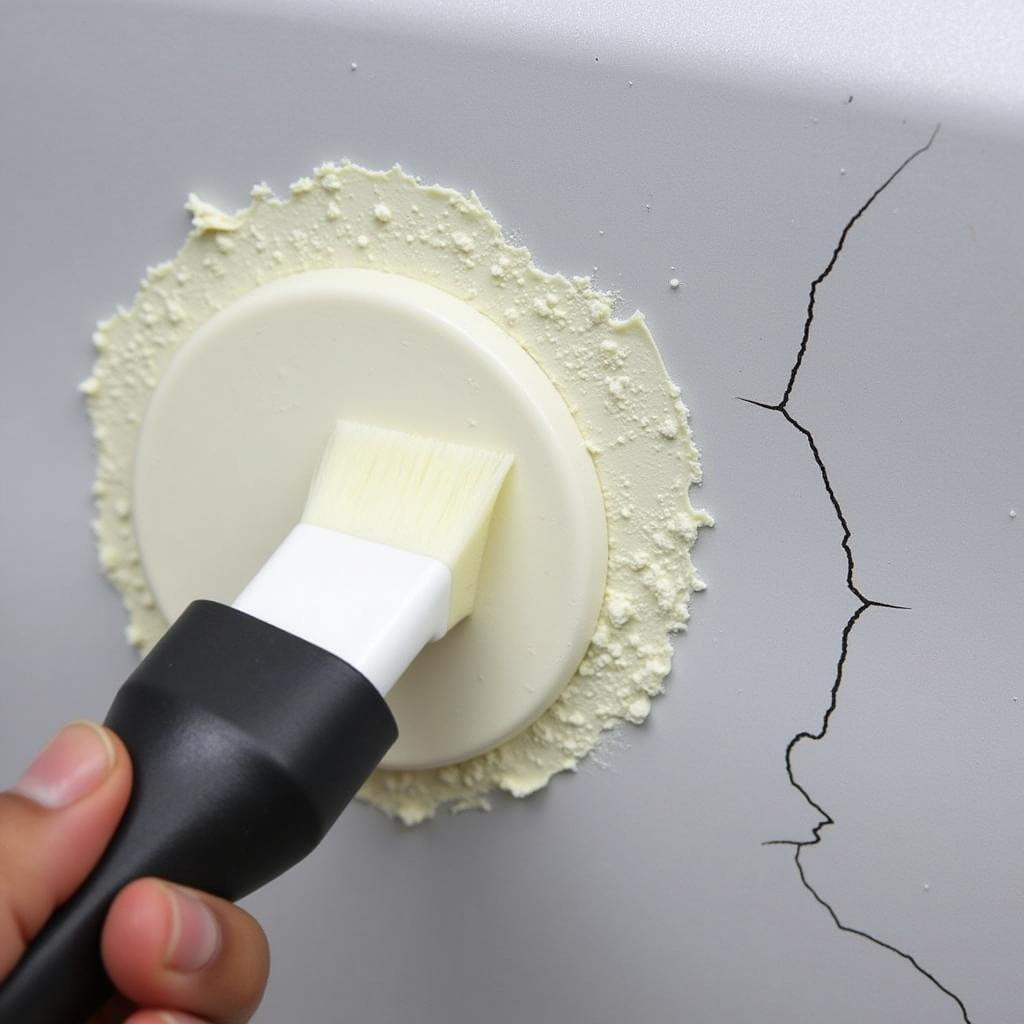
Dealing with paint cracks on your car can be frustrating. Whether it’s a small hairline fracture or a more significant spiderweb crack, addressing the issue promptly is crucial to prevent further damage and maintain your car’s appearance. Using Bondo for paint crack car repair is a common DIY approach, but it requires careful preparation and application for optimal results. This guide will walk you through the process, offering expert tips and insights to help you achieve a professional-looking finish.
Understanding Paint Cracks and the Role of Bondo
Paint cracks, often appearing as thin lines or networks of cracks in your car’s paintwork, can stem from various causes, including impacts, temperature fluctuations, improper paint application, and the natural aging of the paint. While minor cracks might seem purely cosmetic, they can expose the underlying metal to the elements, leading to rust and corrosion. Bondo, a two-part polyester body filler, is frequently used to repair these cracks, filling in the damaged areas and creating a smooth surface for repainting. However, it’s essential to remember that Bondo is not a magic fix-all; proper surface preparation and application techniques are crucial for a successful repair.
Why Choose Bondo for Paint Crack Repair?
Bondo is a popular choice for DIY car repair enthusiasts due to its versatility, affordability, and relatively easy application. It’s particularly effective in filling small to medium-sized cracks and imperfections, providing a smooth base for primer and paint.
 Applying Bondo to a Car Paint Crack
Preparing the Surface for Bondo Application
Proper surface preparation is paramount for successful Bondo application. Start by thoroughly cleaning the area around the crack with soap and water, then degrease it with a suitable solvent. Next, sand the cracked area with progressively finer grit sandpaper, starting with a coarser grit to remove loose paint and create a rough surface for the Bondo to adhere to. Feather the edges of the surrounding paint to create a smooth transition.
Mixing and Applying Bondo
Mix the Bondo resin and hardener according to the manufacturer’s instructions. Apply the mixture to the cracked area using a spreader, ensuring even distribution and a smooth, feathered edge. Work quickly, as Bondo hardens relatively fast.
Sanding and Priming
Once the Bondo has cured completely, sand it smooth using progressively finer grit sandpaper, starting with a coarser grit to shape the filler and then moving to finer grits to achieve a smooth, even surface. After sanding, apply a primer to seal the Bondo and create a uniform base for the paint.
Common Mistakes to Avoid
- Insufficient Surface Preparation: Failing to clean and sand the area properly can lead to poor Bondo adhesion and a less durable repair.
- Incorrect Mixing Ratio: Using too much or too little hardener can affect the Bondo’s curing time and overall strength.
- Applying Too Much Bondo at Once: Thick layers of Bondo can crack or shrink as they cure, leading to an uneven surface.
- Insufficient Sanding: Improper sanding can result in a bumpy or uneven finish, affecting the final paint job.
“A common mistake is rushing the preparation process,” says automotive expert, Robert Miller, ASE Certified Master Technician. “Taking the time to properly clean, sand, and prime the surface is crucial for a long-lasting and professional-looking repair.”
Beyond Basic Bondo Application: Addressing Underlying Issues
While Bondo is effective for filling paint cracks, it’s essential to address any underlying issues that might have caused the cracks in the first place. For instance, if the cracks are due to rust, simply filling them with Bondo won’t prevent the rust from spreading. In such cases, it’s necessary to remove the rust completely before applying Bondo.
“Remember, Bondo is a filler, not a structural repair,” adds Susan Davis, automotive paint specialist. “If the crack is due to a deeper structural issue, you’ll need to address that problem before applying Bondo.”
Conclusion
Repairing paint cracks with Bondo can be a cost-effective DIY solution, but achieving a professional-looking finish requires careful preparation, proper application, and attention to detail. By following the steps outlined in this guide and avoiding common mistakes, you can effectively repair paint cracks and restore your car’s appearance. Remember, addressing any underlying issues contributing to the cracks is crucial for a long-lasting repair. Using Bondo for paint crack car repair empowers you to tackle minor bodywork issues with confidence, saving you time and money while enhancing your car’s aesthetics.
FAQ
-
How long does Bondo take to dry?
Bondo typically dries within 15-30 minutes, depending on the temperature and humidity. -
Can I use Bondo on plastic bumpers?
Yes, but you’ll need to use a flexible Bondo specifically designed for plastic. -
How much Bondo do I need for a small paint crack?
A small amount is usually sufficient, as you can always mix more if needed. -
Can I sand Bondo by hand?
Yes, but using a sanding block will help you achieve a more even surface. -
What type of primer should I use over Bondo?
Use an automotive primer designed for use over body filler. -
How soon can I paint over Bondo?
After the primer has dried completely, typically within a few hours. -
Can Bondo be used to repair deep scratches?
Yes, Bondo can be used to fill deep scratches, but multiple applications and sanding may be required.
Need help with your car repair? Contact us via WhatsApp: +1(641)206-8880, Email: [email protected]. We have a 24/7 customer support team.

