Discovering a tear in your leather car seat can be disheartening. Leather, despite its luxurious appeal and durability, is susceptible to wear and tear. But fear not! With the right approach and a bit of patience, leather repair for car seat tears is achievable, often saving you a costly reupholstery job. This comprehensive guide will walk you through the process, providing expert advice and practical tips to help you achieve professional-looking results.
Understanding Leather Car Seat Tears: Causes & Types
Before diving into repair solutions, it’s important to understand what causes leather car seat tears and the types of damage you might encounter.
Common Causes of Leather Car Seat Tears:
- Sharp objects: Keys, pens, tools, and even children’s toys can easily puncture or tear leather upholstery.
- Friction and abrasion: Constant rubbing against rough surfaces, such as clothing with rivets or buckles, can wear down leather, leading to tears.
- Sun damage: Prolonged exposure to UV rays dries out leather, making it brittle and prone to cracking and tearing.
- Improper cleaning products: Harsh chemicals and abrasive cleaners can strip leather of its natural oils, weakening its structure.
- Normal wear and tear: Over time, leather seats naturally lose their flexibility and become more susceptible to tearing, especially in high-pressure areas.
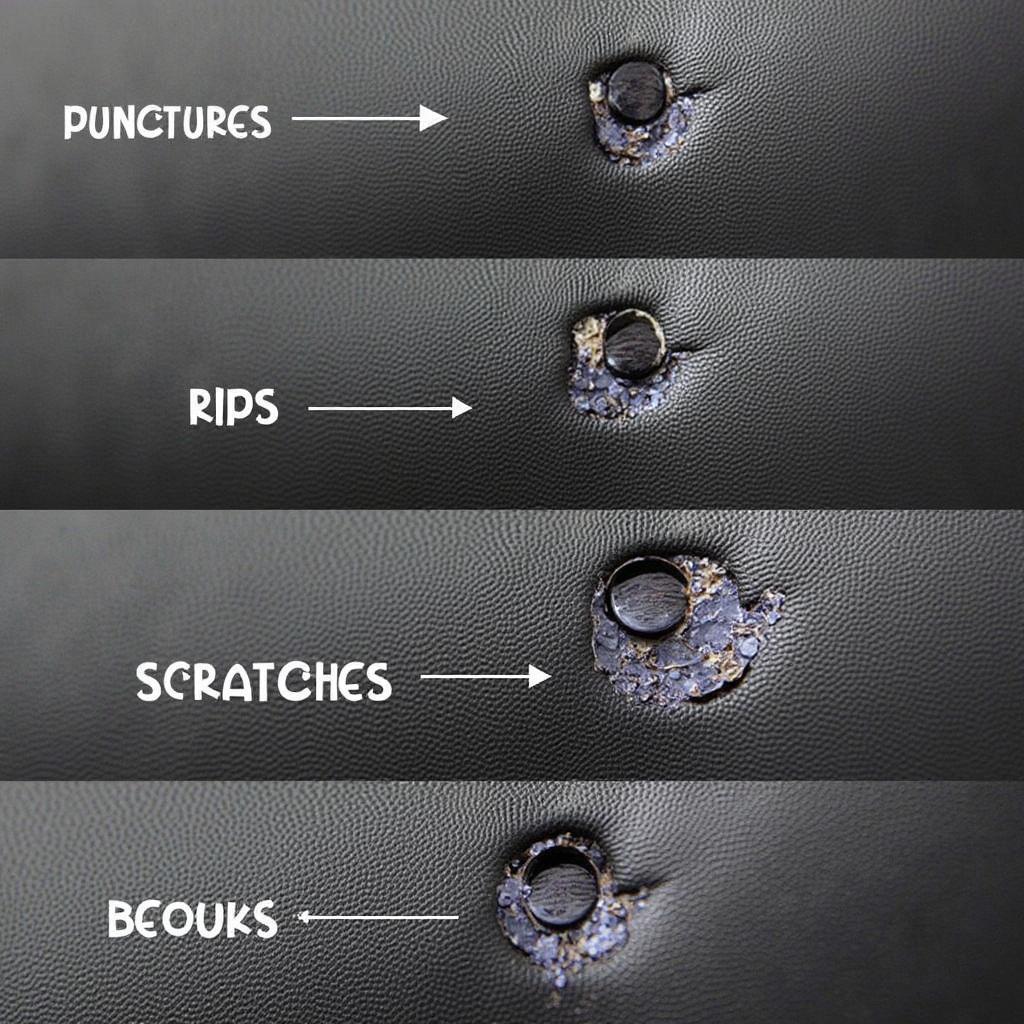
Types of Leather Car Seat Tears:
- Punctures: Small holes caused by sharp objects.
- Rips: Linear tears, often with jagged edges, resulting from snags or cuts.
- Scratches: Superficial damage that affects the leather’s top layer.
- Cracks: Thin, linear splits caused by dryness and aging.
DIY Leather Repair for Car Seat Tears: A Step-by-Step Guide
Repairing minor to moderate leather car seat tears doesn’t always require professional help. With the right tools and techniques, you can achieve impressive results at home.
What You’ll Need:
- Leather cleaning solution
- Microfiber cloths
- Leather filler compound
- Palette knife or spreader
- Leather dye (matching your seat color)
- Applicator sponge or brush
- Leather sealant
- Heat gun or hairdryer (optional)
Step 1: Clean the Area
Thoroughly clean the damaged area with a dedicated leather cleaning solution and a microfiber cloth. This removes dirt, grime, and debris, allowing for better adhesion of the repair products.
Step 2: Assess the Damage
Determine the type and severity of the tear. If it’s a small puncture or scratch, you can likely skip the leather filler and proceed directly to dyeing and sealing. For larger rips and tears, using a leather filler is essential.
Step 3: Apply Leather Filler (If Necessary)
If the tear requires filling, use a palette knife or spreader to apply a thin layer of leather filler compound. Push the filler into the tear, ensuring it’s flush with the surrounding surface. Allow it to dry completely according to the manufacturer’s instructions.
Step 4: Sand and Shape the Filler (If Applied)
Once the leather filler is dry, gently sand the area with fine-grit sandpaper until smooth and even with the surrounding leather.
Step 5: Apply Leather Dye
Using an applicator sponge or brush, carefully apply thin layers of leather dye to the repaired area, blending outward toward the edges. Allow each layer to dry before applying the next.
Expert Tip from John Miller, Automotive Upholstery Specialist: “When color matching leather dye, always test it on an inconspicuous area first to ensure a perfect blend.”
Step 6: Seal the Repair
After the final dye layer dries, apply a leather sealant to protect the repair, enhance its durability, and restore the leather’s natural shine. Follow the sealant’s drying time recommendations.
Step 7: Heat Set (Optional)
For added durability, you can use a heat gun or hairdryer on a low setting to heat set the dye and sealant. This helps them bond more effectively with the leather.
Preventing Future Leather Car Seat Tears
Prevention is always better than cure. By adopting a few simple habits, you can significantly reduce the risk of future tears in your leather car seats.
- Regular cleaning and conditioning: Keep your leather seats clean and moisturized with dedicated leather care products. This prevents dryness and cracking, maintaining their suppleness.
- Use seat covers: Consider using high-quality seat covers, especially if you frequently transport pets or cargo.
- Avoid sharp objects: Be mindful of what you and your passengers bring into your car. Avoid placing sharp objects on the seats or storing them in pockets where they could potentially cause damage.
- Park in the shade: Whenever possible, park your car in the shade or use a sunshade to protect your leather seats from harmful UV rays.
Conclusion
While discovering a leather repair car seat tear can be frustrating, it’s often a manageable problem. By understanding the causes, types of damage, and following the step-by-step repair guide, you can restore your leather car seats to their former glory. Remember, prevention is key to extending the lifespan of your leather upholstery, ensuring years of comfort and aesthetic appeal.


