
Discovering a flat tyre can be a stressful experience for any driver. Inconvenient and often unexpected, a puncture can disrupt your journey and leave you feeling stranded. Fortunately, many modern vehicles are equipped with a tyre puncture repair kit as an alternative to a traditional spare tyre. These kits offer a quicker and simpler solution for temporary tyre repairs, allowing you to get back on the road and reach a garage for a more permanent fix. If you’re unfamiliar with how to use a puncture repair kit, don’t worry. This guide from Car Repair Online is designed to walk you through the process step-by-step, ensuring you can confidently handle this common car issue.
Understanding Tyre Puncture Repair Kits
Tyre puncture repair kits have become increasingly common in modern vehicles, replacing the space-consuming spare tyre. These kits are designed as a temporary fix to get you safely to a garage or tyre repair shop. A typical kit contains two key components:
- Tyre Sealant: This is a liquid substance designed to seal small punctures within the tyre tread area. It’s usually latex-based and formulated to quickly plug holes and prevent air from escaping.
- Tyre Inflator: Often powered by your car’s 12V socket, the inflator is used to re-inflate the tyre after the sealant has been applied. Some kits may use compressed air canisters instead.
It’s crucial to understand that a tyre puncture repair kit provides a temporary solution. It’s not intended as a permanent fix and should only be used to reach a professional repair facility.
Identifying a Tyre Puncture
Recognizing the signs of a punctured tyre is the first step in addressing the issue. You might notice several indicators while driving:
- Tyre Pressure Warning Light: This is the most obvious sign. Your dashboard will illuminate a warning light indicating low tyre pressure in one or more tyres.
- Steering Wheel Vibration: A punctured tyre can cause noticeable vibrations in the steering wheel, especially at higher speeds.
- Car Pulling to One Side: If you feel your car pulling to the left or right, it could be due to uneven tyre pressure caused by a puncture.
- Audible Hissing Sound: In some cases, you might hear a hissing sound coming from the affected tyre as air escapes.
If you experience any of these symptoms, it’s important to pull over to a safe location as soon as possible to assess the situation.
Step-by-Step Guide: Using a Tyre Puncture Repair Kit
Once you’ve identified a puncture and are in a safe place, follow these steps to use your tyre puncture repair kit effectively:
1. Ensure Your Safety First
Before you begin any repair work, prioritize your safety:
- Park in a Safe Location: Pull your car over to a level and stable surface, away from busy roads and traffic.
- Engage Hazard Lights: Turn on your hazard warning lights to alert other drivers to your presence.
- Turn Off the Engine: Switch off your car’s engine and engage the parking brake.
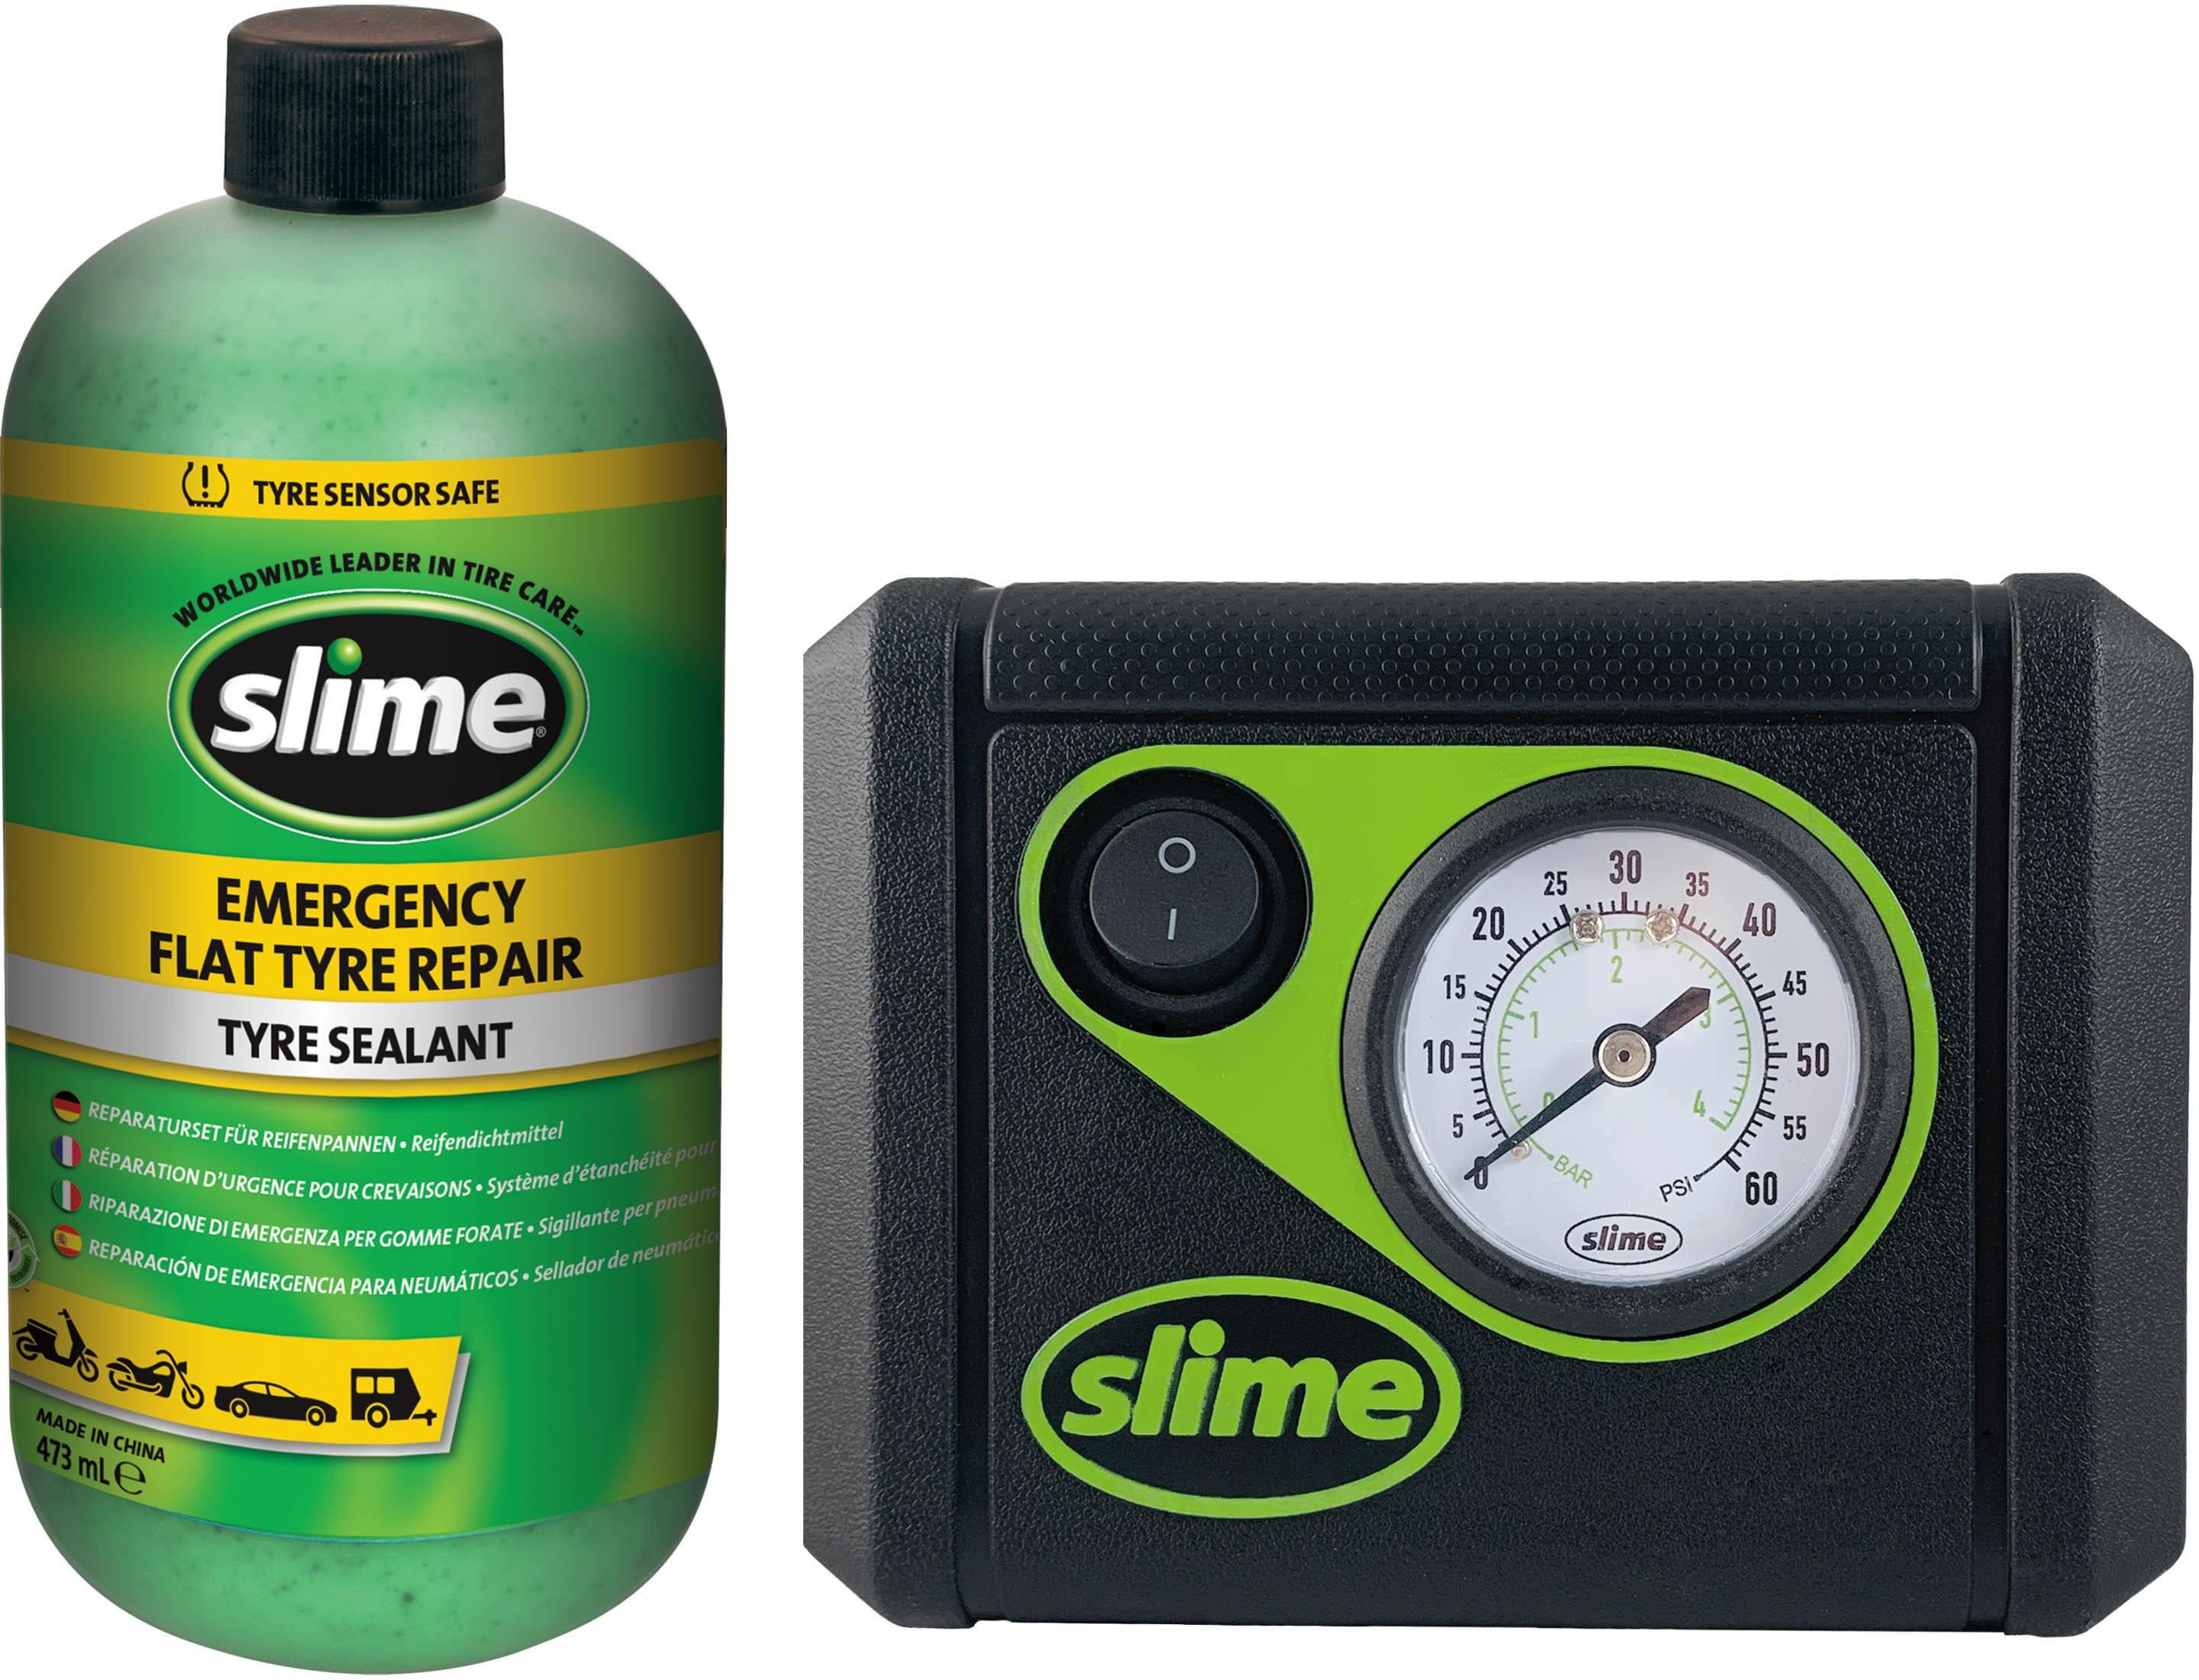 Slime Smart Tyre Repair Kit 813011
2. Read the Kit Instructions
Locate your tyre puncture repair kit, usually found in the boot of your car. Crucially, before proceeding, carefully read the instructions provided with your specific kit. Different kits may have slight variations in their usage, and understanding the manufacturer’s instructions is essential for successful application.
3. Locate and Assess the Puncture
Examine the deflated tyre to find the puncture. Once located, assess if it’s suitable for repair using the kit:
- Puncture Size: Repair kits are designed for small punctures, typically up to 4mm in diameter. If the hole is larger, the sealant may not be effective.
- Wheel Rim Damage: Check for any damage to the wheel rim. If the rim is damaged, the repair kit won’t solve the underlying issue and could be unsafe to use.
- Sidewall Puncture: Do not use a repair kit for sidewall punctures. Sidewall damage compromises the structural integrity of the tyre, and a sealant repair is not safe.
- Tyre Condition: If the tyre has been driven on while completely flat for an extended period, it may have internal damage beyond what a repair kit can fix.
Important: If you find a nail, screw, or other object embedded in the tyre, do not remove it. Leaving it in place can help prevent further air loss until the sealant is applied.
4. Position the Tyre
Position the punctured tyre so that the puncture is located towards the top and the valve stem is in the upper half. This orientation allows gravity to assist the sealant in flowing down to the puncture effectively.
5. Apply the Tyre Sealant
- Remove the Valve Cap: Unscrew and remove the dust cap from the tyre valve.
- Remove the Valve Core: Use the valve core removal tool (often integrated into the sealant bottle cap or inflator) to carefully remove the valve core. This will deflate the tyre completely if it isn’t already.
- Squeeze in Sealant: Attach the sealant bottle to the valve stem and squeeze the entire contents of the sealant bottle into the tyre. Follow the specific instructions on your sealant bottle for the correct amount and application method.
- Reinstall Valve Core: Once the sealant is in, quickly screw the valve core back into place, tightening it securely. Replace the valve cap.
6. Inflate the Tyre
- Connect Inflator: Connect the tyre inflator to the valve stem.
- Inflate to Recommended Pressure: Turn on the inflator and inflate the tyre to the recommended tyre pressure. You can find this information in your vehicle’s handbook, on a sticker inside the driver’s side doorjamb, or inside the fuel filler flap.
- Disconnect Inflator: Once the tyre is inflated to the correct pressure, disconnect the inflator.
7. Test and Check the Repair
- Drive Briefly: The sealant often needs to distribute itself around the inside of the tyre to effectively seal the puncture. The sealant bottle instructions will usually advise driving a short distance (e.g., 3-5 miles) at a moderate speed (e.g., under 50 mph) to allow this process to occur.
- Re-inspect Tyre: After driving the recommended distance, pull over in a safe place and re-inspect the repaired tyre. Check for any signs of air leakage or further deflation.
If the tyre appears to be holding pressure, you can proceed to drive to a garage for a professional inspection and permanent repair or replacement.
8. Drive to a Garage for Professional Repair
Remember, a tyre puncture repair kit provides only a temporary fix. It is crucial to drive to a garage or tyre service centre as soon as possible to have the tyre properly inspected and either professionally repaired or replaced.
- Drive Carefully: Drive cautiously and avoid high speeds, sharp cornering, and heavy braking. Adhere to any speed limitations mentioned on the sealant bottle (often 50 mph or less).
- Professional Assessment: A tyre technician will assess the tyre to determine if a permanent repair is possible or if a replacement is necessary.
Permanent Tyre Repair vs. Replacement
Whether a punctured tyre can be permanently repaired depends on the nature and location of the damage. Generally:
- Repairable Punctures: Punctures located in the central tread area, less than 6mm in diameter, are often repairable by a professional using a plug or patch method.
- Non-Repairable Damage: Sidewall punctures, punctures larger than 6mm, multiple punctures close together, or tyres that have been run flat are usually not repairable and require replacement.
Even if a puncture appears to be successfully sealed with a repair kit, a professional inspection is necessary to ensure the tyre’s long-term safety and integrity.
No Repair Kit? Consider Equipping Your Car
If your car isn’t currently equipped with a tyre puncture repair kit, it’s a worthwhile investment for peace of mind. Kits like the Slime Smart Tyre Repair Kit offer a convenient and effective solution for temporary puncture repairs. They are easy to use, TPMS (Tyre Pressure Monitoring System) safe, and can save you from being stranded with a flat tyre.
At Car Repair Online, we always recommend prioritizing safety and proper car maintenance. While tyre puncture repair kits are valuable tools for temporary fixes, they are not substitutes for professional tyre care. If you experience a puncture, use a repair kit to get you safely to a garage, and let the experts handle the permanent solution.