That pesky Check Engine Light (CEL) illuminated on your dashboard can be more than just an annoyance; it’s your car’s way of signaling that something isn’t quite right under the hood. Before rushing to a mechanic, a car diagnostic code reader can be your first line of defense, providing valuable insights into potential issues. These handy tools empower you to understand what’s triggering that warning light and make informed decisions about your vehicle’s repair. But how do you actually use one? This guide will walk you through the process of using a car diagnostic code reader, helping you decipher those cryptic error messages and take control of your car maintenance.
What are Vehicle Diagnostic Trouble Codes (DTCs)?
When your car’s onboard computer detects a problem, it generates a Diagnostic Trouble Code (DTC). Think of DTCs as error messages from your vehicle, each code corresponding to a specific system or component malfunction. These codes are standardized across the automotive industry, ensuring that a P0171 code, for example, generally indicates the same issue regardless of your car’s make or model.
DTCs are typically displayed as a five-character alphanumeric code, like “P0300”. The first character indicates the system (P for Powertrain, B for Body, C for Chassis, and U for Network). The following numbers and letters further pinpoint the specific problem area. While a basic code reader will display these codes, more advanced tools and apps, like OBDLinkMX+, can translate these codes into plain English, making the diagnostic process much easier to understand.
It’s important to remember that while a code reader points you in the right direction, it doesn’t always pinpoint the exact cause of the problem. For instance, an oxygen sensor (O2) code suggesting a “lean” condition could be triggered by a faulty sensor, an actual lean air/fuel mixture, a vacuum leak, or even a fuel delivery issue. Armed with the DTC, you’ll have a much clearer idea of where to start your investigation, whether you plan to tackle the repair yourself or seek professional help.
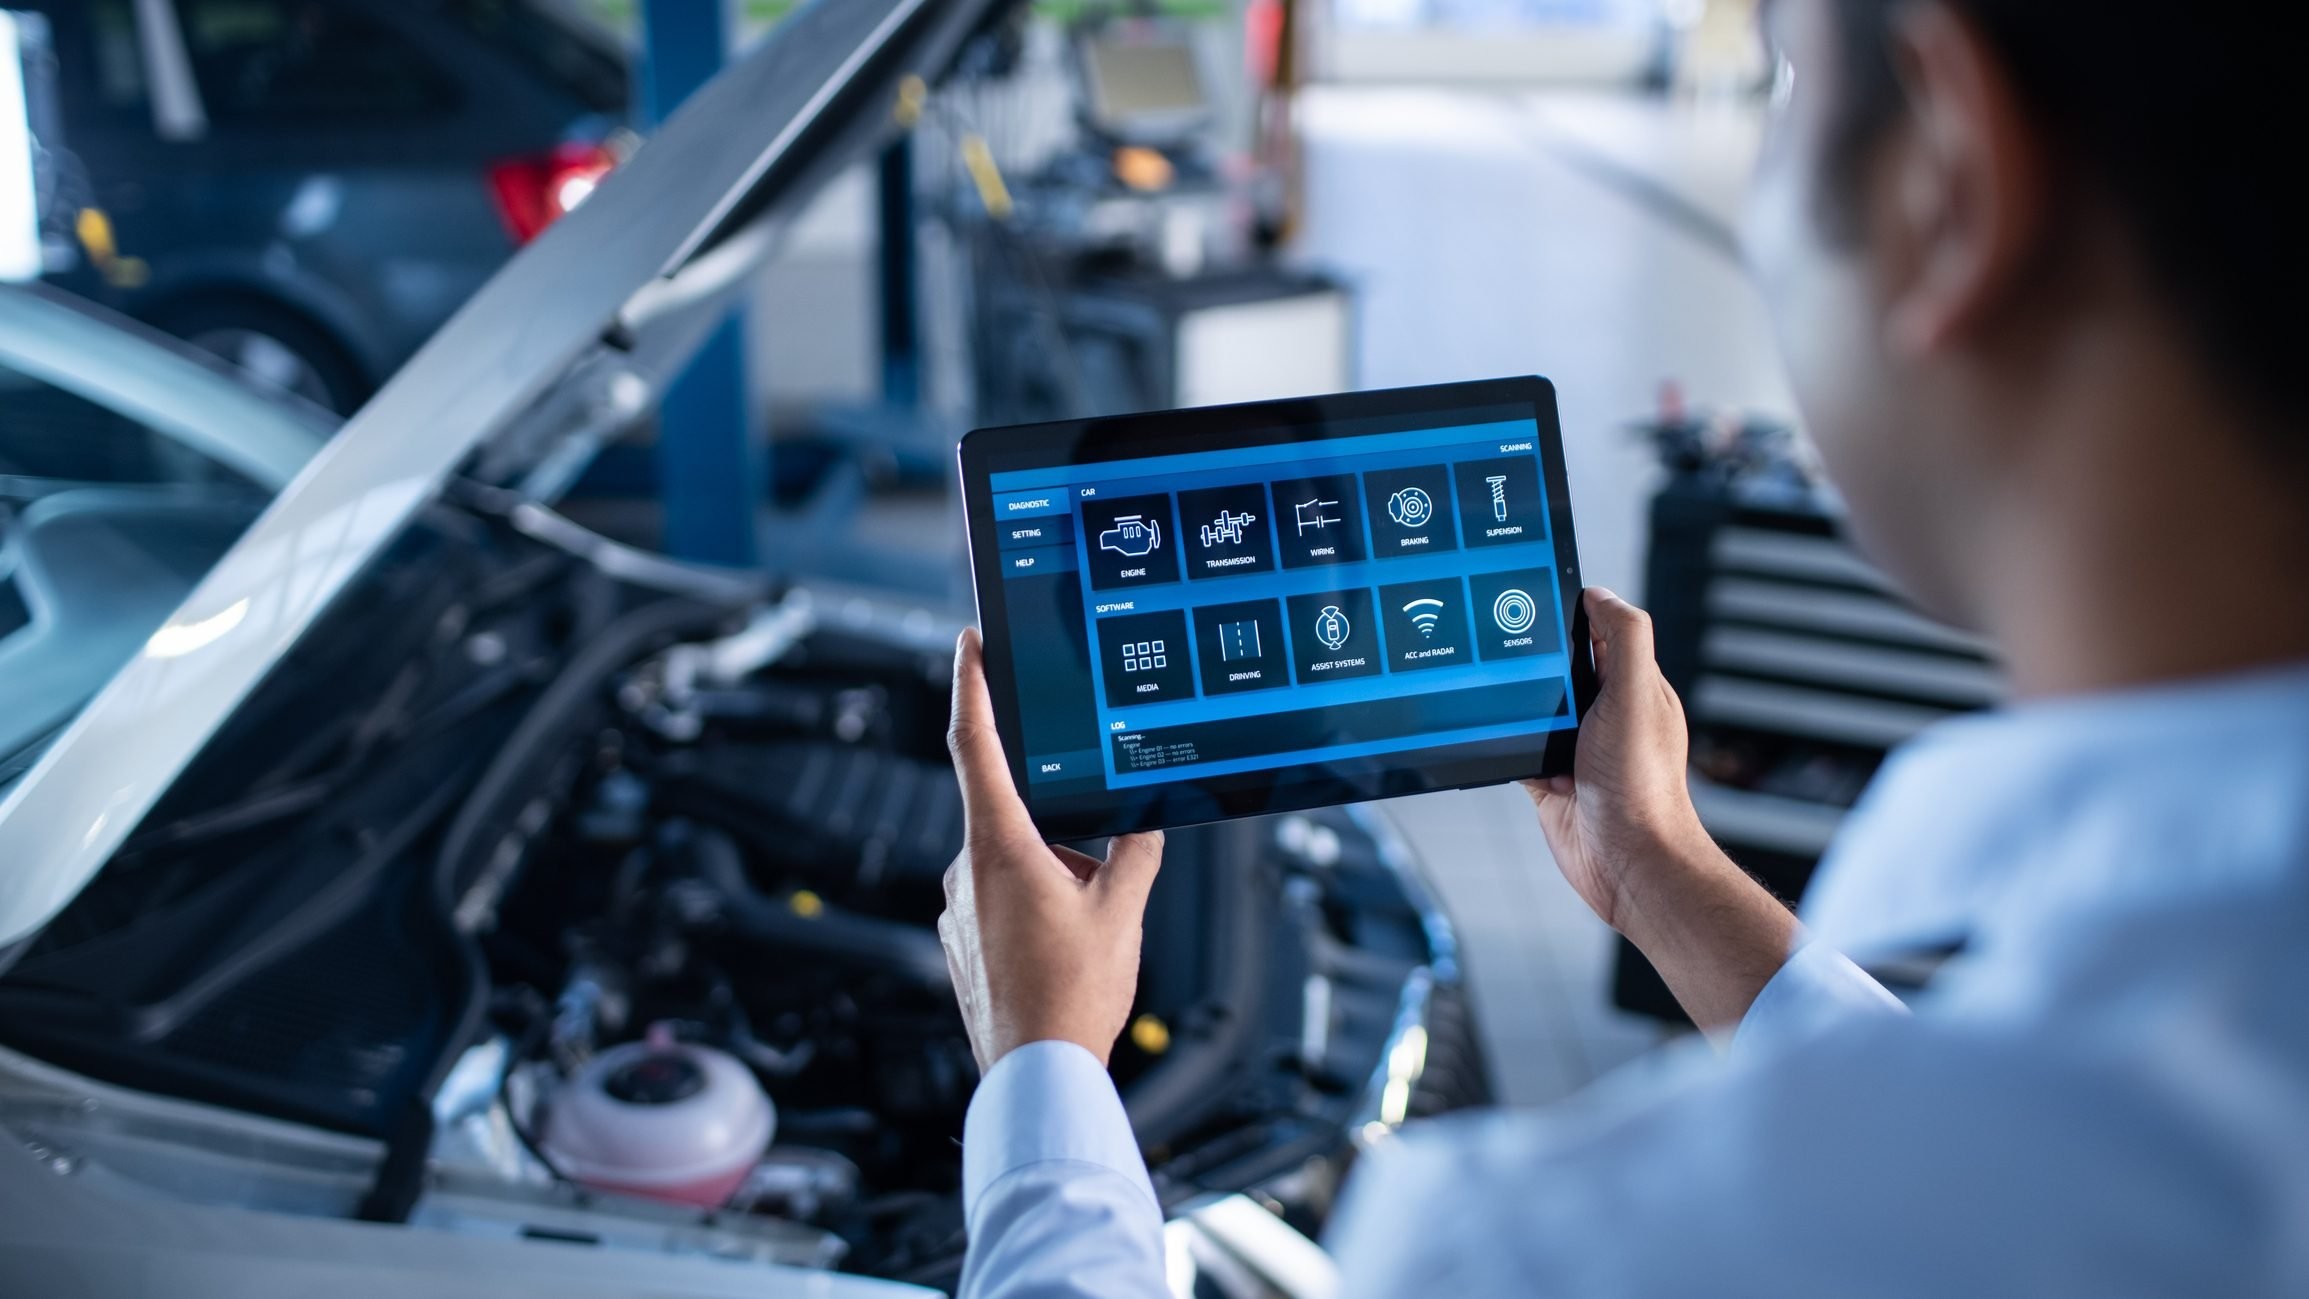
Alt text: Automotive technician using diagnostic tablet to analyze vehicle engine problems.
Do You Need a Scan Tool? Exploring Alternatives (and What to Avoid)
While a dedicated scan tool or code reader is the most reliable way to access DTCs, there are less conventional methods, though their effectiveness can vary. Some older vehicles, depending on the make, model, and year, might display codes through the dashboard multi-display unit by cycling the ignition key on and off a specific number of times (usually three or five). Certain Toyota models have even been known to display codes via the radio display. Consult your vehicle’s owner’s manual or online forums specific to your car model to see if such methods are applicable.
However, never attempt to “jumper” across pins in the data port using a paper clip or wire to try and retrieve codes. This outdated and dangerous practice can severely damage the diagnostic port terminals, rendering it unusable for future code readers and potentially harming your car’s electrical system. Investing in a basic code reader is a far safer and more effective approach.
Step-by-Step Guide: How to Use a Car Diagnostic Code Reader
Using a car diagnostic code reader is generally a straightforward process. Here’s a step-by-step guide to get you started:
-
Locate the OBD-II Port: The OBD-II (On-Board Diagnostics II) port is the standardized connector used by code readers. It’s typically located under the dashboard on the driver’s side of your vehicle. Common locations include beneath the steering column or near the fuse box access panel. Refer to your owner’s manual if you’re having trouble finding it.
-
Plug in the Code Reader: With your vehicle turned off, firmly plug the code reader’s connector into the OBD-II port. Ensure it’s securely connected.
-
Turn the Ignition to “ON” (Engine Off): Turn your ignition key to the “ON” position. This activates your car’s electrical system and allows the code reader to communicate with the vehicle’s computer. Do not start the engine.
-
Follow the Code Reader’s Prompts: Most code readers will power on automatically once connected and the ignition is in the “ON” position. Follow the on-screen prompts to initiate a scan for trouble codes. This usually involves selecting options like “Read Codes” or “Diagnostic Scan.”
-
Record and Interpret the DTCs: The code reader will display any stored DTCs. Write down each code accurately. If your reader provides code definitions, note those as well. If not, you’ll need to look up the codes. You can use online resources by searching for “[DTC code] definition” (e.g., “P0300 definition”) or utilize smartphone apps or websites that decode DTCs.
Clearing Engine Codes: What to Do After Repair
Once you’ve addressed the issue causing the Check Engine Light and DTC, you’ll likely want to clear the codes and turn off the light. Here are two methods:
-
Using a Code Reader: Most code readers have a “Clear Codes” or “Erase Codes” function. After repair, use this function to clear the DTCs. It’s also advisable to check the “readiness monitors” status using your scan tool. Readiness monitors are system checks that the vehicle performs to ensure emissions systems are functioning correctly. A scan tool cannot reset these monitors; they reset automatically as you drive, provided the underlying issue is resolved.
-
Battery Disconnection (Less Recommended): While less precise, disconnecting the car battery for about 10 minutes can also clear DTCs. Always disconnect the negative (black) cable first, then the positive (red). When reconnecting, do the reverse: positive first, then negative. Crucially, wrap the positive cable terminal end with tape to prevent accidental short circuits while disconnected. However, battery disconnection also resets other vehicle systems and is generally not the preferred method compared to using a code reader’s clear function.
Where to Get Your Codes Checked (and When to DIY vs. Pro)
If you prefer not to purchase a code reader immediately, or simply want a quick check, there are places where you can often get your vehicle’s diagnostic codes checked for free or at minimal cost:
- Auto Parts Stores: Many national and local auto parts stores offer free DTC checks as a customer service. They can read the codes and often provide basic interpretations.
- Auto Repair Shops: Some repair shops may also offer free or low-cost code checks, especially for loyal customers. It’s worth asking if they have a nominal fee for just reading codes if you’re unsure about the issue.
- Neighborly Assistance: You might be surprised to find a neighbor or friend who owns a code reader and is willing to lend a hand.
Knowing when to DIY versus seeking professional help after reading codes depends on your comfort level and the nature of the problem. Simple issues indicated by codes, like a loose gas cap (often triggering EVAP system codes) or a faulty coolant temperature sensor (P0119), might be DIY-friendly. However, more complex codes, especially those related to engine misfires (P030X) or camshaft position sensors (P0340-P034B), often require professional diagnosis and repair. When in doubt, or if you’re uncomfortable working on your car, it’s always best to consult a qualified mechanic.
Alt text: Illuminated car dashboard warning lights signaling potential vehicle malfunctions.
Understanding Common Engine Codes
Familiarizing yourself with some common engine codes can be incredibly helpful. Here are a few frequent DTCs and their potential meanings:
-
P0119: Engine Coolant Temperature (ECT) Sensor Circuit Intermittent. This indicates erratic data from the ECT sensor, impacting engine performance. Often DIY-fixable by replacing the sensor after draining coolant.
-
P012X/P022X: Throttle/Pedal Position Sensor (TPS) Circuit Malfunction. Points to issues with the TPS, affecting fuel delivery and potentially causing idle and stalling problems. Cleaning the throttle body might resolve this.
-
P0128: Coolant Temperature Below Thermostat Regulating Temperature. The engine is running too cold. Likely a thermostat issue or air in the cooling system. DIY fixes include “burping” the coolant system or replacing the thermostat.
-
P0137-P0147: Oxygen Sensor (O2) Circuit Malfunction. Signals a lean or rich air-fuel mixture, leading to poor performance and fuel economy. Could be an exhaust leak or a failing O2 sensor (replace if over 50,000 miles). Often best left to professionals for thorough diagnosis.
-
P0171-P0177: System Too Lean or Too Rich. Similar to O2 sensor codes, but potential causes include clogged air or fuel filters, dirty fuel injectors, or a faulty Mass Air Flow (MAF) sensor. Filter replacement and cleaning injectors/MAF sensor are DIY possibilities.
-
P030X: Cylinder Misfire Detected. Indicates misfires in one or more cylinders (P0305 is cylinder #5). Range of causes from spark plugs to engine compression issues. DIY-able if comfortable with engine work and have tools.
-
P0340-P034B: Camshaft Position Sensor (CMPS) Circuit Malfunction. ECM can’t control fuel/spark timing. Symptoms: no-start, poor power, misfires. Typically requires professional diagnosis and repair.
-
P0400-P040E: Exhaust Gas Recirculation (EGR) Flow Insufficient. Not enough exhaust gas recirculating to lower combustion temperatures, causing rough idle and stalling. Often a clogged EGR valve, which can be DIY-cleaned (decarbonized).
-
P0446-P0448: EVAP Vent Control Circuit Malfunction. Issue with the EVAP system vent valve. Many potential causes, from a loose gas cap to a faulty ECM. Start by checking/replacing the gas cap.
By understanding how to use a car diagnostic code reader and interpreting the resulting DTCs, you can take a proactive approach to vehicle maintenance. This knowledge empowers you to communicate effectively with mechanics, make informed repair decisions, and potentially save money by tackling some repairs yourself.