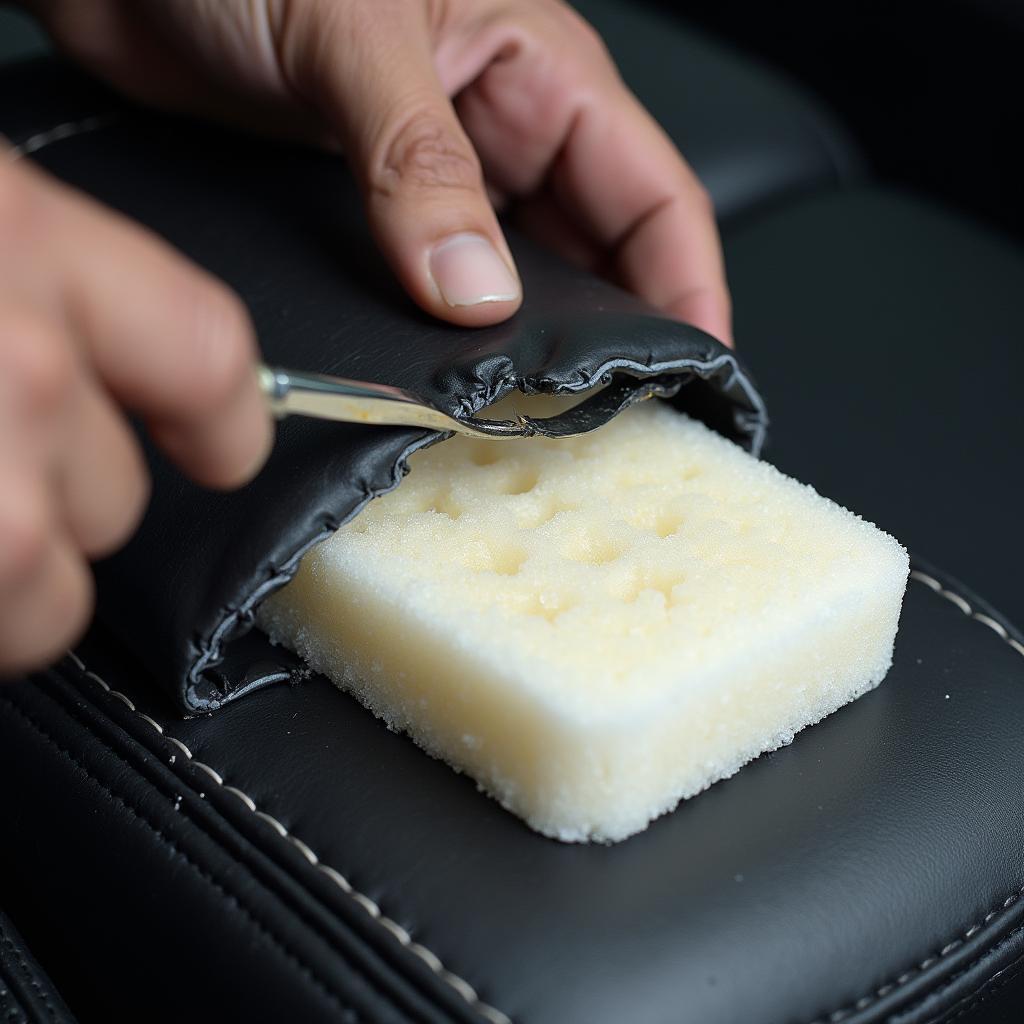
A worn-out car seat bolster can detract from the overall aesthetic of your car’s interior and impact your driving comfort. While reupholstering is an option, it can be costly. Fortunately, there’s a more budget-friendly solution: reshaping the foam yourself! This comprehensive guide will walk you through the steps on how to shape foam to repair your car seat bolster and restore it to its former glory.
Understanding Car Seat Bolster Damage
Before diving into the repair process, it’s essential to understand the typical types of damage car seat bolsters experience. This will help you assess the extent of the repair needed and determine the best approach.
Common Bolster Issues:
- Compression: Over time, the foam in your car seat bolster can compress due to regular use and body weight, leading to a loss of shape and support.
- Tears and Rips: Accidents happen, and sharp objects or rough use can cause tears and rips in the bolster foam.
- Sagging: As the foam ages and loses its resilience, the bolster can start to sag, creating an uneven and uncomfortable seating surface.
Gathering Your Foam Repair Arsenal
To successfully reshape your car seat bolster, you’ll need the right tools and materials. Having everything prepared beforehand will make the repair process smoother and more efficient.
Essential Tools and Materials:
- Sharp Fabric Scissors: These will be your go-to for cutting and trimming foam with precision.
- Utility Knife: A utility knife is helpful for making precise cuts, especially when working with denser foam.
- Spray Adhesive: Opt for a high-quality spray adhesive specifically designed for foam and fabric to ensure a strong bond.
- Replacement Foam: Choose a high-density foam that’s similar in firmness to your existing bolster foam for consistent support.
- Marker or Pen: Use a marker or pen to mark cutting lines on the foam and fabric.
- Measuring Tape: Accurate measurements are key to ensuring the replacement foam fits perfectly.
- Shop Vacuum: A shop vacuum is indispensable for cleaning up foam crumbs and debris during and after the repair.
A Step-by-Step Guide to Reshaping Your Car Seat Bolster
Now that you have your tools and materials ready, let’s get down to the actual repair process. Follow these steps carefully to achieve professional-looking results.
-
Assess the Damage: Begin by thoroughly examining the damaged bolster. Identify the areas that need repair, considering compression, tears, rips, or sagging.
-
Prepare the Seat: If necessary, remove the car seat from your vehicle. This will give you better access to the bolster and make the repair process more manageable.
-
Access the Bolster: Depending on your car model, you might need to remove the seat cover partially or completely to access the foam bolster. Be careful not to damage the upholstery during this step.
- Measure and Cut the Replacement Foam: Using the old bolster foam as a template, carefully measure and mark the replacement foam using a marker or pen. Ensure the new foam piece matches the size and shape of the damaged area. Cut the foam precisely along the marked lines using sharp fabric scissors or a utility knife.
-
Secure the Replacement Foam: Apply spray adhesive evenly to both the replacement foam and the area where it will be attached to the bolster. Carefully align and press the new foam piece onto the damaged area, ensuring a secure bond.
-
Trim and Shape: Once the adhesive has dried, use your fabric scissors to trim any excess foam and shape the bolster to your desired look and feel. Take your time with this step to achieve a smooth and even surface.
-
Reinstall the Seat Cover: Carefully reinstall the seat cover, ensuring it fits snugly over the repaired bolster. If you had to remove the entire seat, reinstall it in your vehicle.
Pro Tips for a Flawless Finish
-
Test the Foam Density: Before committing to a particular type of replacement foam, consider purchasing small samples to test their firmness. This will help you choose a density that matches your existing bolster and provides the desired level of support.
-
Take Your Time: Rushing the repair process can lead to mistakes and subpar results. Allocate sufficient time to complete each step carefully, ensuring a professional-looking and durable repair.
-
Consider Professional Help: If your car seat bolster has extensive damage or you’re not confident in your DIY skills, consider seeking assistance from a professional automotive upholsterer.
Conclusion
Repairing a car seat bolster by reshaping the foam is an achievable DIY project that can save you money and restore your car’s interior. By following the steps outlined in this guide and using the right tools and materials, you can achieve professional-looking results and enjoy the comfort of a well-maintained car seat for years to come. Remember to prioritize accuracy, patience, and attention to detail throughout the process, and don’t hesitate to seek professional help if needed. If you’re interested in learning more about car seat repair, check out our comprehensive guide on how much to repair torn seats on a car. For those dealing with leather car seat bolster damage, we have a dedicated article on bolster repair to leather car seat that provides specific insights and techniques.


