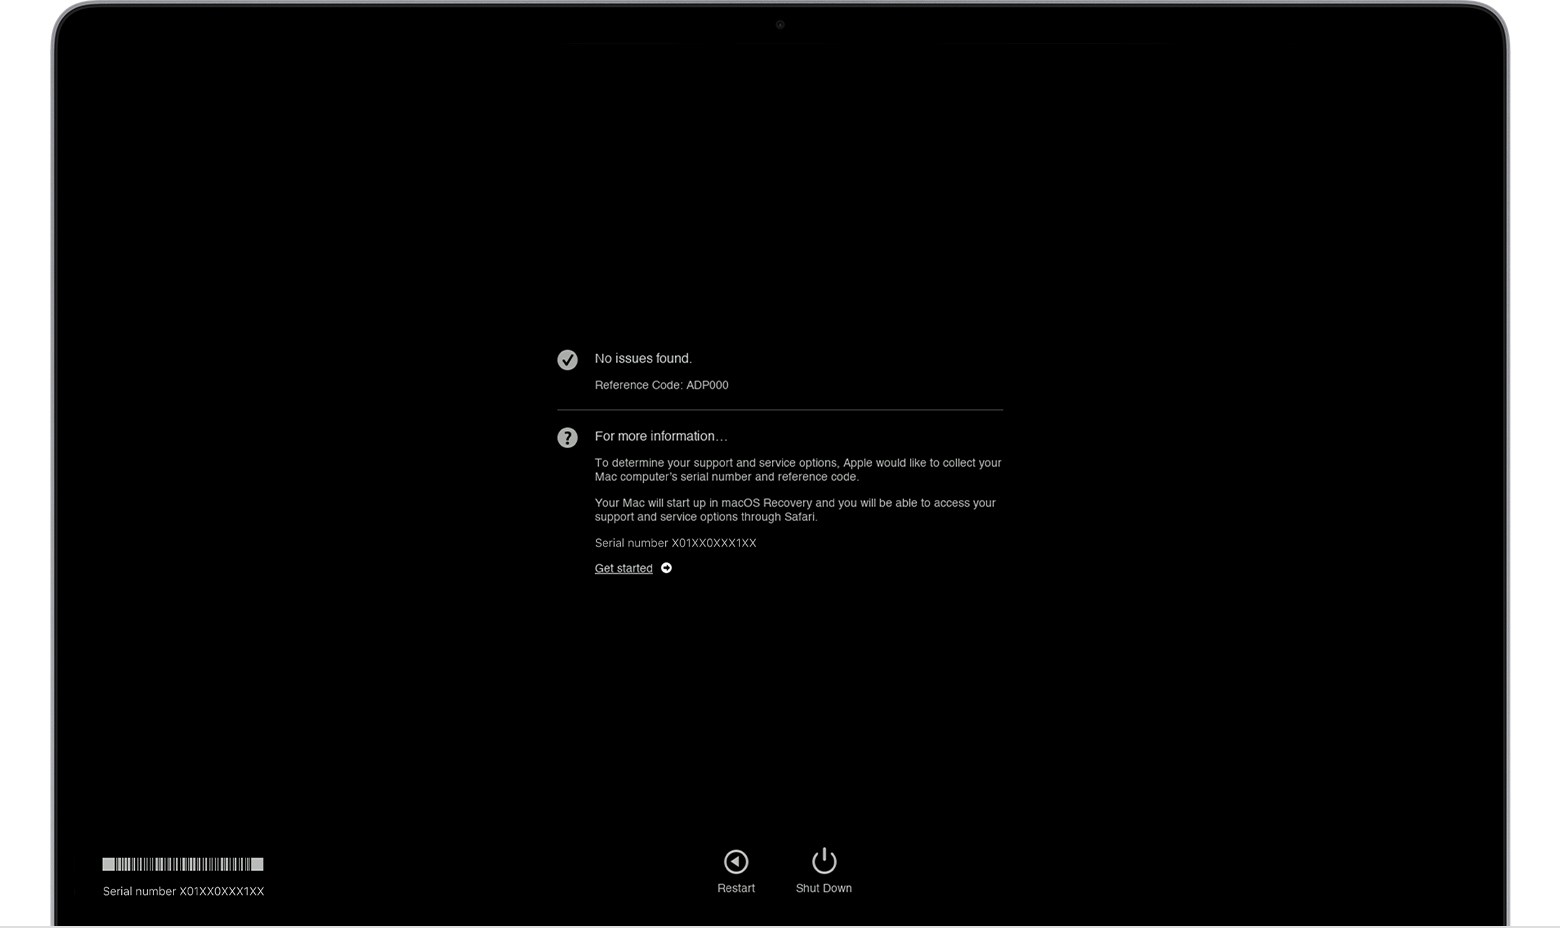
Experiencing issues with your iPhone and suspecting a hardware problem? While iPhones don’t have a user-facing diagnostic tool quite like Apple Diagnostics on Macs, AppleCare provides comprehensive support and diagnostic services to help pinpoint and resolve any underlying issues. This guide will walk you through how to leverage AppleCare to run diagnostics on your iPhone, ensuring you get the support you need.
Preparing for iPhone Diagnostics with AppleCare
Before initiating diagnostics, proper preparation can streamline the process and ensure accurate results. Follow these steps to get your iPhone ready:
-
Back Up Your iPhone: It’s crucial to back up your iPhone before any diagnostic process. This safeguards your data in case repair or replacement is necessary. You can back up via iCloud or your computer.
-
Note Down the Issues: Document specific problems you’re encountering. When did they start? What apps or actions trigger them? Detailed notes will assist AppleCare support in understanding and diagnosing the issue efficiently.
-
Gather iPhone Information: Have your iPhone’s serial number and Apple ID readily available. This information is usually required when contacting AppleCare. You can find the serial number in Settings > General > About.
-
Ensure a Stable Internet Connection: A reliable Wi-Fi or cellular connection is needed to contact AppleCare and potentially run remote diagnostics.
-
Charge Your iPhone: Make sure your iPhone has sufficient battery charge, ideally at least 50%, to avoid interruptions during the diagnostic process.
Initiating Diagnostics Through AppleCare
AppleCare offers various avenues for running diagnostics on your iPhone. Here’s how to access them:
1. Contact Apple Support via the Support App or Website
The most direct way to initiate diagnostics is by contacting Apple Support.
-
Using the Apple Support App: If you have the Apple Support app installed on another Apple device or even your iPhone (if it’s still functional enough), open it.
-
Via the Apple Support Website: Go to support.apple.com in a web browser.
-
Describe Your Issue: Navigate through the support options, selecting “iPhone” and then the category that best describes your problem (e.g., Performance, Battery & Charging, Hardware Issues). You’ll be prompted to describe the issue in detail.
-
Choose a Contact Method: Apple offers several contact options, including chat, phone call, or scheduling a repair. Select the most convenient option for you.
2. Apple Support Remote Diagnostics
Once you’re connected with Apple Support, they can often run remote diagnostics on your iPhone.
-
Request Diagnostics: Inform the Apple Support representative that you suspect a hardware issue and would like to run diagnostics.
-
Follow Instructions: The support representative will guide you through the process, which may involve:
- Screen Sharing: In some cases, they might request screen sharing (if you are using chat or are on a video call) to better understand the issue.
- Running Tests Remotely: Apple has proprietary tools to remotely assess your iPhone’s hardware and software. They can initiate these tests while you are on the call or chat.
-
Review Diagnostic Results: The Apple Support representative will explain the diagnostic results to you. These results will help determine if there’s a hardware problem and what steps to take next.
3. Apple Store or Authorized Service Provider
For hands-on diagnostics and repair, visiting an Apple Store or an Apple Authorized Service Provider is another option.
-
Schedule an Appointment: Use the Apple Support website or app to schedule a Genius Bar appointment at an Apple Store or find an authorized service provider near you.
-
Explain the Issues: At your appointment, clearly explain the problems you are experiencing with your iPhone.
-
In-Person Diagnostics: Technicians at the Apple Store or authorized service provider can perform more in-depth diagnostics, using specialized tools not available to general users or through remote support.
-
Repair or Replacement Options: Based on the diagnostic results, they will advise on repair options, which might include component replacement or, in some cases, device replacement if covered under AppleCare or warranty.
Understanding Diagnostic Outcomes and AppleCare
After diagnostics, AppleCare will guide you on the next steps based on the findings.
-
No Issues Found: If diagnostics reveal no hardware issues, Apple Support may offer software troubleshooting steps or advise on usage practices to improve performance.
-
Hardware Issue Detected: If a hardware problem is identified, and your iPhone is covered by AppleCare or warranty, you are entitled to repair services. AppleCare can significantly reduce the cost of repairs or replacements.
-
Out-of-Warranty Repair: If your iPhone is out of warranty and not covered by AppleCare, Apple Support will provide repair options and associated costs. You can then decide whether to proceed with the repair or consider other options.
Conclusion
While iPhones lack a standalone “Apple Diagnostics” app like Macs, AppleCare provides robust diagnostic support through remote assistance, in-store evaluations, and authorized service providers. By preparing your device and utilizing AppleCare, you can effectively diagnose potential hardware issues and receive the necessary support to resolve them, ensuring your iPhone functions optimally. Remember to leverage the Apple Support app or website to initiate the diagnostic process and take full advantage of your AppleCare coverage if applicable.

