
Tubeless tires are becoming increasingly common on modern cars, offering benefits like improved puncture resistance and better handling. These tires utilize a sealant to automatically close small punctures, often without you even noticing. However, larger punctures or those in certain locations may overwhelm the sealant, requiring manual repair to get you back on the road safely.
This guide will walk you through the process of repairing a tubeless tire puncture on your car. We’ll cover using tire plugs for quick fixes and patching for more substantial damage. While these methods can often get you going again, remember that they are often temporary solutions, and a professional tire inspection or replacement might be necessary. Regular tire maintenance, including pressure checks and visual inspections, is crucial for preventing punctures and ensuring your safety on the road.
What You’ll Need to Repair a Tubeless Car Tire
Before you start, gather the necessary tools and materials. Having everything ready will make the repair process smoother and faster.
- Car Jack and Lug Wrench: To safely remove the wheel.
- Tire Levers: While sometimes not strictly necessary for tubeless car tires, they can be helpful in certain situations and are good to have on hand.
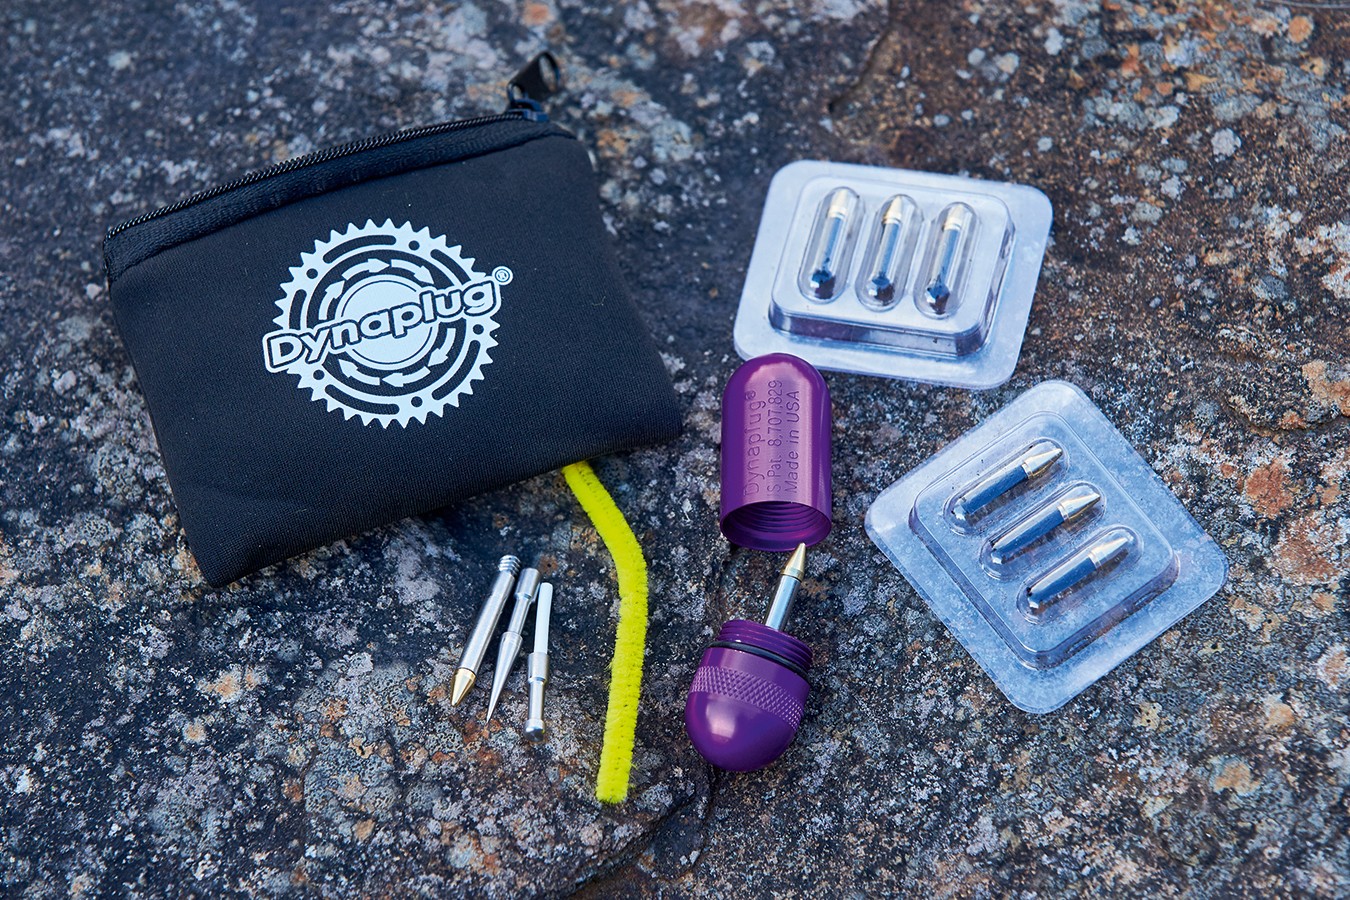
- Tubeless Tire Repair Plug Kit: This kit should include:
- Plug Insertion Tool: A tool with a split eye to hold and insert the tire plug.
- Reamer Tool: A tool to clean and enlarge the puncture hole for plug insertion.
- Tire Plugs (or “Bacon Strips”): Rubbery, sticky plugs that fill the puncture.
- Pliers or Nippers: To remove any object causing the puncture (nail, screw, etc.).
- Tire Inflator/Pump: To reinflate the tire after repair. A portable 12V inflator is ideal for roadside repairs.
- Gloves: To keep your hands clean.
- Safety Glasses: To protect your eyes.
- Optional but Recommended:
- Spray Bottle with Soapy Water: To help locate the puncture and check for leaks after repair.
- Knife or Scissors: To trim excess plug material.
- Wheel Chocks: For added safety when jacking up your car.
- Headlamp or Flashlight: If working in low light conditions.
Step-by-Step Guide to Repairing a Tubeless Tire Puncture with a Plug
Using a tire plug is often the quickest and easiest way to repair a tubeless tire puncture without removing the tire from the wheel. This method is best suited for punctures in the tire tread area, away from the sidewall.
1. Identify and Locate the Puncture
- Listen for Hissing: If you suspect a puncture, listen for a hissing sound indicating air escaping from the tire.
- Visual Inspection: Carefully examine the tire for any embedded objects like nails, screws, or glass.
- Soapy Water Test (Optional): If the puncture is not immediately obvious, spray the tire with soapy water. Bubbles will form at the location of the leak, pinpointing the puncture.
2. Remove the Object Causing the Puncture
- Use Pliers or Nippers: Once you’ve located the object (if any), carefully remove it using pliers or nippers. Pull it out in the direction it entered to minimize further damage.
3. Prepare the Puncture Hole
- Insert the Reamer Tool: Take the reamer tool from your tubeless repair kit and insert it into the puncture hole.
- Ream the Hole: Push the reamer in and out, and twist it to clean the hole and make it slightly larger. This prepares the hole for the plug insertion and helps the plug adhere better. Be careful not to damage the tire further or penetrate the tire too deeply.
4. Insert the Tire Plug
- Load the Plug into the Insertion Tool: Take a tire plug from your kit and thread it through the split eye of the plug insertion tool, centering the plug in the loop.
- Insert the Plug into the Hole: Firmly push the insertion tool with the plug into the prepared puncture hole. Push it in until about half of the plug is inside the tire and half is still outside.
- Withdraw the Insertion Tool: Hold the plug insertion tool firmly against the tire and pull the handle back to withdraw the tool. The plug should remain in the tire, sealing the puncture.
5. Inflate and Finish
- Inflate the Tire: Use your tire inflator to reinflate the tire to the recommended pressure, which can usually be found on a sticker inside your driver’s side doorjamb or in your owner’s manual.
- Check for Leaks: Spray soapy water around the repair area again to check for any leaks. If bubbles appear, the plug may not be sealing properly, and you might need to try again with another plug or consider a different repair method.
- Trim Excess Plug (Optional): If a significant amount of plug material is sticking out, you can carefully trim it with a knife or scissors, leaving about ¼ inch protruding. Be extremely cautious not to cut too close to the tire surface or damage the tire.
How to Patch a Tubeless Car Tire (Internal Patch)
For larger punctures, sidewall damage, or if plugging isn’t successful, internal patching is a more robust repair method. This requires removing the tire from the wheel, which is a more involved process and often best done in a garage or tire shop. However, in an emergency, you can attempt a temporary patch on the roadside. Note: Internal patching of car tires, especially tubeless ones, is generally recommended to be performed by professionals to ensure safety and proper sealing. This section provides a simplified overview for emergency situations only.
In emergency situations, it is generally safer and recommended to install your spare tire if available rather than attempting an internal patch on the roadside. However, if you are in a very remote location and have no spare, understanding the basics of patching can be helpful. Seek professional repair or tire replacement as soon as possible after using this emergency method.
(Simplified Emergency Patching Overview – Professional Repair Recommended)
- Safely Remove the Wheel: Use your car jack and lug wrench to safely remove the wheel with the punctured tire. Refer to your car’s owner’s manual for proper jacking procedures and safety precautions.
- Deflate the Tire Completely: Ensure all air is removed from the tire.
- Break the Tire Bead (Carefully): This is the most challenging part without professional tire changing tools. Tire levers might be of limited help for car tires, and specialized bead breakers are typically needed. Attempting this without proper tools can damage your rim or tire and is generally not recommended on the roadside.
- Locate and Clean the Puncture from the Inside: Once you have access to the inside of the tire, locate the puncture. Clean the area around the puncture thoroughly using a tire cleaning solution or rubbing alcohol. Roughen the area slightly with a tire scuffer (if available in a tire patch kit) to help the patch adhere better.
- Apply Tire Patch and Vulcanizing Cement: Apply vulcanizing cement to the cleaned area around the puncture on the inside of the tire. Let it become tacky. Apply the tire patch firmly over the cemented area, ensuring it covers the puncture completely. Press and hold firmly for the recommended time (as per the patch kit instructions).
- Re-mount the Tire (Extremely Difficult Without Tools): Re-mounting a car tire after breaking the bead without professional tire machines is extremely difficult and often impossible on the roadside.
- Inflate and Check for Leaks: If you manage to re-mount the tire (again, highly unlikely without proper tools), inflate it to the recommended pressure and check for leaks using soapy water.
- Reinstall the Wheel: Reinstall the wheel onto your car, tightening the lug nuts in a star pattern to the correct torque.
Again, internal patching of car tires is complex and requires specialized tools and expertise. It is strongly recommended to seek professional tire repair services for this type of repair. Roadside patching should only be considered as a very temporary emergency measure in extreme situations where no other option is available.
Dealing with Serious Tire Damage: Tire Boots and When to Use a Spare
For significant tire damage like large tears or sidewall punctures, neither plugging nor patching might be sufficient or safe. In such cases, using a tire boot or, more realistically, installing your spare tire are the best courses of action.
Tire Boots (Temporary Emergency Measure)
A tire boot is a reinforcement material that can be placed on the inside of the tire to bridge a large cut or tear and prevent the inner tube (if you are using one as a temporary measure) from bulging out. While tubeless car tires are designed to be run without tubes, in a severe damage situation, you might need to insert a tube to get mobile.
- Using a Tire Boot (with Inner Tube – Emergency Only): If you have a large tear and are forced to insert an inner tube, a tire boot can provide some temporary support. You can purchase pre-made tire boots or improvise with materials like:
- Purpose-made Tire Boot: Best option if you carry one in your emergency kit.
- Stiff Cardboard or Plastic: Cut a piece slightly larger than the tear.
- Dollar Bill or Banknote (Emergency Improvise): In desperate situations, a folded bill can act as a very temporary boot.
Place the boot on the inside of the tire, covering the tear, before inserting the inner tube. The boot will act as a barrier between the tube and the sharp edges of the tear. This is a very temporary fix to limp to safety or a repair shop.
When to Use Your Spare Tire (Recommended for Serious Damage)
In most cases of significant tire damage, installing your spare tire is the safest and most practical solution.
- Large Tears or Sidewall Damage: If the puncture is a large tear, especially in the sidewall, plugging or patching is unlikely to be effective or safe.
- Unsuccessful Plug or Patch: If you’ve tried plugging or patching and the tire still won’t hold air.
- Lack of Proper Tools or Experience for Patching: Roadside patching, especially for car tires, is complex. If you are not comfortable or don’t have the right tools, use your spare.
Refer to your car’s owner’s manual for instructions on how to properly install your spare tire. Ensure you understand the limitations of your spare tire (e.g., speed and distance restrictions for temporary spares) and drive cautiously to a tire shop for professional inspection and tire replacement.
Conclusion: Prioritize Safety and Professional Tire Care
Repairing a tubeless tire puncture on your car can often be done effectively with a tire plug kit for minor tread punctures. However, for more significant damage, internal patching might be considered as an absolute emergency temporary measure only, ideally performed by professionals. In most cases of serious tire damage, using your spare tire and seeking professional tire service is the safest and recommended course of action.
Remember that any roadside tire repair should be considered temporary. After any puncture repair, it is crucial to:
- Check Tire Pressure Regularly: Monitor the repaired tire’s pressure frequently to ensure it is holding air and remains at the recommended level.
- Have the Tire Professionally Inspected: Visit a tire shop as soon as possible to have the tire professionally inspected. They can assess the repair’s integrity and advise on whether the tire needs a more permanent repair or replacement.
- Prioritize Tire Replacement if Necessary: For sidewall punctures, large tears, or if the tire has sustained significant damage, professional tire replacement is essential for your safety.
By understanding how to perform basic tubeless tire repairs and knowing when to seek professional help, you can handle common tire emergencies and ensure your continued safety on the road. Always prioritize safety and proper tire maintenance to prevent punctures and ensure your vehicle is in optimal driving condition.