Restoring the plush comfort and sleek look of your town vinyl car seats is a rewarding DIY project. Whether it’s fading, minor cracks, or stubborn stains that are bothering you, this comprehensive guide will equip you with the knowledge and techniques to bring your vinyl seats back to life.
Understanding Town Vinyl
Town vinyl, a popular choice for car upholstery, is known for its durability and affordability. However, like any material, it’s prone to wear and tear over time. Exposure to sunlight, heat, and daily use can lead to fading, cracking, and staining.
Gathering Your Supplies
Before you begin your town vinyl car seat repair journey, gather the following supplies:
- Vinyl Cleaner: Opt for a dedicated cleaner specifically formulated for vinyl.
- Vinyl Conditioner: This will help restore moisture and prevent future cracking.
- Vinyl Repair Kit: Choose a kit that matches the color of your seats, or opt for a universal kit.
- Soft Bristled Brush: Use for gentle cleaning and scrubbing.
- Microfiber Cloths: These are perfect for wiping and buffing.
- Warm Water: This will be used for cleaning and rinsing.
- Bucket: For mixing your cleaning solution.
- Rubber Gloves: Protect your hands from chemicals.
Step-by-Step Guide to Repairing Town Vinyl Car Seats
1. Clean the Seats Thoroughly
Begin by vacuuming the seats to remove any loose dirt and debris. Mix a solution of warm water and vinyl cleaner according to the product instructions. Dip your soft-bristled brush into the solution and gently scrub the seats, paying close attention to crevices and seams.
2. Rinse and Dry
Use a clean microfiber cloth dampened with water to rinse away the cleaning solution. Thoroughly dry the seats with another clean cloth.
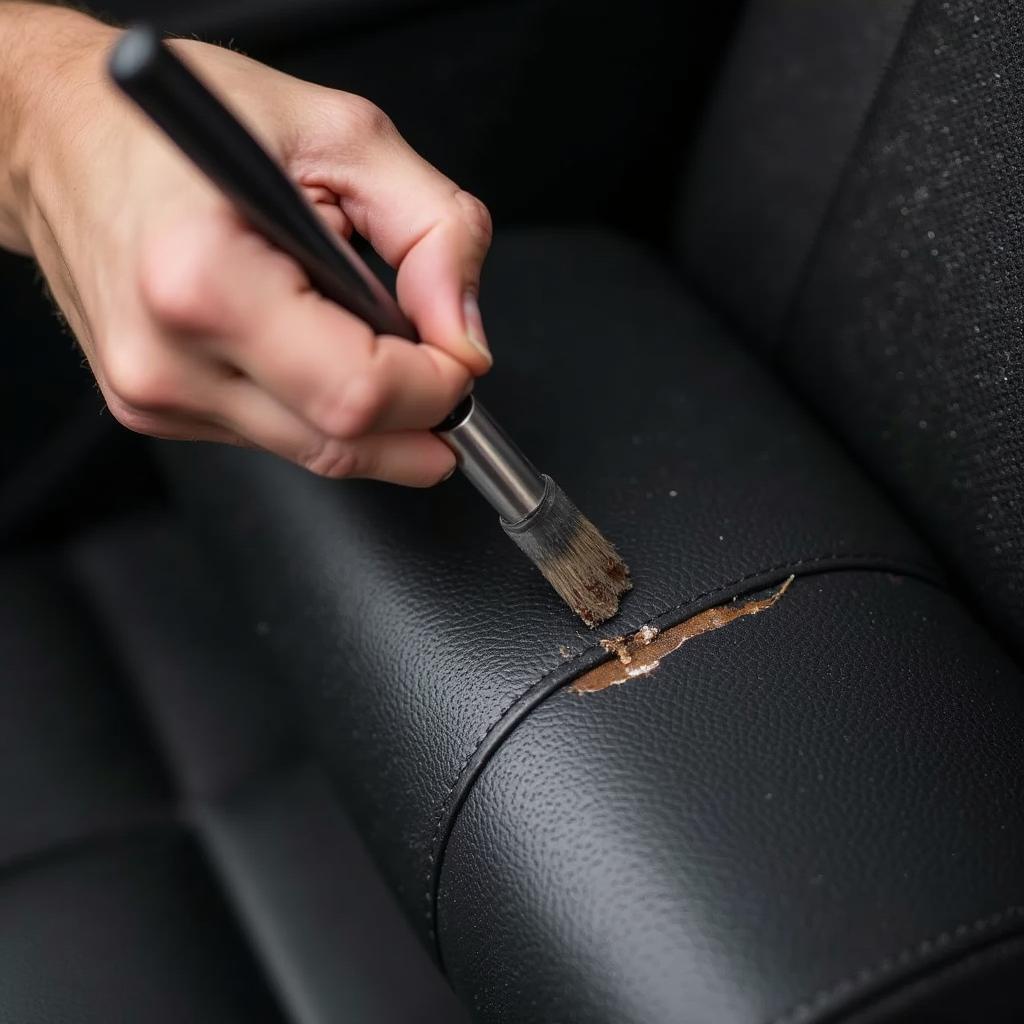
3. Address Cracks and Tears
Following the instructions provided with your chosen vinyl repair kit, apply the vinyl filler to cracks and tears. Use a palette knife or a similar tool to spread the filler evenly and smoothly. Allow the filler to dry completely.
4. Restore Color and Texture
If the color of your seats has faded, use a vinyl dye that matches the original shade. Apply the dye evenly to the faded areas, following the manufacturer’s instructions. Once the dye has dried, use a textured grain paper (often included in repair kits) to replicate the original texture of the vinyl.
5. Condition the Vinyl
Apply a generous amount of vinyl conditioner to the entire seat surface. Use a clean microfiber cloth to massage the conditioner into the vinyl, working in circular motions. Let the conditioner sit for the recommended time before wiping away any excess.
Tips for Maintaining Your Repaired Seats
- Regular Cleaning: Clean your vinyl seats every few weeks using a dedicated vinyl cleaner to prevent dirt and grime buildup.
- UV Protection: Park your car in the shade or use a sunshade to protect your seats from harsh UV rays, which can cause fading.
- Avoid Sharp Objects: Be mindful of sharp objects that could potentially puncture or scratch the vinyl.
- Condition Regularly: Apply a vinyl conditioner every few months to keep the material supple and prevent cracking.
Conclusion
Repairing your town vinyl car seats doesn’t require a mechanic’s expertise. By following these simple steps, you can restore their beauty and extend their lifespan. With a little effort and the right materials, you can transform your car’s interior and enjoy comfortable, stylish seating for miles to come.