Torn or ripped vinyl car seats are an unsightly problem that can plague even the most careful car owner. Thankfully, with a little patience and the right materials, you can repair minor to moderate damage yourself and save the cost of professional upholstery work. This comprehensive guide will walk you through the steps of how to repair torn vinyl car seats, from assessing the damage to achieving a seamless finish.
Assessing the Damage: A Stitch in Time Saves Nine
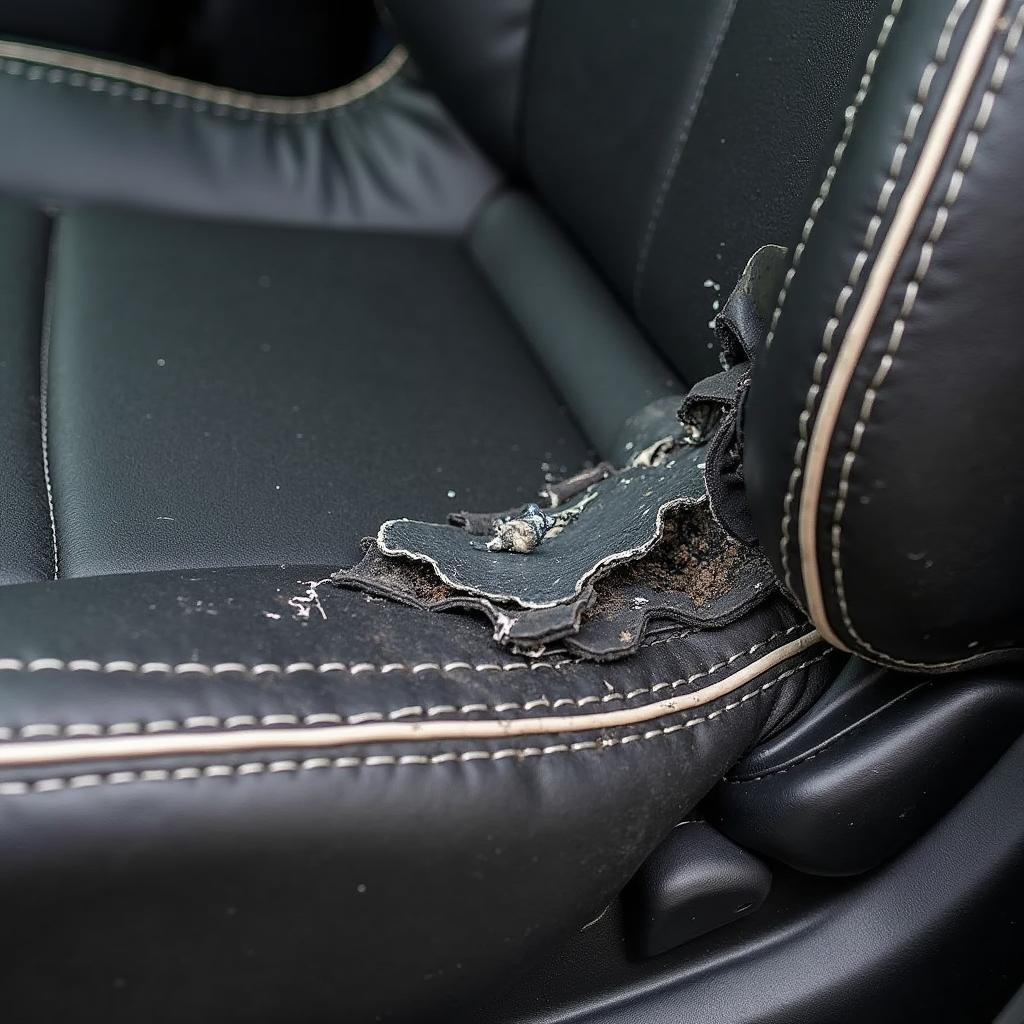
Before you begin, it’s crucial to assess the extent of the damage to your vinyl car seats. Minor tears and snags can often be repaired using simple DIY methods, while larger rips or tears might require professional intervention for optimal results.
 Close Up of Torn Vinyl Car Seat
Gathering Your Repair Arsenal: The Right Tools for the Job
Having the right tools and materials on hand is essential for a successful vinyl car seat repair. Here’s a list of what you’ll need:
- Vinyl Repair Kit: Choose a kit that matches the color of your car seats as closely as possible. These kits typically include a vinyl patch, adhesive, filler compound, color matching guide, and application tools.
- Cleaning Supplies: Isopropyl alcohol, microfiber cloth, mild soap and water solution (optional).
- Scissors: For trimming the vinyl patch to the desired size and shape.
- Masking Tape: To protect the surrounding area from adhesive and filler compound.
- Heat Gun or Hairdryer: Optional, for accelerating the drying process of the adhesive and filler compound.
Step-by-Step Guide to Repairing Your Torn Vinyl Car Seat
Step 1: Prep the Surface: Thoroughly clean the damaged area with isopropyl alcohol and a microfiber cloth to remove dirt, dust, and debris. Allow the area to dry completely before proceeding.
Step 2: Trim the Vinyl Patch: If your vinyl repair kit includes a patch, carefully trim it to the appropriate size, ensuring it slightly overlaps the tear on all sides.
Step 3: Apply the Adhesive: Following the manufacturer’s instructions, apply a thin layer of adhesive to the underside of the vinyl patch. If your tear is a simple cut, you can apply the adhesive directly to the tear’s edges.
Step 4: Position the Patch: Carefully align the vinyl patch over the damaged area and gently press it down, ensuring a smooth and even application.
Step 5: Address Gaps (if needed): For larger tears or rips, you might need to use a vinyl filler compound to fill in any gaps or uneven surfaces. Apply the filler compound sparingly, using a putty knife or a similar tool to smooth it out.
Step 6: Heat Setting (Optional): If your chosen adhesive or filler compound requires heat setting, use a heat gun or hairdryer on a low setting, holding it a safe distance away from the repair area. Be careful not to overheat the vinyl, as this can cause it to melt or distort.
Step 7: Finishing Touches: Once the adhesive and filler compound are dry, you can carefully remove any excess material using a razor blade or fine-grit sandpaper. For optimal results, consider using a vinyl protectant spray to help preserve the color and texture of the repaired area.
Expert Insights:
“When choosing a vinyl repair kit, it’s crucial to select one that closely matches the color and grain of your car’s upholstery,” advises John Smith, a seasoned automotive upholstery specialist. “A well-matched kit will ensure a seamless repair that blends in with the surrounding material, making the repair virtually invisible.”
When to Call in the Pros:
While DIY vinyl repair kits are effective for addressing minor to moderate tears and rips, more extensive damage might require professional attention. If you’re unsure about tackling the repair yourself, it’s always best to consult with a qualified automotive upholstery specialist. They have the experience, tools, and expertise to deliver exceptional results, even for complex repairs.
FAQs:
Q: Can I use super glue to repair a torn vinyl car seat?
A: While super glue might seem like a quick fix, it’s not recommended for repairing vinyl car seats. It can create a stiff, inflexible bond that is prone to cracking or peeling over time. Opt for a dedicated vinyl repair kit that is formulated to adhere to and flex with the vinyl material.
Q: How long does a vinyl repair last?
A: With proper care and maintenance, a well-executed vinyl repair can last for several years.
Additional Resources for Car Seat Repair:
By following these steps and seeking professional help when needed, you can restore your car’s interior to its former glory. Remember, a well-maintained car interior not only enhances its aesthetic appeal but also contributes to its overall value and longevity.
If you need help, please contact us via WhatsApp: +1(641)206-8880, Email: [email protected]. We have a 24/7 customer support team.


