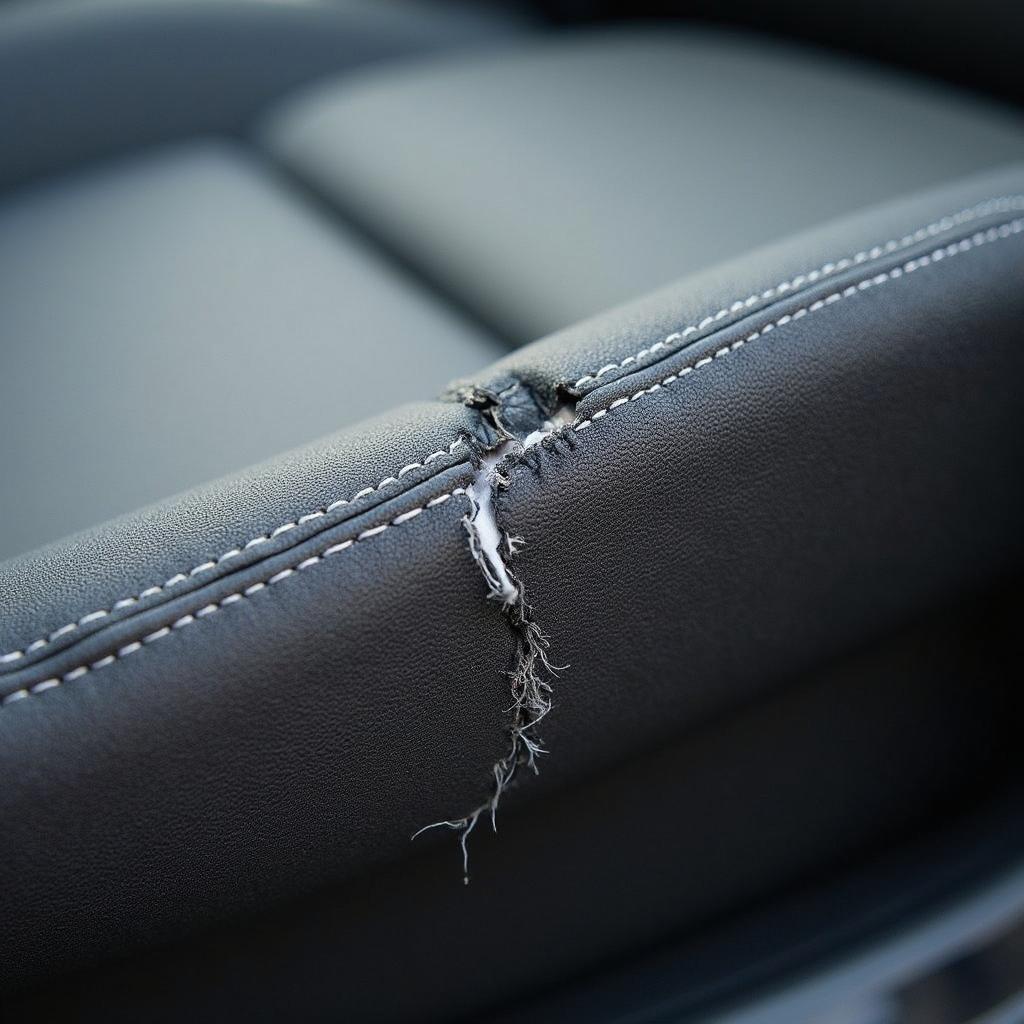
A torn car seat seam can quickly turn your pristine interior into an eyesore. But before you spend a fortune at an upholstery shop, there are ways to address this issue yourself. This guide will walk you through the steps to effectively repair a torn seam in your car seat and restore its appearance.
Understanding the Damage
Before you begin the repair, it’s crucial to assess the severity of the tear.
- Minor Tears: These involve a few loose threads or a small separation in the seam.
- Moderate Tears: A more significant portion of the seam is separated, but the underlying foam or structure is not exposed.
- Severe Tears: The tear is large, exposing the foam padding or even the seat frame.
While minor and moderate tears can often be repaired at home, severe tears are best left to professional upholsterers.
Gathering Your Supplies
To repair a torn car seat seam, you’ll need:
- Upholstery thread: Choose a color that closely matches your car seat’s existing thread.
- Curved needle: This specialized needle is designed for sewing curved surfaces like car seats.
- Scissors: Sharp fabric scissors are essential for clean cuts.
- Seam ripper: This tool helps to remove any existing damaged stitching.
- Fabric glue (optional): Useful for securing loose fabric edges before stitching.
- Binder clips (optional): Help hold the fabric in place while you sew.
Step-by-Step Guide to Repairing a Torn Car Seat Seam
1. Prepare the Area:
- Clean the area around the torn seam with a mild cleaner and a soft cloth. Allow it to dry completely before proceeding.
2. Remove Damaged Stitching (If Necessary):
- If there are loose threads or uneven stitching around the tear, use the seam ripper to carefully remove them. This will create a clean edge for your repair.
3. Align the Fabric Edges:
- Carefully align the edges of the torn fabric to ensure a smooth and even repair. Use binder clips to hold the fabric in place if needed.
4. Begin Stitching:
- Thread your curved needle with the upholstery thread, making sure to double it for extra strength.
- Starting a few stitches away from the beginning of the tear, insert the needle through the back of the fabric and pull it through.
- Continue stitching along the length of the tear, using a straight stitch or a backstitch for added durability.
- Keep your stitches even and close together to create a strong and visually appealing repair.
5. Securing the End:
- Once you reach the end of the tear, tie off the thread securely at the back of the fabric.
6. Final Touches:
- Inspect your work, ensuring the seam is tightly sewn and the repair looks neat.
- Trim any excess thread.
- If desired, you can apply a small amount of fabric glue to the back of the seam for added reinforcement.
Tips for a Seamless Repair
- Test Your Thread: Before you begin sewing, test your thread color on a hidden area of the car seat to ensure a perfect match.
- Practice Makes Perfect: If you’re new to sewing, consider practicing your stitching technique on a scrap piece of fabric before tackling your car seat.
- Don’t Overtighten: When stitching, avoid pulling the thread too tight, as this can cause puckering and weaken the repair.
- Patience is Key: Repairing a torn car seat seam requires patience and precision. Take your time and focus on creating a quality repair.
“When repairing car seats, the quality of your thread is just as important as your stitching technique,” advises John Miller, a seasoned automotive upholsterer with over 20 years of experience. “Opt for a heavy-duty upholstery thread that’s specifically designed to withstand wear and tear.”
Conclusion
Repairing a torn seam in your car seat is a manageable DIY project that can save you money and restore the interior of your vehicle. By following these steps and taking your time, you can achieve professional-looking results. Remember, while minor to moderate tears can be tackled at home, if you are unsure about any part of the process, consider seeking assistance from a professional upholsterer to ensure the job is done right. how to repair a seam on a car seat can be tricky, but with the right instructions, you can do it!
“A well-maintained car interior can significantly enhance your driving experience and preserve the value of your vehicle,” adds Miller. “Don’t let minor rips or tears escalate into bigger problems.”
FAQs
1. Can I use regular sewing thread to repair a car seat?
Regular sewing thread is not recommended for car seat repairs. It lacks the strength and durability of upholstery thread and may not hold up to the wear and tear of regular use.
2. How long will the repair last?
With proper care and maintenance, a well-executed repair can last for years.
3. Can I wash my car seats after repairing a tear?
It’s best to avoid harsh cleaning methods on repaired areas. Spot cleaning with a mild cleaner and a soft cloth is recommended.
4. What if the tear is too large to repair myself?
For severe tears or if you’re not comfortable attempting the repair, it’s best to consult a professional automotive upholsterer. Car leather seat repairs can be tricky and often require the help of a professional.
5. Where can I find the right color upholstery thread for my car seat?
Most fabric stores carry a wide variety of upholstery thread colors. You can also check online retailers or automotive upholstery shops. If you’re looking for a specific color match, bringing a small sample of your car seat fabric to the store can be helpful.
Need help with how to repair a leather car seat seam? Check out this guide.
Looking for car leather seat repair cost patches? Look no further.
For more information on how to repair car seat tear check out our comprehensive guide.
Need assistance with car diagnostics or repairs? Contact us via WhatsApp: +1(641)206-8880, Email: [email protected]. Our expert team is available 24/7 to address your automotive needs.


