Torn leather car seats are a common problem for car owners. Not only are they unsightly, but they can also be uncomfortable to sit on and even decrease the value of your car. Fortunately, repairing them yourself is often easier than you think! With the right tools and a little bit of patience, you can have your leather car seats looking like new again.
Why Leather Seats Rip
Before we jump into the repair process, it’s helpful to understand the common culprits behind those pesky tears:
- Wear and Tear: The most frequent cause is simply the passage of time. Regular use, friction from getting in and out, and even sunlight exposure can weaken leather, leading to cracks and tears.
- Sharp Objects: Keys, pens, even children’s toys can easily puncture or scratch leather upholstery.
- Sunlight Exposure: Prolonged exposure to UV rays can dry out leather, making it brittle and prone to cracking.
- Improper Cleaning: Using harsh chemicals or abrasive cleaners can strip leather of its natural oils, making it vulnerable to damage.
Assessing the Damage: DIY or Pro?
Not all tears are created equal. Here’s how to gauge the severity:
- Minor Scratches and Scuffs: These can often be addressed with DIY leather repair kits or even home remedies.
- Small Tears (Less than an inch): These are also good candidates for DIY repair using leather patches or fillers.
- Large Tears or Holes: Extensive damage often requires professional intervention. An experienced upholsterer can provide a seamless and lasting repair.
DIY Repair: A Step-by-Step Guide
For minor to moderate tears, consider these DIY repair methods:
1. Gather Your Supplies
- Leather Repair Kit: Choose a kit that matches your leather’s color and grain.
- Cleaning Solution: Opt for a dedicated leather cleaner or a mild soap solution.
- Microfiber Cloths: For gentle cleaning and application.
- Scissors: For trimming patches or filler material.
- Tweezers: For precise placement of patches.
2. Clean the Affected Area
Thoroughly clean the torn area with a leather cleaner and a microfiber cloth to remove any dirt, debris, or grease. Allow the area to dry completely before proceeding.
3. Apply Leather Filler (If Necessary)
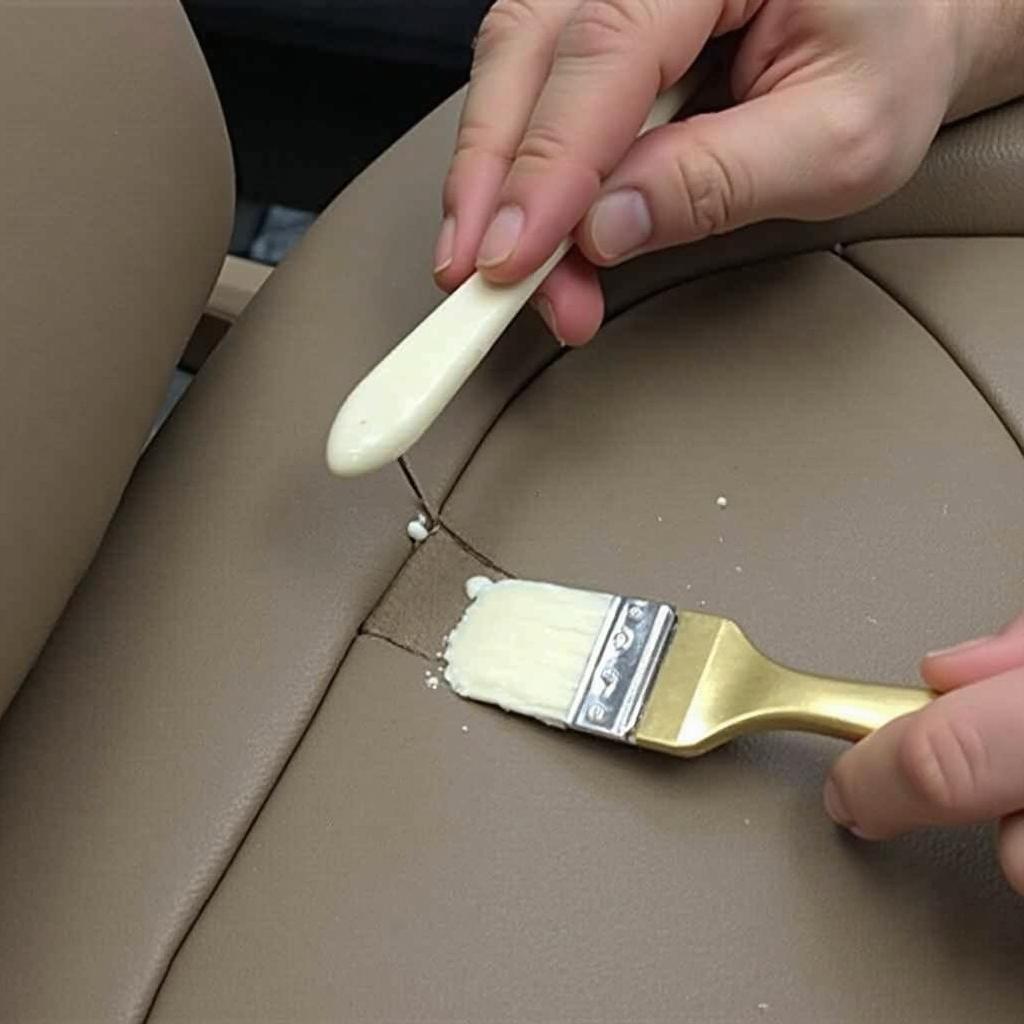
For deeper tears, use a leather filler to level the surface. Apply the filler in thin layers, allowing each layer to dry completely before applying the next.
 Applying Leather Filler to a Car Seat Tear
4. Apply the Leather Patch
If the tear is large enough to require a patch, carefully cut a patch from the repair kit slightly larger than the tear itself. Using tweezers, insert the patch under the tear and ensure it lays flat.
5. Apply Leather Adhesive
Following the instructions provided with your repair kit, apply leather adhesive to the back of the patch and carefully press it onto the underside of the torn leather. Apply even pressure for a minute or two to ensure a strong bond.
6. Apply Colorant and Sealer
Once the adhesive has dried, use the colorant included in your kit to blend the patch with the surrounding leather. Apply thin layers, allowing each layer to dry completely. Finish by applying a leather sealer to protect the repair and restore the leather’s shine.
Professional Repair: When to Call the Experts
For extensive damage or if you’re unsure about DIY methods, seeking professional help is always the best course of action. How can u repair ripped leather car seats? Explore our detailed guide on professional options, including costs and considerations.
Preventing Future Tears: Proactive Care Tips
- Regular Cleaning: Clean your leather seats regularly with a gentle leather cleaner to remove dirt and grime that can cause wear.
- Conditioning: Apply a leather conditioner every few months to keep the leather hydrated and supple, preventing drying and cracking.
- UV Protection: Park your car in the shade or use a sunshade to protect your leather seats from harmful UV rays.
- Seat Covers: Consider using seat covers, especially if you frequently transport pets or cargo that could damage the leather.
Conclusion
Taking care of your leather car seats can extend their lifespan significantly and maintain the overall value of your vehicle. Whether you opt for a DIY approach or seek professional help, addressing tears promptly is crucial. Remember, a little effort can go a long way in preserving the luxurious feel and appearance of your leather interior. How do you repair ripped car seats? Learn more about effective solutions for various car seat dilemmas in our comprehensive guide.
