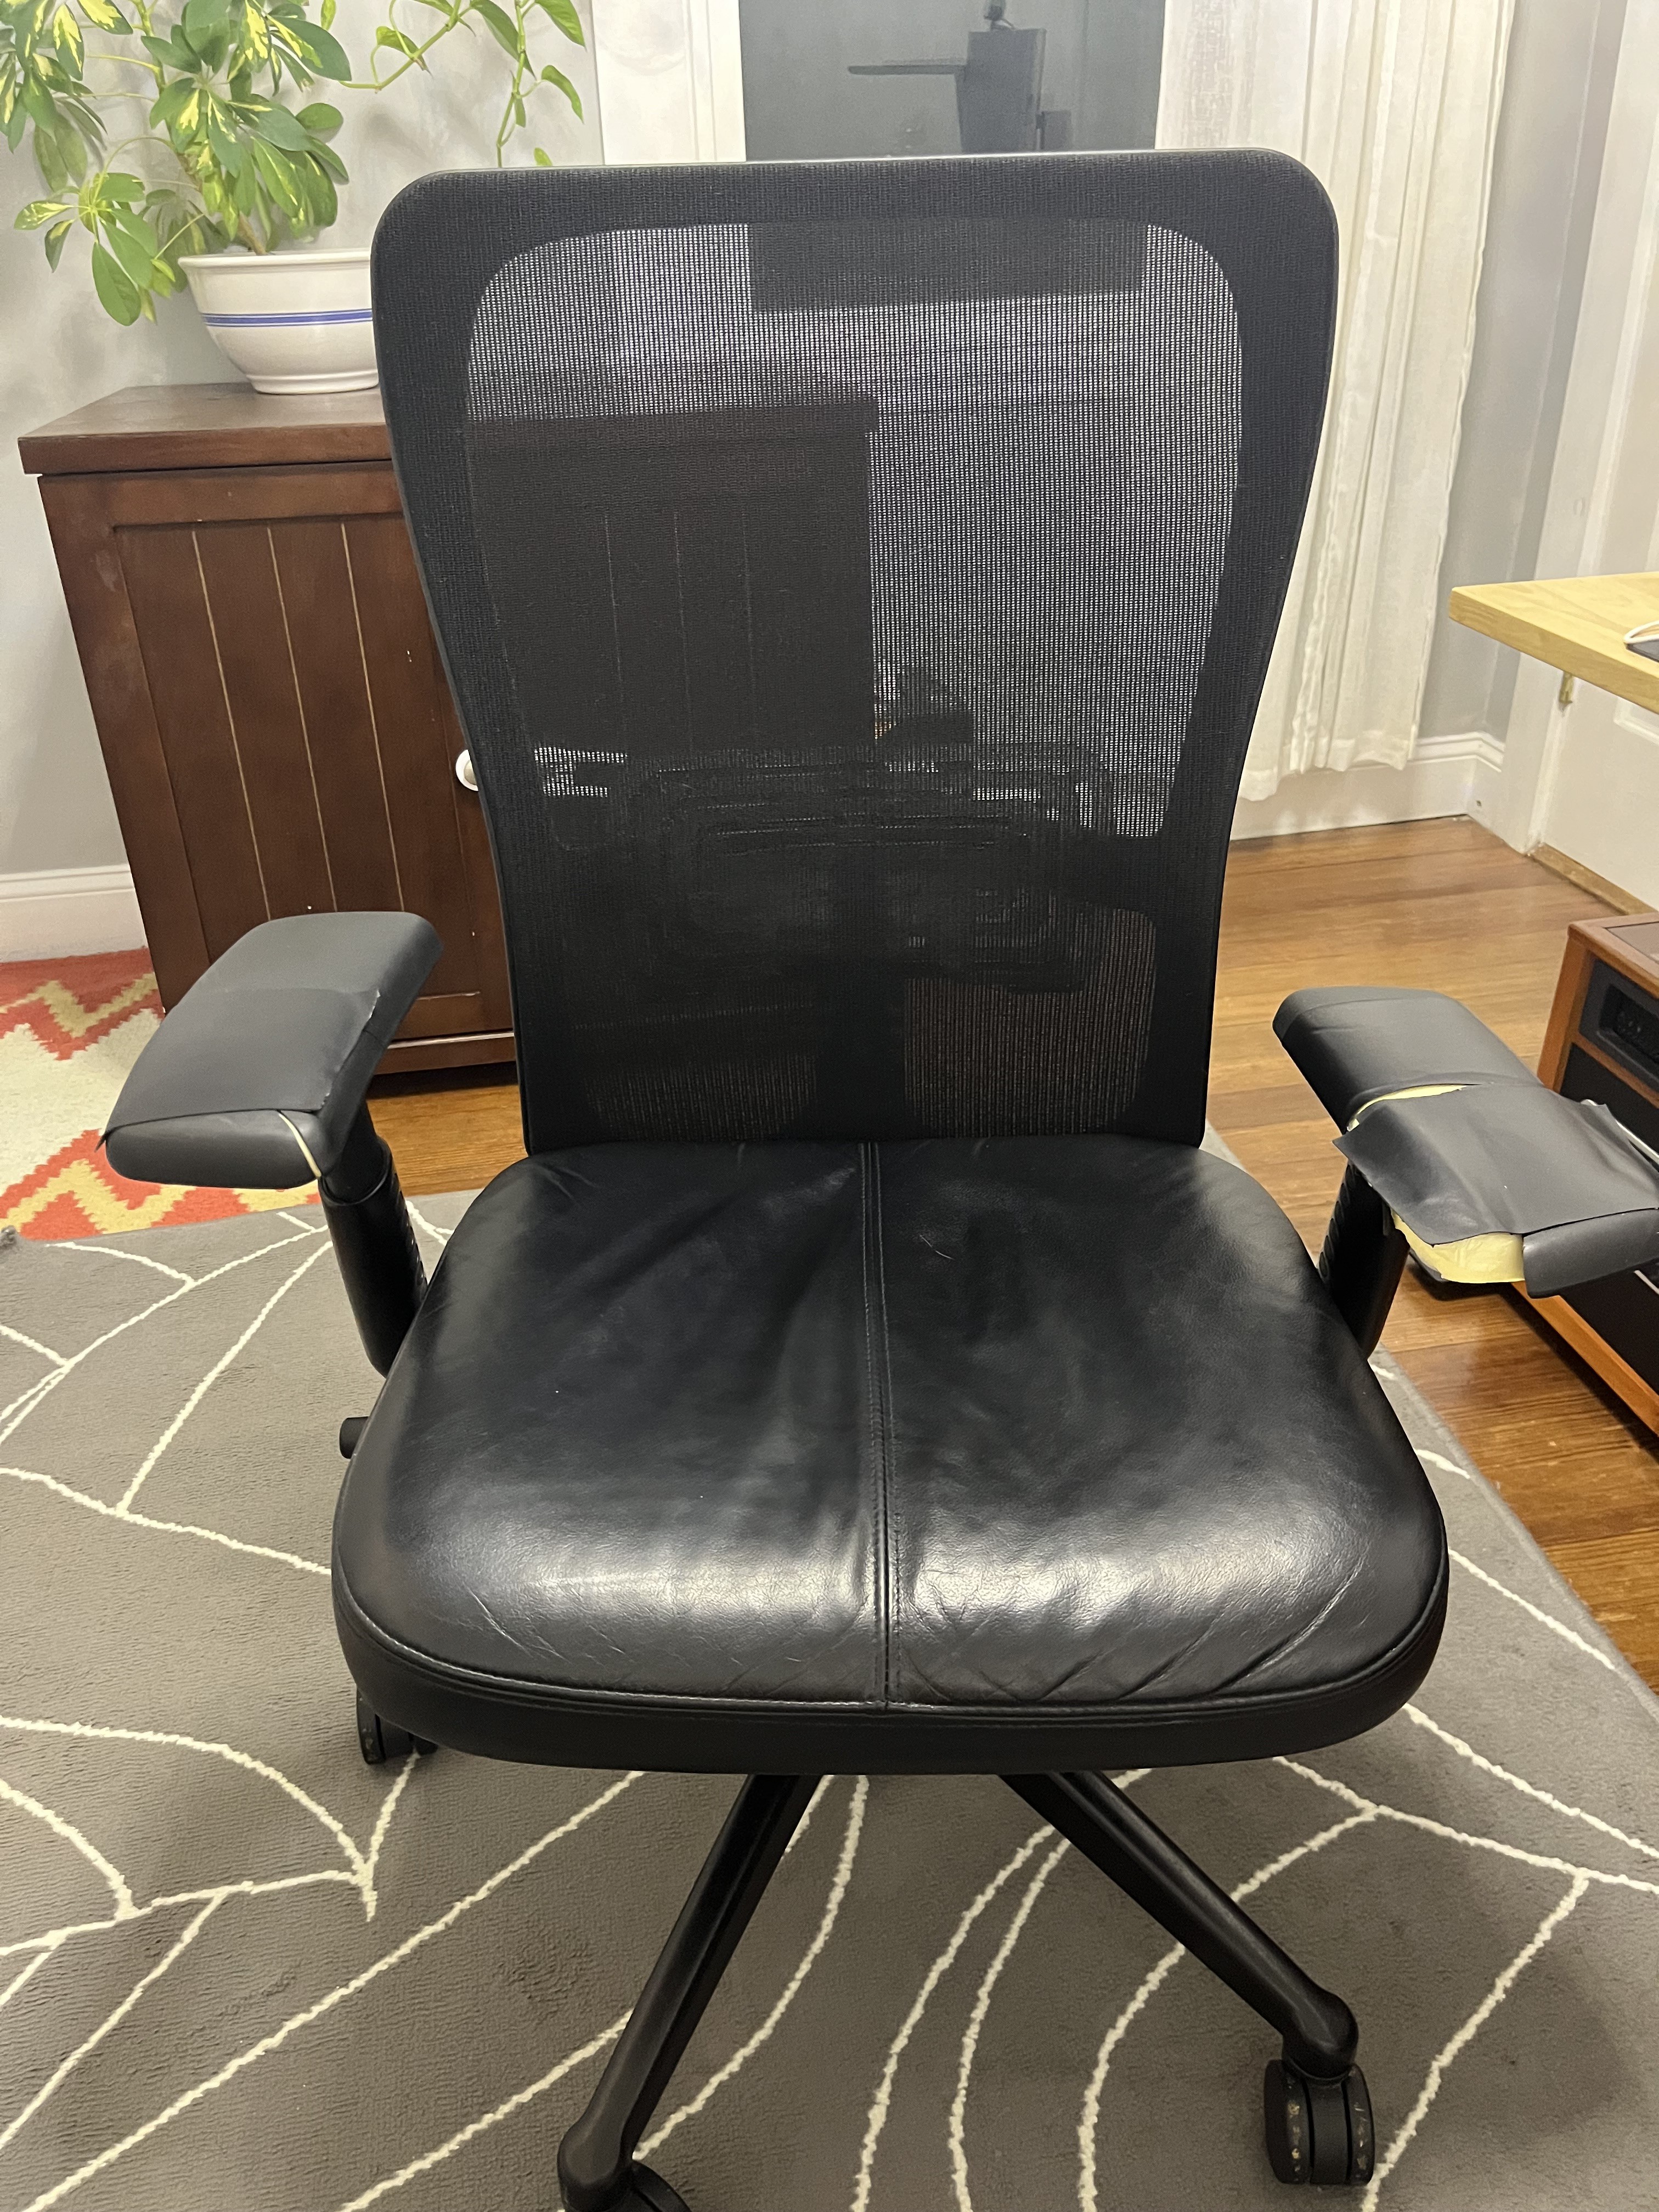
Over time, the leather on car armrests can become worn and torn, detracting from the vehicle’s interior. Instead of expensive replacements, repairing your torn leather armrest is a feasible DIY project. This guide will walk you through the process of how to repair torn leather armrest in your car, saving you money and enhancing your car’s interior.
This repair is straightforward enough for beginners and requires minimal tools. Follow these steps to restore your car’s armrests and give your interior a refreshed look.
Step 1: Removing the Armrest
The first step in how to repair torn leather armrest in car is to detach the armrest from the car seat. Typically, armrests are attached with screws or bolts. Locate the screws, usually found underneath or at the sides of the armrest. Use a screwdriver or wrench to carefully remove them. Once the screws are removed, the armrest should detach easily. Place the detached armrest on a clean workspace.
Step 2: Removing the Old Leather Cover
Next, remove the old, torn leather cover from the armrest. Leather covers are generally secured with staples on the underside of the armrest. Using pliers or a staple remover, carefully pluck out each staple. Take your time to avoid damaging the armrest frame underneath. Once all staples are removed, the old leather cover should come off.
Step 3: Preparing the New Leather
For the replacement leather, consider repurposing materials. A thrift store leather jacket can be an excellent and cost-effective source of leather scraps. Cut pieces of leather from the jacket, ensuring they are large enough to cover the armrest with some overlap for stapling. Position the new leather piece over the armrest to ensure proper size and fit before proceeding to stapling.
Step 4: Stapling the New Leather
Now, it’s time to attach the new leather cover. Stretch the leather tightly over the armrest and begin stapling it to the underside of the armrest frame using a staple gun. Ensure the staple gun is strong enough to penetrate both the leather and the armrest material. Work your way around the armrest, pulling the leather taut as you staple to achieve a smooth, wrinkle-free finish. If needed, redo sections to ensure a snug fit and neat edges, especially around areas that will be visible once re-attached to the car seat.
Step 5: Reattaching the Armrest
Finally, reattach the repaired armrest back onto the car seat using the screws you removed earlier. Ensure the armrest is securely fastened. With the armrest back in place, the imperfections from the stapling process will be less noticeable, resulting in a significantly improved and refreshed car interior.
By following these steps, you can effectively learn how to repair torn leather armrest in car and enjoy a more comfortable and aesthetically pleasing driving experience. This DIY repair not only saves money but also extends the life of your car’s interior components.

