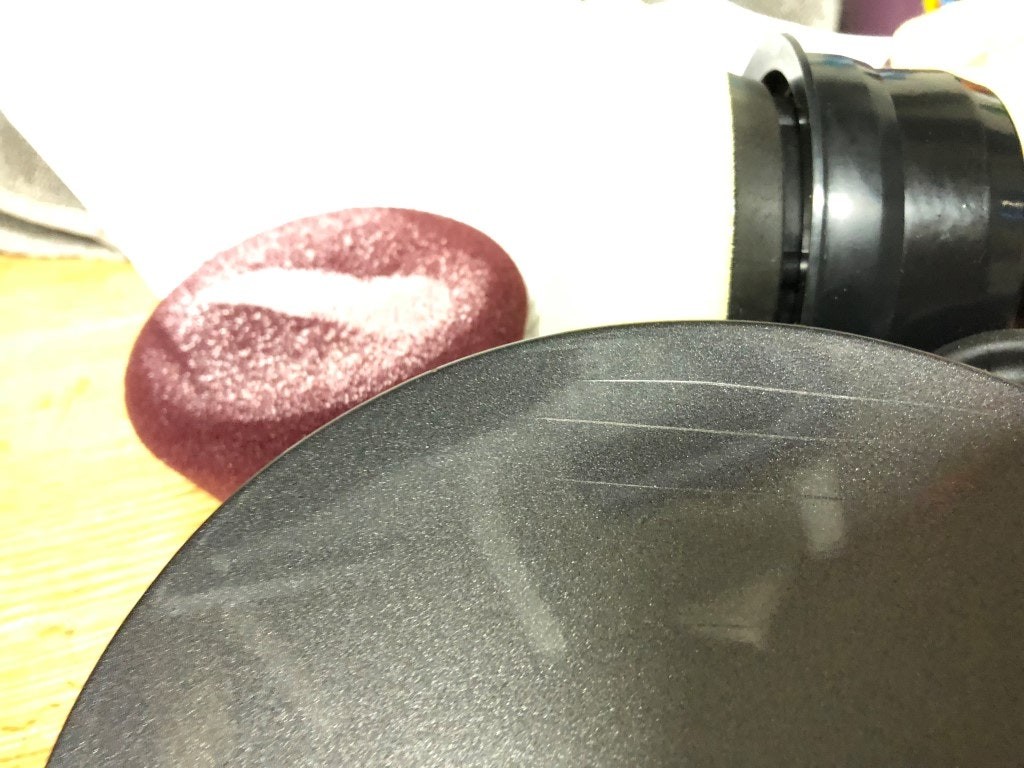
Discovering a scratch on your brand-new car can be disheartening. Even tiny scratches, often barely visible, can detract from your vehicle’s pristine appearance and potentially decrease its resale value over time. Fortunately, repairing these minor blemishes is often a straightforward DIY task that can save you time and money compared to professional body shop repairs. This guide, brought to you by the experts at Car Repair Online, will walk you through the process of repairing tiny scratches on your new car, ensuring your vehicle maintains its showroom shine.
Before diving into more complex solutions, it’s crucial to understand the nature of the scratch you’re dealing with. Tiny scratches, often referred to as surface scratches or swirl marks, typically only affect the clear coat layer of your car’s paint. You can usually identify a clear coat scratch by running your fingernail gently across it. If your nail doesn’t catch, it’s likely a surface scratch that can be easily addressed at home. Deeper scratches that penetrate the color coat or even the primer will require more intensive repair methods, possibly beyond the scope of a simple DIY fix.
For these minor clear coat imperfections, polishing compounds are your best friend. These products contain mild abrasives that gently level out the edges of the scratch, making it disappear or become virtually invisible. Unlike harsher rubbing compounds designed for deeper damage, polishing compounds are specifically formulated for light scratch removal and are safe for use on new car finishes.
Tools and Materials You’ll Need:
- Car Wash Soap and Water: Essential for cleaning the area before and after repair.
- Microfiber Towels (Two or more): Soft cloths for washing, drying, applying compound, and buffing.
- Polishing Compound: Choose a high-quality polishing compound designed for scratch removal. Products like Meguiar’s Ultimate Polish or Turtle Wax Polishing Compound are good options for light scratches.
- Applicator Pad or Soft Cloth: For applying the polishing compound.
- Optional: Detailing Spray or Quick Wax: To enhance shine and protection after scratch removal.
Step-by-Step Guide to Repairing Tiny Scratches:
-
Wash and Dry the Area: Thoroughly clean the scratched area and the surrounding paint with car wash soap and water. Rinse well and dry completely with a clean microfiber towel. This removes any dirt or debris that could further scratch the paint during the repair process.
-
Apply Polishing Compound: Apply a small amount of polishing compound to a clean applicator pad or microfiber cloth. A pea-sized drop is usually sufficient for a small scratch.
-
Work the Compound into the Scratch: Using gentle to moderate pressure, rub the polishing compound into the scratch using circular or back-and-forth motions. Work in a small area, focusing directly on the scratch. Continue this for a minute or two. You should notice the compound becoming less visible as you work.
-
Buff Away Residue: Using a clean, dry microfiber towel, buff away the excess polishing compound in the same circular or back-and-forth motion. Inspect the area to see if the scratch has been removed or significantly reduced.
-
Repeat if Necessary: For slightly more stubborn scratches, you may need to repeat steps 2-4. However, avoid excessive rubbing in one area, as this could potentially damage the clear coat.
-
Clean and Protect: Once you are satisfied with the scratch removal, clean the area again with a quick detailer spray or car wash soap to remove any remaining residue. For added protection and shine, you can apply a coat of wax or sealant to the repaired area.
When to Seek Professional Help:
While polishing compounds are effective for tiny scratches, deeper scratches that reach the base coat or primer will require more advanced techniques. If the scratch is deep enough to catch your fingernail, or if polishing compound doesn’t improve its appearance, it’s best to consult with a professional auto detailer or body shop. They have the expertise and tools to handle more complex paint repairs, including wet sanding, filling, and repainting if necessary. Attempting to fix deep scratches yourself without proper knowledge can lead to further damage and more costly repairs in the long run.
Maintaining Your Car’s Finish:
Prevention is always better than cure. To minimize the occurrence of tiny scratches on your new car, consider these preventative measures:
- Regular Washing: Wash your car regularly to remove dirt and grime that can cause scratches when rubbed against the paint.
- Proper Washing Technique: Use the two-bucket wash method and soft microfiber wash mitts to avoid swirl marks and scratches during washing.
- Quality Wax or Sealant: Apply a quality wax or paint sealant regularly to protect the clear coat from minor abrasions and environmental contaminants.
- Careful Parking: Be mindful of where you park your car, avoiding tight spaces and areas where your car might be exposed to brushes or other objects that could cause scratches.
Repairing tiny scratches on your new car is a simple yet rewarding DIY task. By following these steps and using the right products, you can keep your car looking its best and maintain its value. For more car care tips and advanced repair guides, explore Car Repair Online – your trusted resource for automotive expertise.

