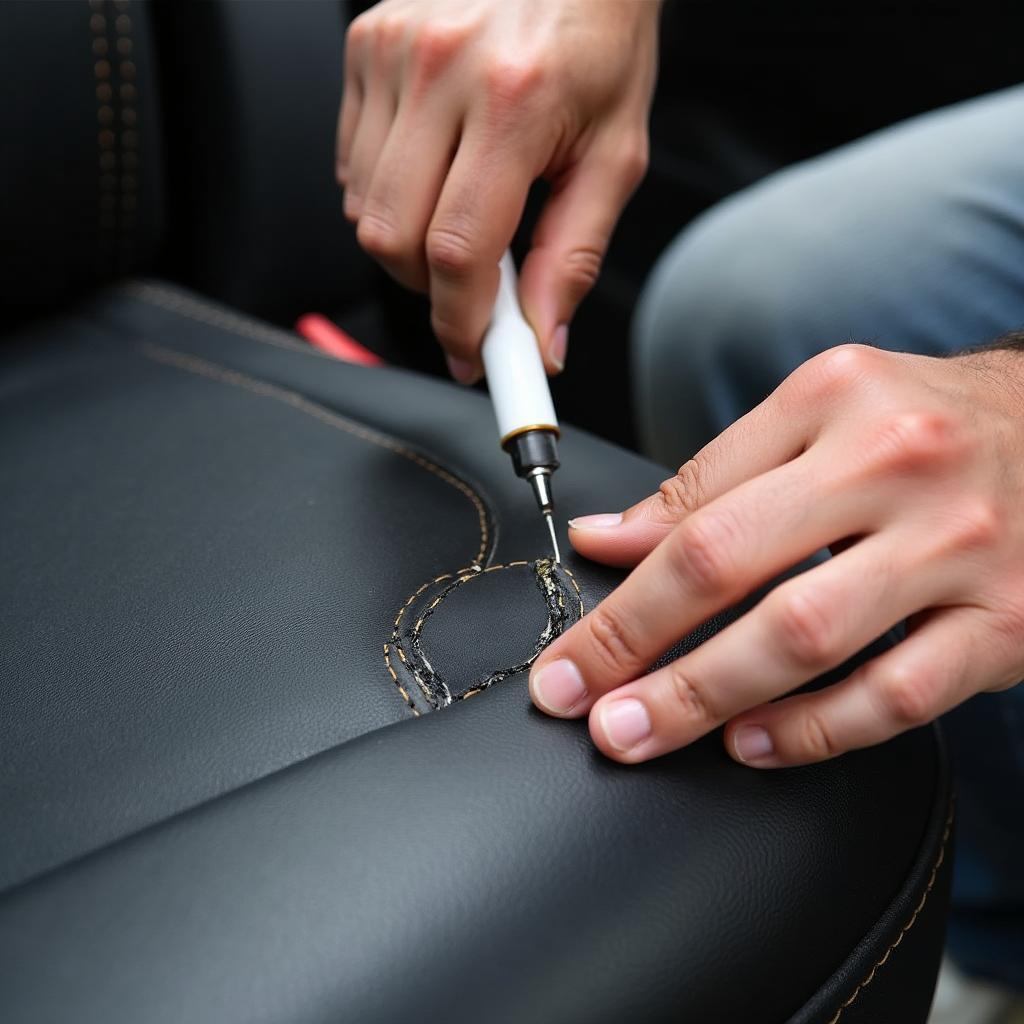
A tear in your vinyl car seat can be an eyesore and even impact the resale value of your vehicle. Luckily, with the right materials and a bit of patience, you can often repair minor to moderate vinyl damage yourself and avoid costly repairs. This guide will walk you through the steps to effectively patch a tear in your vinyl car seat and restore its appearance.
Assessing the Damage and Gathering Your Supplies
Before you begin, it’s important to assess the severity of the tear. While minor tears and punctures are usually manageable with a DIY approach, larger gashes or extensive damage may require professional upholstery repair.
Here’s what you’ll need to repair a tear in your vinyl car seat:
- Vinyl Repair Kit: These kits are widely available online and at auto parts stores. Opt for a kit that matches the color of your car seat as closely as possible.
- Scissors
- Clean Cloth
- Rubbing Alcohol
- Soft-bristled Brush
- Hair Dryer (optional)
Step-by-Step Guide to Repairing a Vinyl Car Seat Tear
1. Clean the Area: Thoroughly clean the area around the tear using a clean cloth and rubbing alcohol. This removes any dirt, grime, or debris that could interfere with adhesion. Allow the area to dry completely.
2. Prepare the Vinyl Patch: If your repair kit includes a vinyl patch, cut it to a size slightly larger than the tear, ensuring it covers the entire damaged area with some overlap.
3. Apply the Adhesive: Following the instructions provided with your repair kit, apply a thin layer of adhesive to the back of the vinyl patch and around the tear on the car seat itself.
4. Position the Patch: Carefully align the vinyl patch over the tear and press it firmly into place. Use your fingers to smooth out any wrinkles or air bubbles from the center outward.
5. Apply Heat (Optional): If your repair kit recommends using heat, use a hairdryer on a low setting to gently heat the patch and surrounding area. This can help activate the adhesive and create a stronger bond.
6. Allow to Dry: Let the adhesive cure completely as directed by the manufacturer. This usually takes between 24 to 48 hours. Avoid using the car seat during this time to prevent disturbing the patch.
7. Blend and Finish: Once the adhesive is dry, examine the repair. You can use a soft-bristled brush to gently blend the edges of the patch with the surrounding vinyl. If desired, you can apply a vinyl protectant to the entire seat to restore its shine and protect it from future wear and tear.
When to Seek Professional Help
While minor tears in vinyl car seats are often manageable with DIY repair kits, larger tears or tears in areas that experience significant stress may require professional attention. Here are a few scenarios where it’s best to consult a professional upholsterer:
- Large Tears: Tears larger than a few inches in length or width can be difficult to repair effectively with a DIY kit.
- Tears in High-Stress Areas: Tears located in areas that experience frequent friction, such as the driver’s seat or armrest, may require specialized reinforcement techniques.
- Extensive Damage: If the damage to your car seat extends beyond a single tear, such as deep scratches, burns, or widespread cracking, professional repair is likely necessary.
Preventing Future Tears
Taking a few preventative measures can help protect your vinyl car seats and minimize the risk of future tears.
- Regular Cleaning: Frequent cleaning with a mild vinyl cleaner and a soft-bristled brush can help prevent dirt and grime from embedding in the material and causing wear.
- Conditioning: Using a vinyl conditioner periodically can help keep the material supple and less prone to cracking or tearing.
- Protective Covers: Consider using seat covers, especially if you frequently transport pets, children, or cargo.
By following these steps and taking preventative measures, you can maintain the appearance of your vinyl car seats and extend their lifespan. Remember, while a DIY approach can be effective for minor repairs, seeking professional help is always recommended for significant damage or if you’re unsure about tackling the repair yourself.


