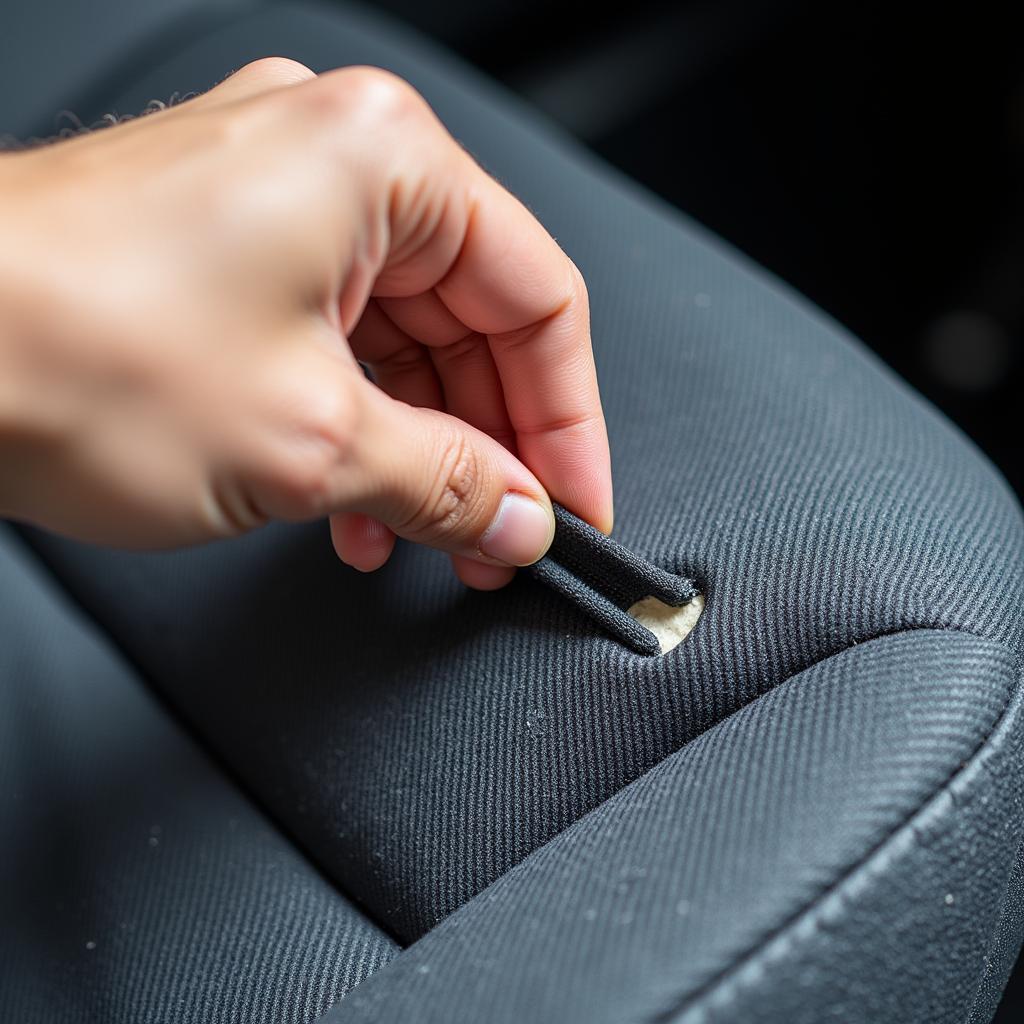
A tear in your cloth car seat can be an eyesore and detract from the overall look of your vehicle’s interior. But before you rush to a car upholstery shop, know that you can often fix minor tears yourself with a bit of patience and the right materials. This guide will teach you everything you need to know about how to repair a tear in a cloth car seat, from assessing the damage to achieving a seamless finish.
Assessing the Damage: Is a DIY Fix Right for You?
Not all tears are created equal. Before you gather your materials, it’s crucial to determine if your car seat tear is a DIY candidate. Small to medium-sized tears, those that are clean and haven’t significantly frayed the fabric, are usually repairable at home. However, large tears, those involving complex seam damage, or those with extensive fraying, might require professional attention.
Gathering Your Supplies: The Right Tools for the Job
Having the correct supplies on hand can mean the difference between a botched repair and a professional-looking finish. Here’s what you’ll need:
- Car Upholstery Repair Kit: These kits are readily available online or at auto parts stores and contain essential items like patching fabric, adhesive, and a color matching guide.
- Scissors: A sharp pair of scissors is vital for trimming any loose threads and cutting your patch to size.
- Tweezers: These are handy for tucking in the edges of the patch and removing any stray threads.
- Cleaning Cloth: A clean, lint-free cloth is essential for cleaning the area around the tear before applying any adhesive.
- Water: A small bowl of water will be helpful for dampening the cleaning cloth.
Step-by-Step Guide: How to Repair That Tear
Follow these steps to fix a tear in your cloth car seat:
-
Clean the Area: Start by using a clean, damp cloth to gently clean the area around the tear. This will remove any dirt or debris that could interfere with the adhesive. Allow the area to dry completely.
-
Prepare the Patch: If your repair kit includes a pre-cut patch, skip to step three. If not, use the provided fabric to cut a patch slightly larger than the tear on all sides.
-
Apply Adhesive: Following the instructions provided with your repair kit, carefully apply a thin layer of adhesive to the back of the patch.
-
Position the Patch: Align the patch carefully over the tear, ensuring it covers the entire damaged area. Press down firmly on the patch, applying even pressure for a minute or two to ensure a strong bond.
-
Tuck and Trim: Use your tweezers to carefully tuck the edges of the patch under the edges of the tear, creating a smooth and flush finish. If necessary, use your scissors to trim any excess patch material.
-
Let It Dry: Allow the adhesive to dry completely according to the manufacturer’s instructions. This usually takes between 24-48 hours.
-
Enjoy Your Repaired Seat!: Once the adhesive has cured, your cloth car seat tear is repaired, and you can enjoy your vehicle’s refreshed interior.
Tips for a Seamless Repair: Achieve a Professional Look
Want to elevate your repair job? Follow these tips:
-
Color Matching is Key: Carefully select a patch or repair kit that closely matches the color and texture of your car’s upholstery for a seamless blend.
-
Less is More: When it comes to adhesive, less is often more. A thin, even layer is all that’s needed to create a strong bond and avoid unsightly residue.
-
Practice Makes Perfect: If you’re working with a complex tear or a delicate fabric, consider practicing your technique on a scrap piece of fabric first.
“A stitch in time saves nine.”
As a seasoned car repair expert, I often see car owners neglecting minor wear and tear, which eventually leads to costly repairs. Addressing a small tear promptly is always easier and more affordable than fixing a larger problem down the road.
FAQ: Your Cloth Car Seat Repair Questions Answered
Q: Can I use superglue to repair a tear in my cloth car seat?
A: While it might be tempting, using superglue is not recommended. Superglue can create a stiff, noticeable repair and can damage the fabric further.
Q: Can I wash my car seats after repairing a tear?
A: It’s best to avoid getting the repaired area excessively wet for at least a week after the repair. After that, you can spot-clean the area gently with a mild upholstery cleaner.
Q: My car seat has a burn hole. Can I repair that using these methods?
A: While you can use a patch to cover a burn hole, it’s often more noticeable than a simple tear repair. For best results, consider seeking professional upholstery repair for burn holes.
Need More Help? We’re Just a Message Away!
If you have a more complex car seat tear or aren’t confident tackling the repair yourself, don’t hesitate to reach out. Our team of car repair experts is available 24/7 to answer your questions and provide guidance. Contact us via WhatsApp at +1(641)206-8880 or email us at cardiagtechworkshop@gmail.com. We’re here to help you get back on the road with a smile!


