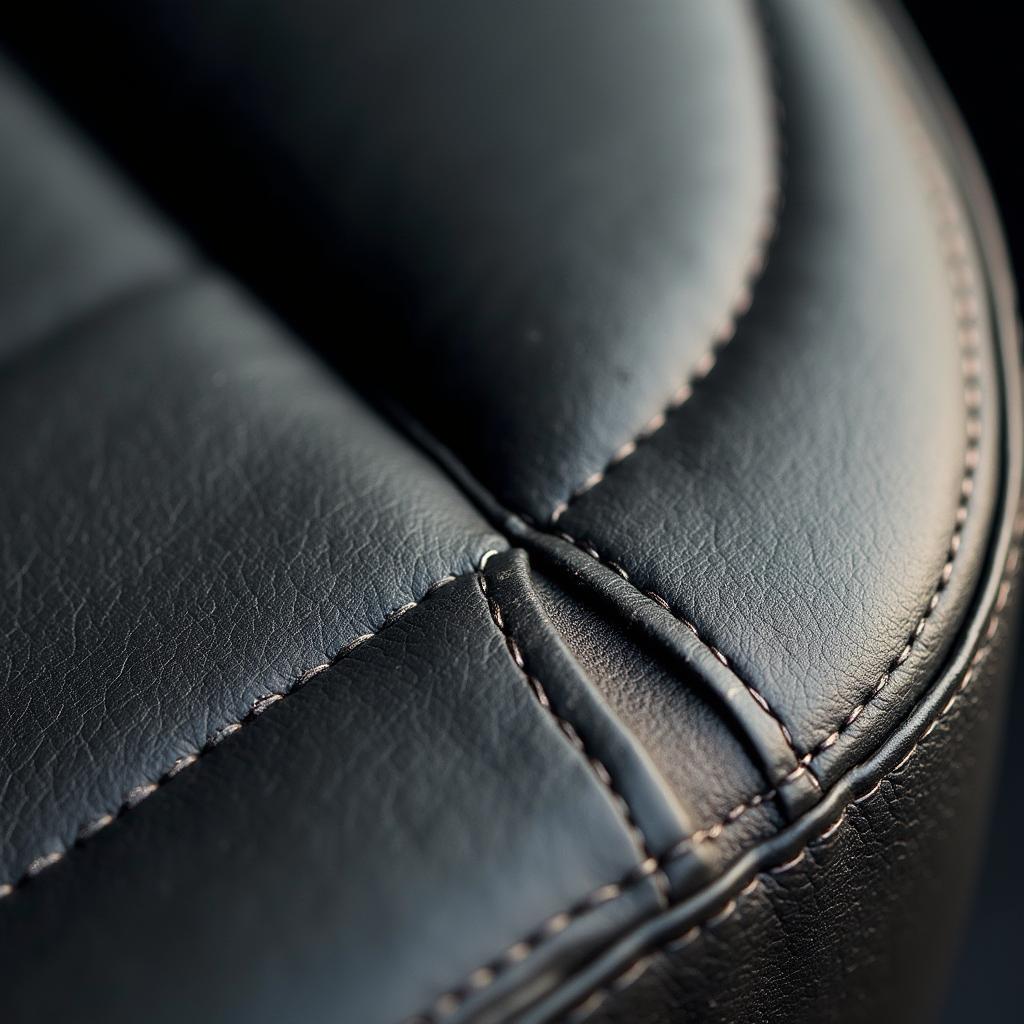
A small tear in your vinyl car seat can be an eyesore and, if left untreated, can quickly grow into a bigger problem. Luckily, fixing a minor tear is a manageable DIY project that can save you the cost of professional repair. This comprehensive guide will walk you through the steps on how to repair a small tear in a vinyl car seat and restore it to its former glory.
Understanding Vinyl Repair
Before diving into the repair process, it’s helpful to understand the basics of vinyl and how tears happen. Vinyl is a durable material, but it’s not immune to wear and tear. Sharp objects, friction from sliding in and out of the seat, and even prolonged exposure to sunlight can weaken the material and lead to tears.
Materials You’ll Need
Gather the following materials before starting the repair:
- Vinyl Repair Kit: These kits are widely available online or at auto parts stores and typically contain a vinyl patch, adhesive, color matching compound, and application tools. Choose a kit that closely matches the color and texture of your car seat.
- Cleaning Solution: Use a mild soap solution or a dedicated vinyl cleaner to remove dirt and grime from the area around the tear.
- Microfiber Cloth: This will be used for cleaning and drying the vinyl surface.
- Scissors: Sharp scissors are necessary for trimming the vinyl patch to the desired size and shape.
- Masking Tape: Use masking tape to protect the surrounding area of the seat during the repair process.
- Hair Dryer (Optional): A hairdryer can be helpful for speeding up the drying time of the adhesive.
Step-by-Step Guide to Repairing the Tear
Follow these steps to effectively repair the tear in your vinyl car seat:
-
Clean the Area: Thoroughly clean the area around the tear with the cleaning solution and microfiber cloth. This ensures proper adhesion of the vinyl patch.
-
Prepare the Patch: Cut the vinyl patch from the repair kit to a size slightly larger than the tear, ensuring it covers the damaged area completely.
-
Apply Adhesive: Apply a thin layer of adhesive to the back of the vinyl patch and carefully align it over the tear. Use firm and even pressure to ensure proper bonding.
-
Remove Air Bubbles: Gently smooth out any air bubbles trapped beneath the patch using your fingers or a credit card. Work from the center outward for best results.
-
Apply Heat (Optional): If using a hairdryer, apply gentle heat to the patch for a few seconds to accelerate the drying process of the adhesive. Be careful not to overheat the vinyl.
-
Apply Color Matching Compound: If your repair kit includes a color matching compound, apply a small amount to the repaired area to blend the patch seamlessly with the surrounding vinyl. Follow the instructions provided in your kit for best results.
-
Let it Dry: Allow the adhesive and color matching compound to dry completely before using the car seat. Refer to the drying times recommended in your repair kit instructions.
Tips for a Seamless Repair
- Practice Makes Perfect: If this is your first time repairing vinyl, consider practicing on a hidden area of the seat or a similar piece of vinyl before tackling the visible tear.
- Trim Carefully: When trimming the vinyl patch, err on the side of caution and trim it slightly smaller. You can always trim more if needed.
- Work in a Well-Ventilated Area: Adhesives and color matching compounds often emit fumes. Work outdoors or in a well-ventilated area to avoid inhaling fumes.
- Consider Professional Repair for Larger Tears: While small tears are manageable DIY projects, extensive damage or tears in high-stress areas might require professional repair.
Preventing Future Tears
Here are some proactive measures to protect your vinyl car seats and prevent future tears:
- Use Seat Covers: Seat covers act as a protective barrier against everyday wear and tear.
- Avoid Sharp Objects: Be mindful of sharp objects like keys, tools, or toys that can scratch or puncture the vinyl.
- Regular Cleaning: Regularly clean your car seats with a dedicated vinyl cleaner to prevent dirt and grime from weakening the material.
Repairing a small tear in your vinyl car seat is an achievable task that can restore your car’s interior and prevent further damage. By following these steps and employing preventive measures, you can keep your vinyl car seats looking their best for years to come.
If you are unsure about tackling this repair yourself, don’t hesitate to seek help from a professional.
Need help with a more complex car seat repair? Check out these resources:
- How to repair brown leather car seat
- How to repair a ripped Acadia car seat
- How to repair rips in cloth car seats
Need immediate assistance? Contact us via WhatsApp: +1(641)206-8880, Email: [email protected]. Our team is available 24/7 to answer your questions.


