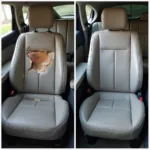
A small tear in your car’s leather seat can be a real eyesore. But don’t worry, it doesn’t necessarily mean an expensive trip to the auto upholsterer. With the right approach, you can often repair minor leather tears yourself and restore your car’s interior to its former glory. This guide will walk you through the steps on how to repair a small tear in a car leather seat, empowering you to tackle this common issue with confidence.
Understanding Leather Tears
Before you begin the repair, it’s essential to assess the damage. The approach you take will depend on the severity of the tear.
- Small Tears: These are usually surface-level tears that haven’t penetrated the leather’s backing. They can often be repaired using leather filler and adhesive.
- Large Tears: Larger tears require a more involved approach, potentially involving patching and professional repair.
This guide primarily focuses on repairing small tears in your car’s leather seats. If you’re dealing with a large tear or are unsure about the repair process, it’s always best to consult with a professional auto upholsterer.
Materials You’ll Need
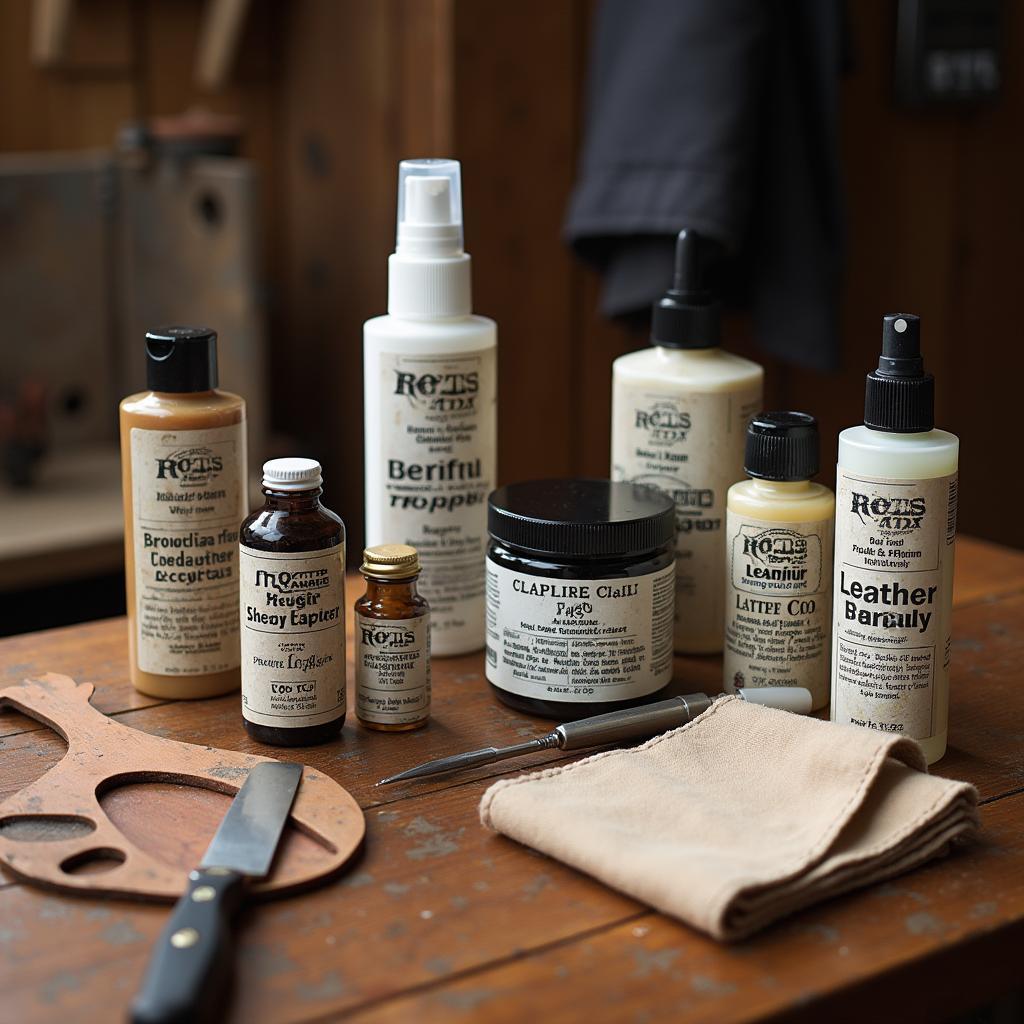
Gathering the right materials is crucial for a successful repair. Here’s what you’ll need:
- Leather Cleaner: A dedicated leather cleaner will help remove dirt and grime from the damaged area, ensuring proper adhesion of the repair materials.
- Leather Filler: Leather filler is a paste-like substance that fills in the tear, creating a smooth surface. Choose a filler that matches your leather’s color.
- Leather Adhesive: A strong leather adhesive is essential for bonding the torn edges together and securing the leather filler.
- Palette Knife: A palette knife will help apply the leather filler evenly and smoothly.
- Clean Cloth: Use a clean, lint-free cloth to wipe away excess cleaner, adhesive, or filler.
- Leather Conditioner: After the repair, a leather conditioner will help moisturize the leather and prevent future cracking.
Steps to Repair the Tear
Now that you have your materials ready, let’s dive into the step-by-step process of repairing the tear in your car’s leather seat:
-
Clean the Area: Start by cleaning the torn area and the surrounding leather with a dedicated leather cleaner. This step removes dirt, dust, and oils that could hinder the adhesion of the repair materials.
-
Assess the Tear: Carefully inspect the tear to determine if any loose fibers or frayed edges need attention. If necessary, you can use a pair of sharp scissors to carefully trim away any loose bits, creating a clean edge for the repair.
-
Apply Leather Adhesive (If Necessary): If the tear has caused the leather to separate, apply a thin layer of leather adhesive to the backside of the torn edges. Carefully align and press the edges together, holding them in place for the adhesive’s recommended drying time.
-
Fill the Tear: Using the palette knife, apply a small amount of leather filler to the tear. Overfilling slightly is recommended as the filler will shrink as it dries. Ensure the filler is evenly distributed, filling the tear completely.
-
Remove Excess Filler: With the edge of the palette knife held at a slight angle, gently scrape away any excess filler, ensuring a smooth and level surface.
-
Drying and Sanding (If Necessary): Allow the leather filler to dry completely according to the manufacturer’s instructions. If needed, you can lightly sand the area with fine-grit sandpaper to create a seamless blend with the surrounding leather.
-
Apply Leather Conditioner: Once the repair is dry and smooth, apply a high-quality leather conditioner to the entire seat. This step helps moisturize the leather and protect it from future wear and tear.
Tips for a Seamless Repair
- Matching Color: Choose a leather filler that closely matches the color of your car’s leather seats. If you’re unsure, it’s always best to err on the side of a slightly lighter shade.
- Testing in a Hidden Area: Before applying any product to the visible area of your car seat, test it in a hidden spot to ensure color compatibility and adhesion.
- Patience is Key: Allow ample drying time between each step to ensure a successful and long-lasting repair.
- Professional Help: If you’re uncomfortable with the DIY approach or dealing with a larger, more complex tear, don’t hesitate to seek professional help from an auto upholsterer. They have the expertise and tools to handle more challenging leather repairs.
By following these steps and tips, you can effectively repair a small tear in your car’s leather seat, saving yourself money and restoring your car’s interior to its former glory. Remember, a little patience and attention to detail can go a long way in maintaining the pristine look and feel of your car’s leather upholstery.
FAQs
Q: Can I use super glue to repair a leather tear?
While super glue might seem like a quick fix, it’s not recommended for leather repair. Super glue can create a rigid bond that will likely crack over time, especially with the flexibility of car seats. It’s best to use a dedicated leather adhesive designed for this purpose.
Q: How long does it take for the leather filler to dry?
Drying times vary depending on the type of leather filler used and the environmental conditions. Always refer to the manufacturer’s instructions for the specific drying time. Generally, it’s best to allow at least 24 hours for the filler to cure completely.
Q: My car seat has a deep scratch. Can I use this method to repair it?
While the steps outlined in this guide are effective for repairing small tears, deep scratches might require a different approach. If you’re dealing with a deep scratch, it’s best to consult with a professional auto upholsterer to determine the most appropriate repair method.
Q: Can I prevent future tears in my leather car seats?
Regular cleaning and conditioning of your leather car seats can help prevent drying, cracking, and tearing. Additionally, using seat covers or being mindful of sharp objects can help protect your leather seats from damage.
Q: I’m not confident in my DIY skills. Are there other options besides professional repair?
If you’re not comfortable attempting the repair yourself, several reputable companies offer mobile leather repair services. They can come to your location and repair the tear professionally, often at a more affordable price than taking your car to an upholstery shop.
Explore More Car Leather Repair Tips
- How to Repair a Ripped Car Leather Seat
- How to Repair a Leather Car Seat Scratch
- Do Car Seat Repair Kits Work?
- How to Repair Cracked Car Seat Leather
- How to Repair a Small Tear in Leather Car Seat
Remember, keeping your car’s interior looking its best enhances your driving experience and preserves the value of your vehicle. With the right knowledge and a bit of effort, you can tackle common leather repairs like a pro.


