Discovering a cut in your leather car seat can be disheartening. It’s a blemish on the otherwise pristine interior and can even impact the resale value of your car. Fortunately, a small cut in a leather car seat isn’t the end of the world. With the right techniques and a bit of patience, you can repair the damage yourself and restore your car’s interior to its former glory. This guide will walk you through the process step-by-step, providing you with all the information you need to tackle this common car interior repair.
Assessing the Damage: What You’ll Need to Get Started
Before you begin the repair process, it’s essential to assess the severity of the cut. A minor cut, such as a scratch or a small nick, can often be addressed with simple DIY methods. However, for larger tears or deep cuts that expose the underlying foam, seeking professional help from an upholstery specialist might be necessary.
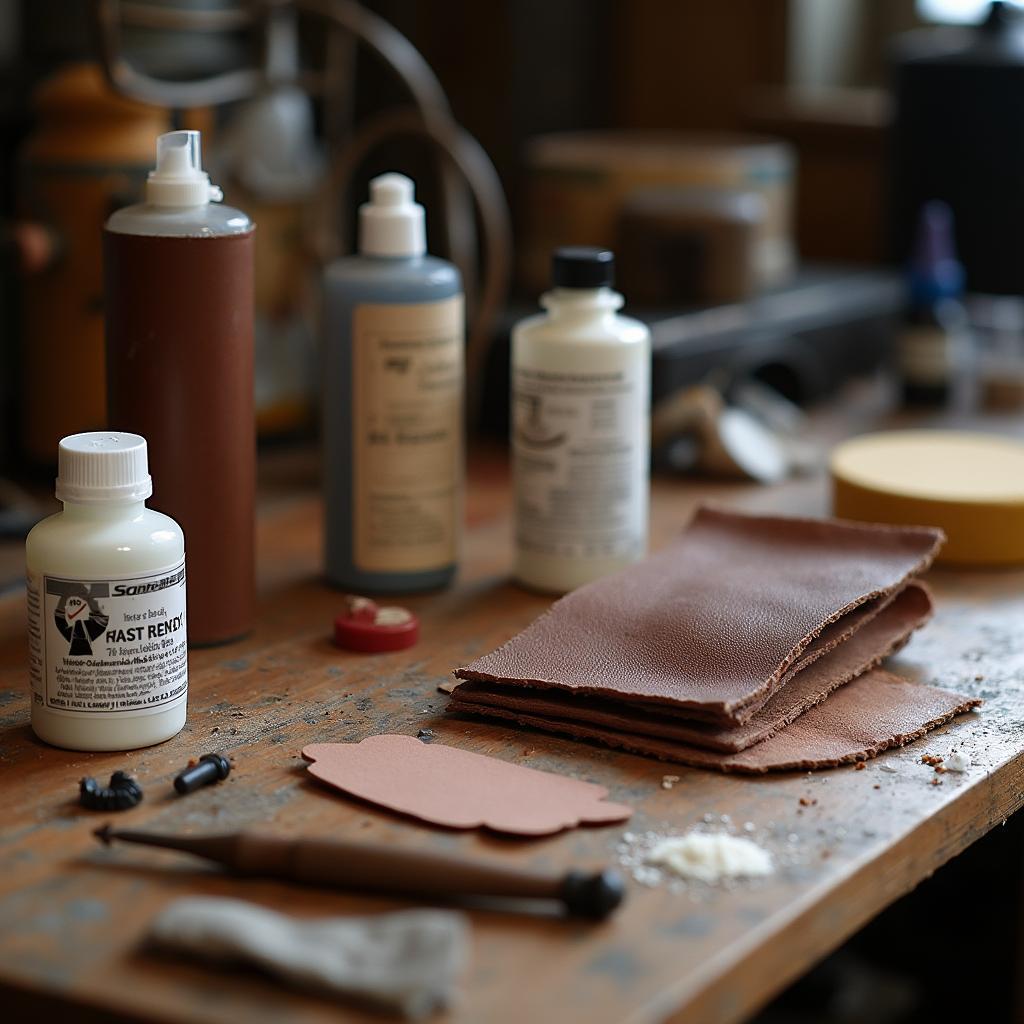
For this guide, we’ll focus on repairing a small cut in a leather car seat. Here are the materials you’ll need:
- Leather cleaner and conditioner
- Soft cloths
- Leather filler compound
- Palette knife or similar tool
- Fine-grit sandpaper (400-600 grit)
- Leather dye (matching your seat color)
- Leather sealant
Step-by-Step Guide to Repairing a Small Cut in Your Leather Car Seat
Follow these steps to effectively repair a small cut in your leather car seat:
- Clean the Area: Begin by thoroughly cleaning the damaged area and its surroundings with a leather cleaner. This removes dirt, grime, and any residues that might interfere with the repair process. Use a soft cloth and gentle circular motions to avoid further damaging the leather.
- Apply Leather Filler: Once the area is clean and dry, apply a small amount of leather filler compound to the cut. Using a palette knife or a similar tool, carefully work the filler into the cut, ensuring it fills the gap completely. Remove any excess filler with the edge of the palette knife, creating a smooth and even surface.
- Let it Dry: Allow the leather filler to dry completely according to the manufacturer’s instructions. This usually takes a few hours.
- Sand the Area: After the filler dries, gently sand the repaired area with fine-grit sandpaper. This creates a seamless transition between the repaired area and the surrounding leather.
- Apply Leather Dye: Using a soft cloth or an applicator sponge, carefully apply thin coats of leather dye to the repaired area. It’s crucial to choose a dye that closely matches your car seat’s color for a seamless repair. Allow each coat of dye to dry completely before applying the next.
- Seal the Repair: Once the dye is dry, apply a leather sealant to the repaired area. This helps protect the repair, prevents future damage, and restores the leather’s natural sheen.
Pro Tips for a Flawless Finish
- Test the Dye: Before applying leather dye to the repaired area, test it on a hidden part of the car seat to ensure a perfect color match.
- Work in Thin Layers: Applying thin layers of both leather filler and dye helps achieve a smoother and more professional-looking finish.
- Be Patient: Rushing the drying process or applying thick layers can lead to an uneven and less durable repair.
“Leather repair requires patience and attention to detail,” says John Smith, a seasoned automotive upholstery specialist. “Taking your time with each step, from cleaning to sealing, ensures a long-lasting and visually appealing repair.”
Preventing Future Damage
While a well-executed repair can effectively address a small cut in your leather car seat, preventing future damage is always a good idea. Here are a few tips:
- Regular Cleaning: Regularly clean your leather car seats with a leather cleaner and conditioner. This helps prevent dirt and grime from building up and potentially causing damage.
- Protective Measures: Consider using seat covers or placing a blanket on your leather seats to protect them from spills, scratches, and UV damage, especially if you frequently transport pets or cargo.
- Careful Entry and Exit: Be mindful of sharp objects, such as keys, tools, or belt buckles, when entering and exiting your vehicle to avoid accidental cuts or scratches.
Conclusion
Repairing a small cut in a leather car seat is an achievable DIY project that can save you money and restore your car’s interior. By following the steps outlined in this guide and employing patience and attention to detail, you can achieve a professional-looking repair that enhances the longevity and aesthetic appeal of your car’s leather upholstery. Remember to take preventative measures to avoid future damage and keep your leather car seats looking their best for years to come.
For more detailed guides on car seat repairs, check out our articles on how to repair a leather car seat seam, how to repair tear in fabric car seat, and how can i repair cracks in a leather car seat. If you need assistance with a cut in your leather car seat or any other car repair needs, feel free to reach out to our expert team via WhatsApp at +1(641)206-8880 or email us at [email protected]. Our customer support team is available 24/7 to assist you.


