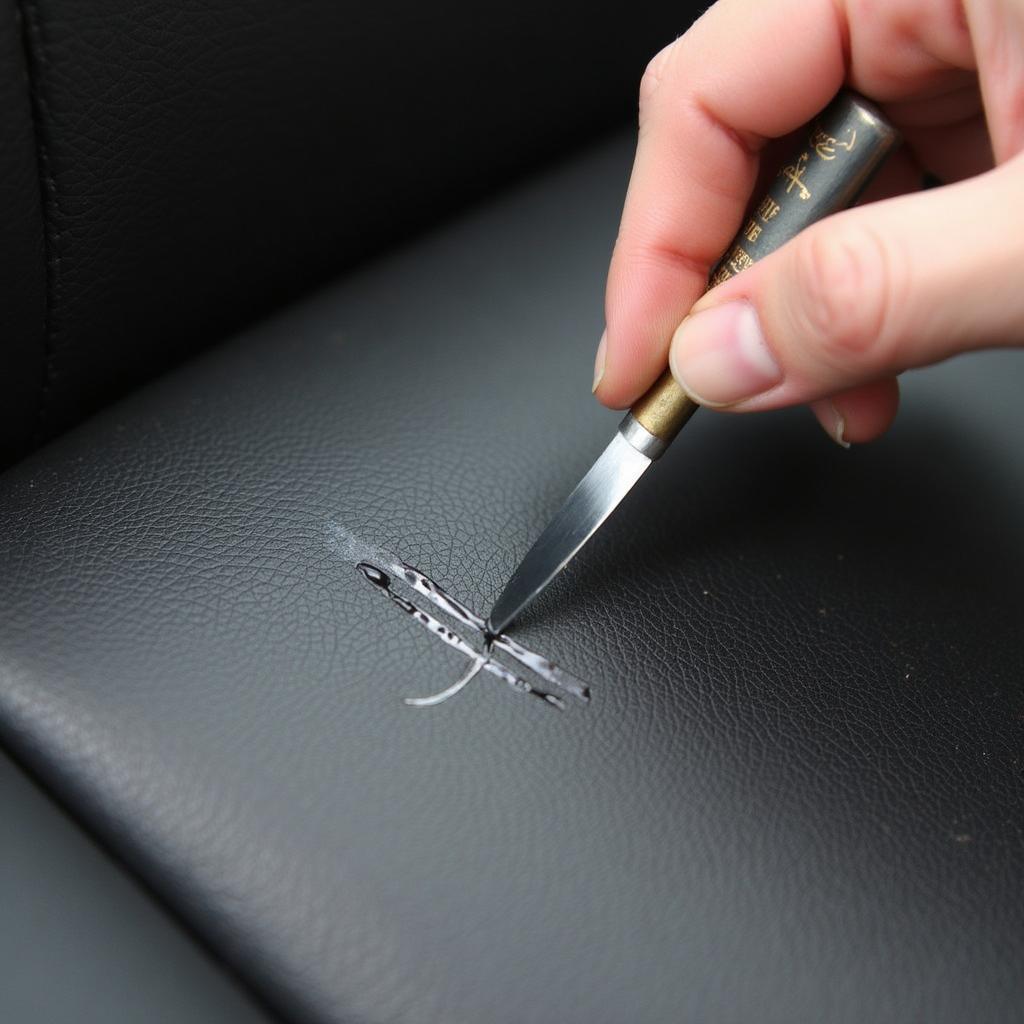
Leather car seats add a touch of luxury and sophistication to any vehicle. However, over time, they can be susceptible to scratches from everyday use, pet claws, or sharp objects. While noticeable scratches can be frustrating, the good news is that many can be repaired at home with the right tools and techniques. This comprehensive guide will walk you through the step-by-step process of how to repair scratches on leather car seats, restoring their pristine appearance and preserving their value.
Assessing the Damage: Types of Leather Seat Scratches
Before diving into the repair process, it’s essential to assess the severity of the scratches on your leather car seats. This will help you determine the appropriate repair method and products to use.
-
Light Scratches and Scuffs: These are superficial scratches that appear as light marks on the leather’s surface. They haven’t penetrated the leather’s deeper layers and can often be minimized with simple cleaning and conditioning.
-
Deep Scratches and Cuts: These scratches have penetrated the leather’s top layer, exposing the fibers beneath. Repairing deep scratches typically requires specialized leather filler products and color-matching techniques.
-
Tears and Punctures: These are more severe forms of damage where the leather has been torn or punctured. Repairing tears and punctures often necessitates professional intervention for optimal results.
DIY Leather Seat Scratch Repair: Tools and Materials
Once you’ve assessed the damage, gather the necessary tools and materials to repair the scratches:
-
Leather Cleaning Solution: Use a dedicated leather cleaner or a mild soap solution to remove dirt, grime, and debris from the scratched area. Avoid harsh chemicals or household cleaners that can damage the leather.
-
Microfiber Cloths: Soft, lint-free microfiber cloths are ideal for cleaning and applying leather repair products without scratching the surface.
-
Leather Filler (if needed): For deep scratches and cuts, you’ll need a leather filler product to fill in the gaps and create a smooth surface for subsequent repairs.
-
Leather Dye (if needed): If the scratches have removed color from the leather, you’ll need a leather dye that closely matches the original color of your car seats.
-
Applicator Pads or Sponges: Use applicator pads or sponges to apply leather filler and dye evenly and precisely.
-
Leather Conditioner: Applying a leather conditioner after the repair process helps to moisturize the leather, restore its suppleness, and protect it from future damage.
Step-by-Step Guide to Repairing Scratches on Leather Car Seats
Follow these steps to effectively repair scratches on your leather car seats:
1. Clean the Affected Area:
Start by thoroughly cleaning the scratched area using a leather cleaning solution and a microfiber cloth. Gently rub the cleaner onto the scratch in circular motions, ensuring all dirt and debris are removed. Wipe away any excess cleaner with a clean cloth.
2. Apply Leather Filler (for Deep Scratches):
If you’re dealing with deep scratches or cuts, apply a small amount of leather filler to the affected area using an applicator pad. Gently press the filler into the scratch, ensuring it fills the gap completely. Use a clean part of the applicator pad or a plastic scraper to remove any excess filler, creating a smooth and even surface. Allow the filler to dry completely according to the product instructions.
3. Apply Leather Dye (if needed):
If the scratch has removed color from the leather, carefully apply a matching leather dye to the repaired area. Use a clean applicator pad or sponge and apply the dye in thin, even coats. Allow each coat to dry thoroughly before applying the next.
4. Blend and Feather the Edges:
Once the filler and dye have dried, use a clean microfiber cloth to gently blend and feather the edges of the repaired area with the surrounding leather. This will help create a seamless and less noticeable repair.
5. Apply Leather Conditioner:
Finally, apply a high-quality leather conditioner to the entire seat, including the repaired area. This will help to moisturize the leather, restore its natural oils, and protect it from future scratches and wear.
Professional Leather Seat Repair: When to Seek Expert Help
While many leather seat scratches can be successfully repaired at home, some situations warrant professional intervention:
-
Extensive Damage: If the leather seats have extensive scratches, tears, or punctures, it’s best to consult a professional leather repair specialist. They have the expertise and tools to handle complex repairs effectively.
-
Delicate Leather Types: Certain types of leather, such as suede or nubuck, require specialized cleaning and repair techniques. It’s advisable to seek professional help for these delicate materials.
-
Uncertainty About DIY Repair: If you’re unsure about performing the repair yourself or uncomfortable with the process, don’t hesitate to contact a professional. They can provide a quote and guide you on the best course of action.
Maintaining Your Leather Car Seats: Prevention and Care Tips
Preventing scratches and maintaining your leather car seats’ pristine condition requires consistent care and attention:
-
Regular Cleaning: Regularly clean your leather seats using a dedicated leather cleaner and a microfiber cloth. This will help prevent dirt, grime, and debris from building up and potentially scratching the surface.
-
Conditioning: Apply a leather conditioner every few months to keep the leather moisturized, supple, and protected from drying, cracking, and scratches.
-
Protective Measures: Consider using seat covers, especially if you frequently transport pets or cargo that could potentially scratch the seats.
-
Avoid Sharp Objects: Be mindful of sharp objects that could scratch the leather, such as keys, pens, or tools. Store them safely in designated compartments.
Conclusion
Repairing scratches on leather car seats can seem daunting, but with the right knowledge and tools, it’s an achievable task that can restore your seats’ appearance and preserve their value. By following the step-by-step guide outlined in this article, you can effectively address light to moderate scratches. However, for extensive damage or if you’re uncertain about DIY repairs, it’s always best to consult a professional leather repair specialist for expert assistance. Remember, regular cleaning, conditioning, and protective measures go a long way in preventing future scratches and keeping your leather car seats looking their best for years to come.
Do you need help with other car leather seat repairs? Check out our guides:
Let us know if you have any other questions or if we can be of further assistance! You can reach us through WhatsApp: +1(641)206-8880, or Email: [email protected]. Our customer support team is available 24/7 to answer your queries.


