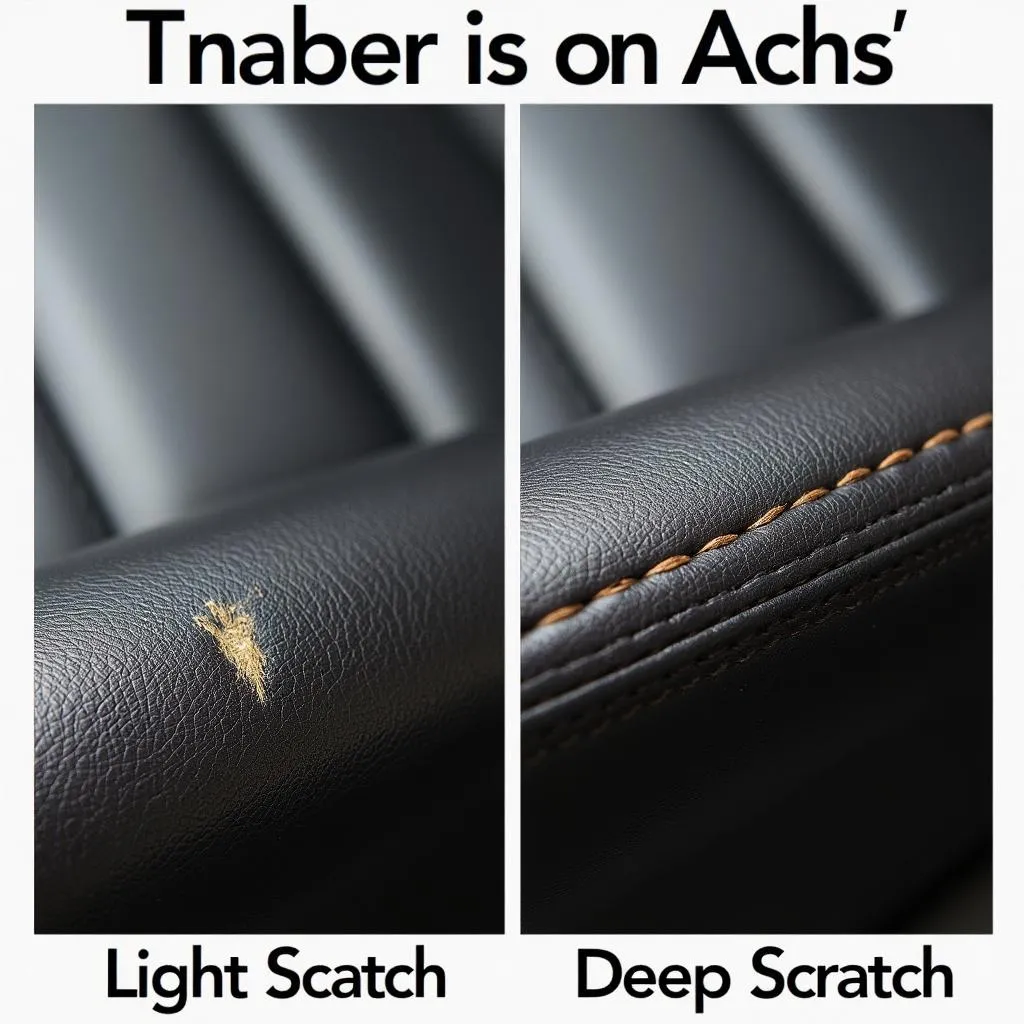
Leather car seats exude a luxurious feel, but they’re prone to scratches that can mar their appearance. Fortunately, you can often remedy these blemishes yourself with the right techniques and a little patience. Whether you’re dealing with light scuffs or deeper scratches, this guide will equip you with the knowledge to restore your leather car seats to their former glory.
Assessing the Damage: What Kind of Scratch Are You Dealing With?
Before diving into the repair process, it’s crucial to determine the severity of the scratch on your leather car seat. This will dictate the most effective approach.
- Light Scratches and Scuffs: These are superficial marks that haven’t penetrated the leather’s top layer. They often appear as white lines and can sometimes be buffed out with gentle rubbing.
- Deep Scratches: These penetrate the leather’s pigment layer or even deeper, exposing the fibers underneath. These scratches require more involved repair methods.
Gathering Your Supplies: What You’ll Need for Leather Car Seat Scratch Repair
Having the right tools and materials on hand is essential for a successful leather car seat scratch repair. Here’s a list of items you might need:
- Cleaning Supplies: Mild leather cleaner, microfiber cloths, rubbing alcohol
- Repair Products: Leather filler (for deep scratches), leather dye (if the scratch has removed color), leather adhesive (for tears)
- Application Tools: Spatula, cotton swabs, fine-grit sandpaper (400-grit or higher), heat gun or hairdryer
- Finishing Touches: Leather conditioner, leather protectant
Repairing Light Scratches and Scuffs
For those minor blemishes, the following steps can work wonders:
- Clean the Area: Using a mild leather cleaner and a microfiber cloth, gently clean the scratched area and its surroundings. This removes dirt and debris that can hinder the repair.
- Test a Hidden Area First: Before applying any product to the visible scratch, test it on a discreet area of your leather car seats. This ensures compatibility and prevents unwanted reactions.
- Gentle Buffing: For extremely light scuffs, try buffing the area with a clean microfiber cloth. The slight heat generated by the friction can sometimes minimize the appearance of the marks.
Repairing Deep Scratches
Deep scratches demand a more comprehensive approach. Here’s a step-by-step guide:
- Clean the Area: As with light scratches, begin by thoroughly cleaning the scratched area with a mild leather cleaner and microfiber cloth.
- Apply Leather Filler (If Necessary): For deep scratches that have created a groove or indentation, use a leather filler to level the surface. Apply the filler with a spatula, carefully filling the scratch without overfilling. Allow it to dry completely according to the product instructions.
- Sand the Area Smooth: Once the filler is dry, gently sand the area with fine-grit sandpaper (400-grit or higher) to create a seamless transition between the repaired area and the surrounding leather. Use light, circular motions to avoid further damage.
- Apply Leather Dye (If Necessary): If the scratch has removed color, use a matching leather dye to restore the original shade. Apply the dye in thin, even coats using a cotton swab or applicator pad, allowing each coat to dry thoroughly before applying the next.
- Apply Heat (Optional): To help the dye set and blend better, you can use a heat gun or hairdryer on a low setting. Hold the heat source a few inches away from the surface and move it continuously to avoid overheating.
- Condition and Protect: Once the repair is complete and the area is dry, apply a high-quality leather conditioner to restore moisture and suppleness to the leather. Follow up with a leather protectant to shield the seats from future damage.
Tips for Maintaining Your Repaired Leather Car Seats
- Regular Cleaning: Regularly clean your leather car seats with a mild leather cleaner and microfiber cloth to prevent dirt and grime from building up and causing premature wear and tear.
- Conditioning: Leather is a natural material that needs regular conditioning to stay supple and prevent drying and cracking. Apply a leather conditioner every few months or as needed based on your climate and usage.
- Protection from the Elements: UV rays and extreme temperatures can damage leather. Park your car in the shade whenever possible and use a sunshade to protect your seats.
- Promptly Address Spills: Accidents happen. Clean up spills immediately to prevent them from staining or damaging your leather seats.
When to Seek Professional Help
While minor leather car seat scratches can often be tackled at home, certain situations warrant the expertise of a professional:
- Extensive Damage: If the scratches are numerous, severe, or cover a large area, it’s best to consult a professional car upholstery repair shop.
- Airbag Concerns: Avoid attempting repairs near or on the airbag panels of your car seats, as tampering with these areas can compromise safety features.
Conclusion
Repairing scratches on leather car seats might seem daunting, but with the right approach and a bit of effort, you can restore them to a presentable condition. By following the steps outlined in this guide, you can maintain the luxurious look and feel of your leather interior for years to come.
Remember, prevention is key! Regular cleaning, conditioning, and protection can go a long way in preventing scratches and keeping your leather car seats looking their best. And if you’re ever unsure about a repair, don’t hesitate to seek professional help.
For expert guidance on tackling more complex car repairs, check out our guides on how to repair split in leather car seat and finding reliable car leather seat repair near me.


