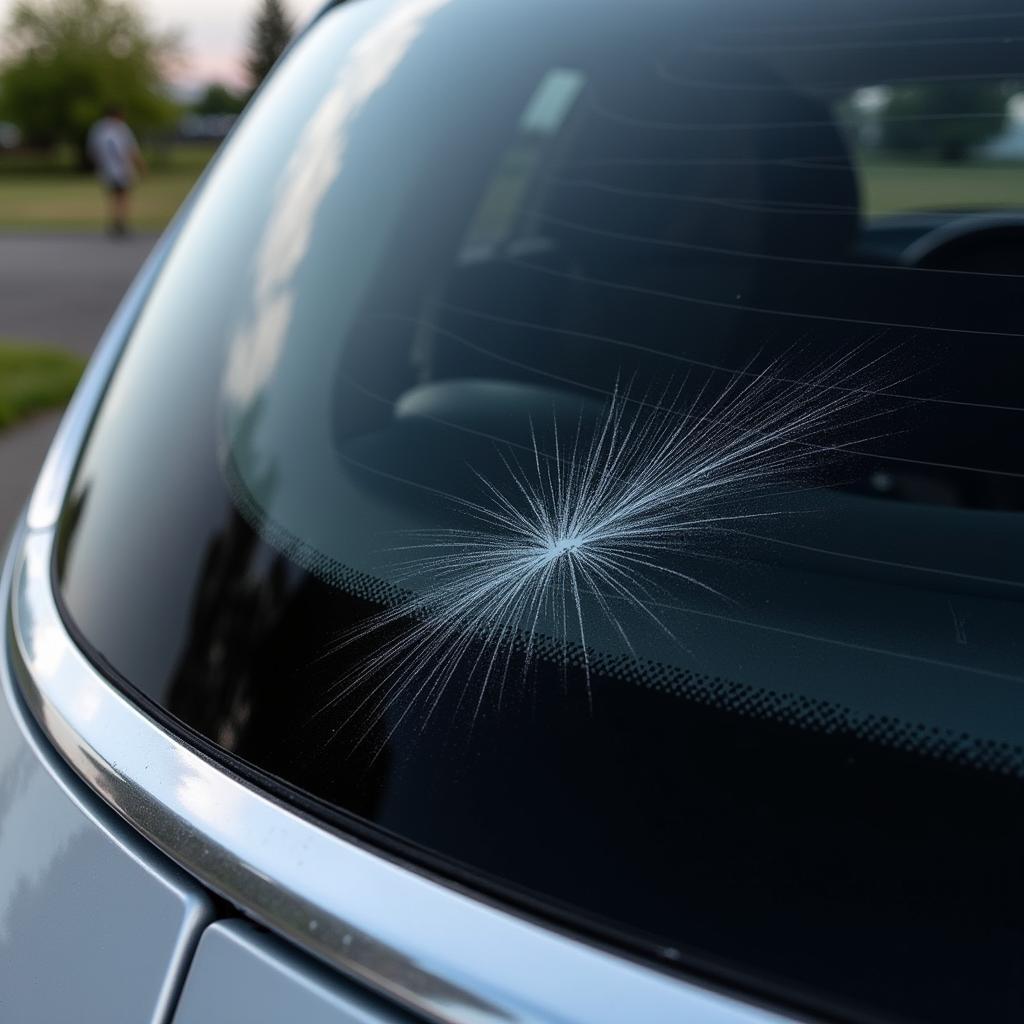
Car window scratches can be an eyesore, but they don’t always necessitate a costly window replacement. Whether it’s from an errant shopping cart, rogue tree branch, or even just the wear and tear of time, minor scratches can often be addressed with some DIY know-how.
This comprehensive guide will walk you through how to assess the damage, what tools and techniques you’ll need, and how to restore your car windows to their former glory.
Assessing the Damage: What Kind of Scratch Are You Dealing With?
Before you grab your toolbox, it’s crucial to understand the type of scratch you’re dealing with. Car window glass is composed of multiple layers, and the depth of the scratch dictates the appropriate repair method.
- Surface Scratches: These are the most common and often appear as fine, hairline marks. They usually only affect the top layer of the glass and can often be buffed out.
- Deep Scratches: These penetrate further into the glass layers and may even catch your fingernail. While DIY solutions might minimize their appearance, professional attention might be needed for a complete fix.
- Chips and Cracks: These are more severe forms of damage and require professional repair or replacement for safety reasons.
Gathering Your Supplies: The Right Tools for the Job
Having the right tools is essential for effective car window scratch repair. Here’s what you’ll need:
- Cleaning Supplies: Microfiber cloths, glass cleaner, rubbing alcohol, and water are crucial for prepping the surface.
- Polishing Compound: Look for cerium oxide-based compounds specifically designed for glass polishing. These come in powder or pre-mixed forms.
- Polishing Pads: Choose soft, non-abrasive pads suitable for glass. You can use a handheld drill with a polishing pad attachment or opt for hand polishing pads.
- Masking Tape: Protect the areas surrounding the scratch to prevent accidental damage.
Step-by-Step Guide: How to Repair Scratches in Car Windows
1. Clean the Surface: Thoroughly wash your car window using glass cleaner and a microfiber cloth. Once dry, use rubbing alcohol to remove any remaining residue. This step is crucial for ensuring the polishing compound adheres properly.
2. Mask the Area: Apply masking tape around the scratch, leaving a small border around the affected area. This protects the surrounding paint and trim from accidental damage during polishing.
3. Prepare the Polishing Compound: If using a powdered cerium oxide compound, mix it with water according to the manufacturer’s instructions to create a paste-like consistency.
4. Apply the Compound: Apply a small amount of polishing compound directly to the scratch using your polishing pad.
5. Begin Polishing: Use gentle, circular motions to work the compound into the scratch. For hand polishing, moderate pressure is sufficient. If using a drill attachment, keep the speed low to avoid overheating the glass.
6. Check Your Progress: Periodically wipe away the compound with a clean microfiber cloth to assess your progress. Deep scratches may require multiple applications and polishing sessions.
7. Clean and Inspect: Once you’re satisfied with the results, thoroughly clean the window again with glass cleaner to remove any remaining compound residue.
Pro Tips for Best Results
- Patience is Key: Polishing takes time and effort. Don’t expect immediate results, especially with deeper scratches.
- Less is More: Start with a small amount of polishing compound and gradually add more as needed. Using too much can make the process messy and less effective.
- Don’t Overpolish: Excessive polishing can generate heat and potentially damage your window. Take breaks if needed, and avoid applying excessive pressure.
When to Call the Professionals
While DIY methods can effectively address minor car window scratches, certain situations warrant professional attention:
- Deep Scratches: Scratches that significantly impair visibility or catch your fingernail are best left to the experts.
- Cracks and Chips: These require professional repair or replacement for safety reasons.
- Unsatisfactory Results: If you’ve tried DIY methods and aren’t satisfied with the outcome, a professional detailer or auto glass specialist may be able to help.
Conclusion
Knowing how to repair scratches in car windows can save you time and money. By following the steps outlined in this guide, you can often successfully minimize the appearance of minor scratches and restore your car windows to their former clarity. However, remember to assess the damage carefully, use the right tools and techniques, and don’t hesitate to seek professional help when needed.
FAQs
Can I use toothpaste to remove car window scratches?
While toothpaste is often touted as a DIY scratch remover, it’s not recommended for car windows. Toothpaste is designed for enamel, not glass, and can sometimes cause more harm than good.
Are all car window scratches repairable?
Unfortunately, no. Deep scratches, cracks, and chips often require professional repair or window replacement.
How long does it take to repair a car window scratch?
The time required varies depending on the severity and length of the scratch. Minor scratches can often be addressed in 30-60 minutes, while deeper scratches might take multiple hours.
Can I prevent car window scratches?
While not entirely preventable, you can minimize the risk by parking in garages, avoiding parking under trees, and being cautious when loading or unloading items near your car.
Need help with a car window scratch?
Contact our team of experts at WhatsApp: +1(641)206-8880, Email: [email protected]. We’re available 24/7 to answer your questions and provide expert assistance.


