The interior of your car, much like its exterior, is susceptible to daily wear and tear. Transporting everything from kids and pets to groceries and sports equipment can lead to scratches and marks on your car’s interior trim, making it look tired and aged. These imperfections aren’t just unsightly; they can also diminish your car’s resale value. Seeing scratches in your car’s cabin is frustrating for any driver, but fortunately, there are effective ways to minimize or eliminate them, restoring the pristine look of your vehicle’s interior.
This guide from Car Repair Online provides practical, step-by-step instructions and expert tips for DIY enthusiasts on how to repair scratches and worn out areas inside your car, focusing on restoring your car’s interior panels to their former glory.
Understanding Types of Car Interior Scratches
Before you begin the repair process, it’s essential to identify the type of scratch you’re dealing with. Different types of interior car scratches vary in severity and require different approaches for effective repair. Let’s explore the common types of scratches you might encounter in your car’s interior:
Scuffs
Common Causes:
Scuff marks are typically superficial and occur when an object rubs against the plastic surfaces inside your car. They are often the result of dirt or coloring transferring from items like shoes and clothing onto the plastic panels, especially when entering or exiting the vehicle.
How to Avoid/Fix:
Scuffs are usually the least severe type of scratch. Often, they can be easily wiped away with a quality interior car cleaner. To prevent scuff marks, encourage passengers to be mindful when getting in and out of the car, avoiding rubbing against interior panels. Regular cleaning of your car’s interior can also prevent dirt buildup that contributes to scuff marks.
Deep Scratches
Common Causes:
Deep scratches are more pronounced and are typically caused by sharp or hard objects coming into contact with the car’s plastic interior surfaces. Common culprits include keys, water bottles, tools like screwdrivers, or even pets’ claws. These scratches penetrate deeper into the plastic, making them more noticeable and harder to remove.
How to Avoid/Fix:
Preventing deep scratches involves being cautious with sharp objects inside your car. Ensure that items that could potentially scratch interior surfaces are securely stored away. When carrying tools or other potentially damaging items, take extra care to avoid contact with interior panels. Repairing deep scratches often requires a more involved process, which we will cover in detail later in this guide.
Chips
Common Causes:
Chips in interior plastic panels are often a result of general wear and tear over time. They are more commonly observed in older vehicles, where the plastic may become brittle and more susceptible to damage. Impacts from objects or even stress from temperature changes can also lead to chips.
How to Avoid/Fix:
Chips are among the more challenging types of interior damage to repair. Prevention is key. Try to minimize impacts to interior panels and protect your car from extreme temperature fluctuations. If a chip does occur, try to preserve any broken pieces, as they might be helpful in the repair process. Repairing chips may involve filling and retexturing the damaged area to seamlessly blend with the surrounding panel.
Cracks
Common Causes:
Cracks in car interior plastic are often caused by prolonged exposure to direct sunlight. UV radiation can degrade the plastic over time, causing it to become brittle and eventually crack. The quality and density of the plastic itself can also play a role in its susceptibility to cracking. Areas of panelling that experience stress, such as door panels, are also more prone to cracks.
How to Avoid/Fix:
To prevent cracks caused by sunlight, use a windscreen shield or protective cover when parking your car in direct sunlight. Regularly inspect plastic panelling in high-stress areas like doors for early signs of cracking. Addressing cracks may require specialized repair techniques, and in some cases, panel replacement might be necessary for severe damage.
How to Remove Scratches from a Car Interior: Step-by-Step Guide
When it comes to removing scratches from your car’s interior panels, you have two primary options: using a specialized scratch repair kit or employing a more hands-on approach involving sanding, heating, and texturing. While repair kits can be effective for minor scratches, DIY methods often yield superior results, especially for deeper imperfections. Car Repair Online recommends the following step-by-step process for effectively repairing interior car scratches yourself.
What You’ll Need for DIY Car Interior Scratch Repair:
To achieve a professional-quality finish when tackling interior scratches, gather the following essential tools and equipment:
- Heat Gun: Used to carefully heat and soften the plastic, allowing it to be remoulded and scratches to be minimized.
- Interior Grain Pad: Essential for retexturing the plastic to match the original factory finish after heating and smoothing.
- Superfine Grit Sandpaper: Used for gently smoothing the repaired area and blending it seamlessly with the surrounding texture.
- Plastic Scratch Polish Kit (Optional): Useful for finishing and polishing after the main repair, or for addressing very light scratches independently.
- High-Quality Interior Car Cleaner: Crucial for thoroughly cleaning the area before and after repair. Choose a cleaner specifically designed for car interiors and plastic surfaces to remove dirt and grease without damaging the material.
- Microfiber Cloths: For cleaning and buffing.
- Application Pads: Often included with grain pad sets, used for applying pressure evenly.
Step-by-Step Scratch Repair Process:
Step 1: Thoroughly Clean the Damaged Area
Begin by cleaning the area around the scratch and the scratch itself with your interior plastic cleaner. Removing all traces of dirt, grime, and debris is crucial for achieving a smooth, flawless finish. Cleaning prevents dirt from being trapped in the plastic during the repair process, which could affect the color and texture of the repaired area. Ensure the area is completely clean and dry before proceeding to the next step. Use a microfiber cloth to gently wipe the cleaner and dry the surface.
Step 2: Gently Heat the Plastic
Using a heat gun set to medium or half power, carefully apply heat to the scratched plastic area. The goal is to soften the plastic just enough to make it pliable, not to melt or burn it. Move the heat gun in a sweeping motion and avoid concentrating heat in one spot for too long. You’ll know the plastic is ready for moulding when it slightly loses its texture and takes on a slightly glossy appearance. Exercise extreme caution during this step to prevent warping or irreparable damage from overheating.
Step 3: Apply the Grain Pad for Retexturing
Immediately after heating, while the plastic is still warm and pliable, apply the interior grain pad to the affected area. Use gentle, even pressure. The grain pad will help to smooth out deeper scratches and, more importantly, restore the textured finish to the plastic so that the repaired area seamlessly blends with the original texture of the surrounding panel. Grain pads are available in various textures, so select one that closely matches your car’s interior trim. Use the hard-plastic application pad (if provided with your grain pad set) to ensure even pressure distribution.
Step 4: Cool and Sand the Repaired Area
Allow the repaired area to cool and harden completely. Once cooled, the texture should closely resemble the surrounding, undamaged plastic. However, to ensure a perfectly smooth and authentic-looking finish, gently sand the area with superfine grit sandpaper. This step refines the texture and removes any slight imperfections. Be careful not to over-sand, which could make the area too smooth compared to the original texture.
Step 5: Final Clean and Inspection
Clean the repaired area once more using the same interior plastic cleaner and method as in Step 1. This final cleaning removes any sanding dust and polish residue, revealing the finished repair. Allow the area to dry completely and then carefully inspect your work. The scratch should be significantly reduced or completely gone, and the texture and appearance of the repaired area should blend seamlessly with the rest of your car’s interior.
For Lighter Scratches:
If you are dealing with only very light scratches or scuff marks, a plastic scratch polish kit might be sufficient. These kits typically contain a plastic cleaner, polishing compound, microfiber towels, and buffing pads. The process usually involves cleaning the area, applying the polishing compound with a buffing pad in back-and-forth motions to fill in the light scratches, and then buffing away any excess polish after it dries. For best results even with polish kits, lightly sanding the area with superfine grit sandpaper before polishing can improve the final finish.
Restoring Worn Out Interior Plastic Trim
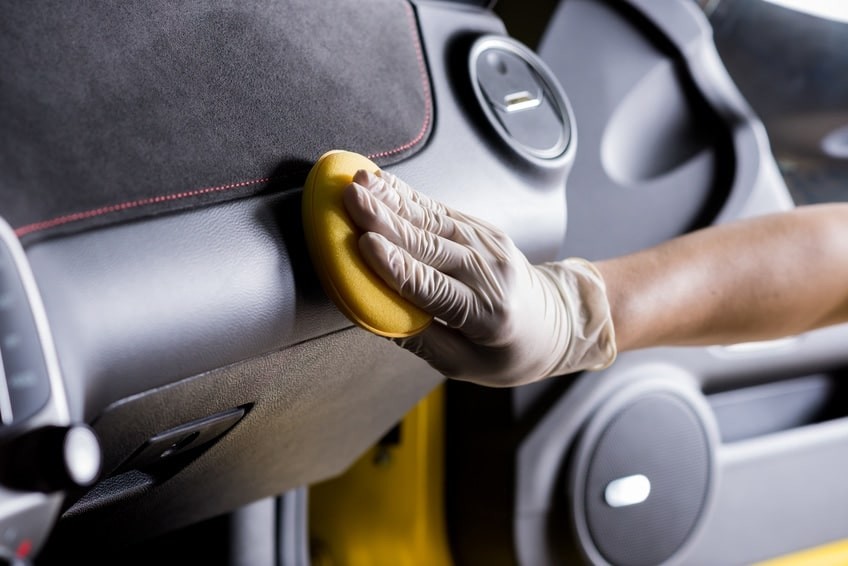
Beyond just scratches, your car’s interior plastic trim can become faded, discolored, or simply look worn over time. Whether it’s due to sun exposure, age, or harsh cleaning products, restoring the original luster of your interior plastic can dramatically improve the overall look of your car’s cabin.
To revitalize tired-looking plastic trim, use a dedicated plastic restorer pad or spray. These products are designed to replenish the plastic’s natural oils and protective properties, bringing back its original color and shine. When applying a restorer pad or spray, use gentle, circular motions and avoid scrubbing too vigorously, which could potentially damage the plastic. For ongoing maintenance, keep a restorer pad or spray in your glovebox for quick touch-ups whenever your interior plastic starts to look dull or faded. Regular application of a plastic restorer will not only enhance the appearance of your car’s interior but also help protect the plastic from future wear and tear.
By following these steps and utilizing the right tools and products, you can effectively repair scratches and restore worn-out plastic trim in your car’s interior, keeping it looking its best for years to come. For more DIY car maintenance guides and expert advice, continue exploring Car Repair Online, your trusted resource for automotive care.