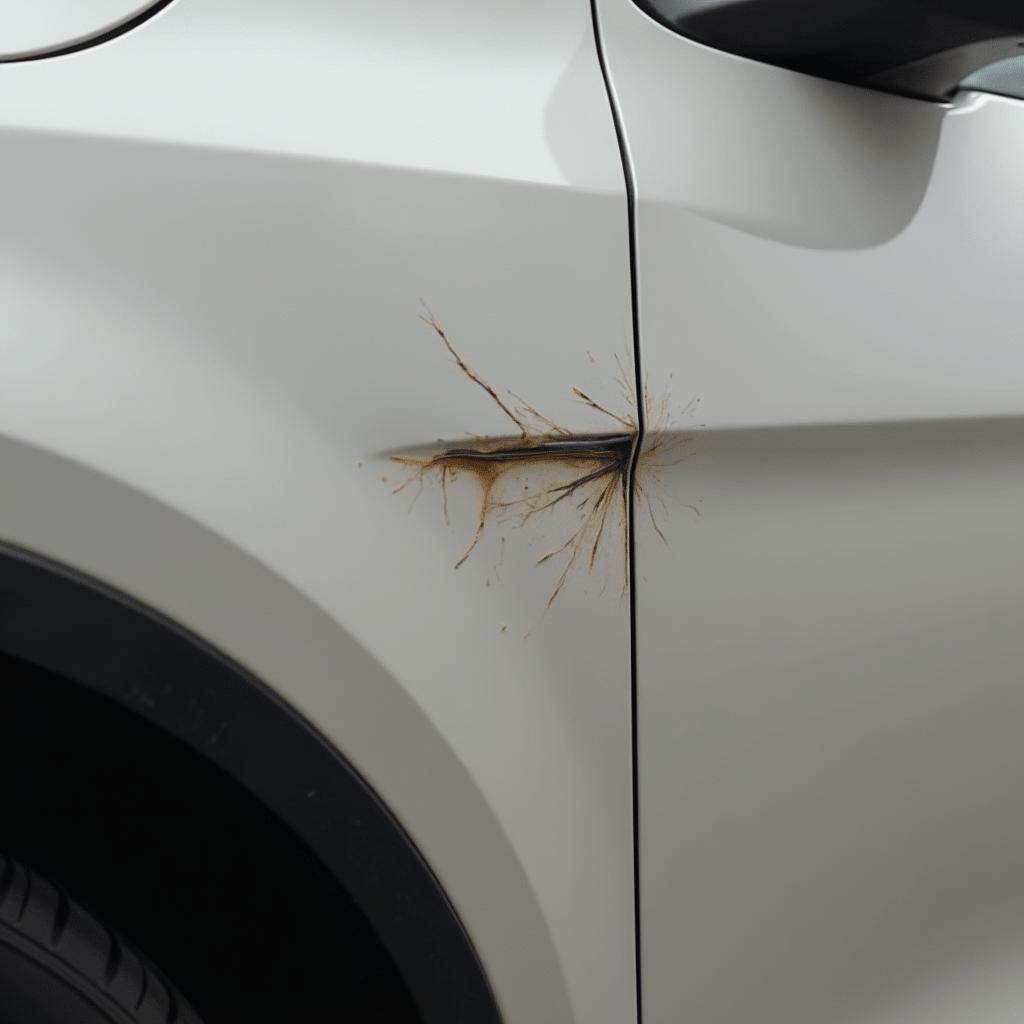
Finding a scratch on your car can be frustrating, but thankfully, minor scratches can often be repaired at home using touch up paint. This guide will walk you through the steps to repair a car scratch with touch up paint, helping you achieve a seamless finish and restore your car’s appearance.
Assessing the Scratch: How Deep Is It?
Before you begin, it’s crucial to assess the severity of the scratch. Touch up paint works best on minor scratches that haven’t penetrated the primer layer.
- Clearcoat Scratches: These are the most superficial, affecting only the clear coat, the topmost layer of your car’s paint.
- Paint Scratches: These scratches go deeper, reaching the base coat and exposing the primer underneath.
If you see metal or a differently colored layer beneath the paint, the scratch may be too deep for touch up paint alone and might require professional attention.
Gathering Your Supplies for Car Scratch Repair
Having the right tools and materials is essential for a successful touch up paint application. Here’s what you’ll need:
- Cleaning Supplies: Car wash soap, microfiber cloths, isopropyl alcohol, wax and grease remover.
- Touch Up Paint: Ensure an exact match with your car’s paint code (usually found on the driver’s side door jamb).
- Sandpaper: 2000-grit and 3000-grit for smoothing.
- Applicators: Choose between a touch up paint pen, a brush applicator, or a toothpick depending on the scratch size.
- Masking Tape: Protect surrounding areas from accidental paint splatters.
- Clear Coat (Optional): If the scratch is deep or you want added protection.
Step-by-Step Guide: How to Repair That Scratch
Follow these steps carefully for a successful DIY car scratch repair:
- Clean the Area: Wash the area thoroughly with car wash soap and water. Rinse and dry completely.
- Degrease the Surface: Use a wax and grease remover and a clean microfiber cloth to ensure proper paint adhesion.
- Shake the Touch Up Paint: Shake the bottle vigorously for the time specified in the instructions to mix the paint thoroughly.
- Apply the Touch Up Paint: Using your chosen applicator, carefully apply thin layers of paint to the scratch. Allow each layer to dry completely before applying the next.
- Sanding (If Necessary): If the paint builds up higher than the car’s surface, allow it to dry for at least 24 hours. Then, using 2000-grit sandpaper soaked in water, gently sand the area until it’s level with the surrounding paint.
- Apply Clear Coat (Optional): If desired or needed, apply a thin layer of clear coat over the dried touch up paint, extending slightly beyond the repaired area.
- Final Sanding and Polishing: After the clear coat dries (24 hours), wet sand with 3000-grit sandpaper to blend the edges. Polish the area to restore shine.
Tips for a Seamless Finish
- Patience is Key: Apply thin layers of paint and allow ample drying time between coats to avoid runs or imperfections.
- Less is More: It’s better to apply multiple thin coats than one thick coat, which can lead to unevenness and cracking.
- Work in a Well-Ventilated Area: Touch up paint fumes can be potent, so ensure proper ventilation throughout the process.
car paint repair greenville sc
When to Call a Professional
While minor scratches can often be tackled at home, deeper scratches or those on sensitive areas like edges or curves may require professional expertise. If you’re unsure about tackling the repair yourself, it’s always best to consult with a professional car paint repair shop.
Conclusion
Repairing a scratch on your car with touch up paint can be a rewarding DIY project. By following these steps and tips, you can achieve a professional-looking result, restoring your car’s appearance and protecting it from further damage. Remember, patience and attention to detail are essential for a successful touch up paint application.


