A scratched bumper is an eyesore. But, thankfully, fixing it doesn’t necessarily require a trip to the auto body shop. Depending on the severity, you might be able to tackle the repair yourself and save some money in the process. Let’s explore how to assess the damage and what options you have for repairing a car bumper scratch.
Assessing the Scratch: DIY or Pro?
The first step is to determine the severity of the scratch. This will dictate your repair approach:
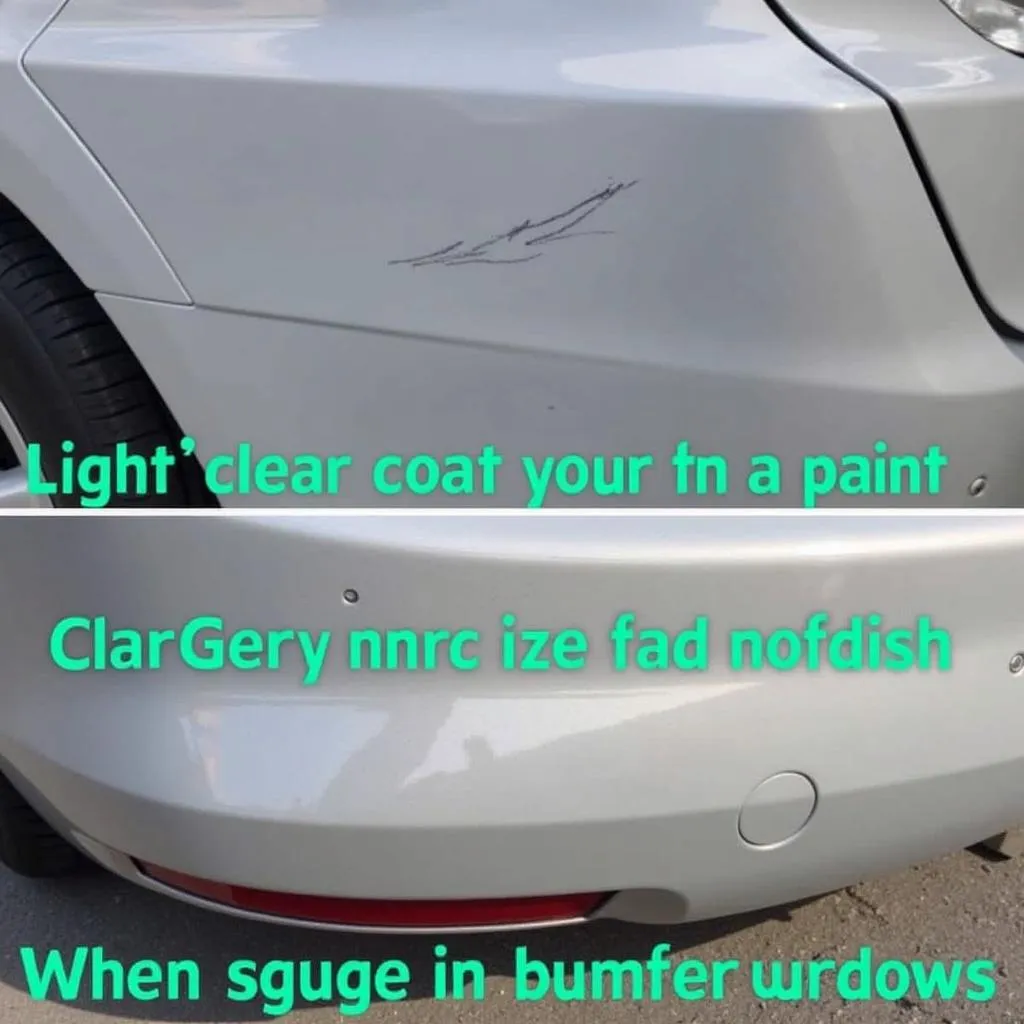
- Clear Coat Scratch: The most superficial scratch only affects the clear coat, appearing as a light, swirly mark. These can often be buffed out.
- Paint Scratch: The scratch goes through the clear coat and into the paint layer, revealing a different color underneath. These require more involved repair.
- Deep Gouge: The scratch goes through the paint, primer, and even into the bumper material. These usually call for professional repair.
DIY Car Bumper Scratch Repair
For minor scratches that haven’t penetrated the paint deeply, you can try these DIY methods:
1. Washing and Cleaning
- Thoroughly wash the scratched area with car wash soap and water.
- Use a clay bar to remove any embedded contaminants.
- Clean the area again with rubbing alcohol to remove any remaining residue.
2. Scratch Remover Products
- Scratch Remover Compound: Apply a small amount of scratch remover compound to the area and buff it in using a microfiber cloth with circular motions.
- Rubbing Compound: For slightly deeper scratches, use a rubbing compound following the same application method as the scratch remover.
3. Touch-Up Paint (For Deeper Scratches)
- Clean and Prep: Clean the area thoroughly. If the scratch exposes bare metal, apply primer according to the product instructions.
- Apply Touch-Up Paint: Carefully apply thin coats of matching touch-up paint using a fine-tipped brush or a toothpick, allowing each coat to dry before applying the next.
- Level the Paint: Once dry, use fine-grit sandpaper (2000-grit) to gently level the touch-up paint with the surrounding area.
- Clear Coat Application: Apply a clear coat over the touched-up area to seal and protect the paint.
4. Buffing and Polishing
- Buffing Compound: Use a buffing compound with a dual-action polisher or by hand to blend the repaired area with the surrounding paint.
- Polishing Compound: Follow up with a polishing compound to restore shine and gloss to the bumper.
“[For minor scratches, a good quality rubbing compound and a bit of elbow grease can work wonders,” says John Smith, an auto body specialist with 20 years of experience. “Just be sure to follow the product instructions carefully and use light pressure to avoid damaging the surrounding paint.”
When to Call a Professional
While DIY solutions are cost-effective, certain situations warrant professional intervention:
- Deep Gouges: Scratches that expose the bumper material often need professional repair, which may involve filling, sanding, and repainting.
- Extensive Damage: If you’re dealing with multiple deep scratches or cracks, it’s best to consult a professional for assessment and repair.
- Lack of Experience: If you’re unsure about any step of the DIY process, don’t hesitate to seek professional help to avoid further damage.
Car Bumper Scratch Repair Costs
DIY repairs can cost as little as $10-$50 for basic scratch remover kits. However, professional repairs can range from $100 to $1000 or more, depending on the severity and extent of the damage, the type of bumper, and labor costs in your area.
For instance, car bumper repair in Sioux Falls might have different average costs compared to car bumper repair in Bristol prices. It’s always advisable to get quotes from several reputable shops before making a decision.
Conclusion
Repairing a scratch on a car bumper doesn’t have to be complicated or expensive. By assessing the damage and following the appropriate steps, you can often fix minor scratches yourself. However, for deeper scratches or if you’re unsure about the process, seeking professional help ensures a high-quality and lasting repair. Remember, a little attention to detail can go a long way in keeping your car looking its best.
FAQs About Car Bumper Scratch Repair
Q1: Can I use toothpaste to fix a car scratch?
While toothpaste is often touted as a DIY scratch fix, it’s not recommended for car scratches. Toothpaste is abrasive and can actually cause more damage to your car’s paint.
Q2: How do I match touch-up paint to my car’s color?
Your car’s paint code is usually found on a sticker inside the driver’s side door jamb. Use this code to order matching touch-up paint online or from your car dealer.
Q3: Can I wax over a scratch after repairing it?
Yes, waxing over the repaired area after it has fully cured (usually 24-48 hours) helps protect the paint and enhance its shine.
Q4: How can I prevent future bumper scratches?
Be cautious when parking, especially in tight spaces. Consider using bumper protectors or parking sensors. Regularly washing and waxing your car can also help prevent scratches.
Q5: What if the scratch is on a plastic bumper?
The repair process is generally the same for plastic bumpers, but you may need to use specific plastic bumper repair products. For deep gouges, professional repair is often the best option.
For more information about car repairs, including the cost of car back bumper scratch repair, visit our website or contact us directly via WhatsApp: +1(641)206-8880 or email us at [email protected]. Our 24/7 customer support team is always ready to assist you.


