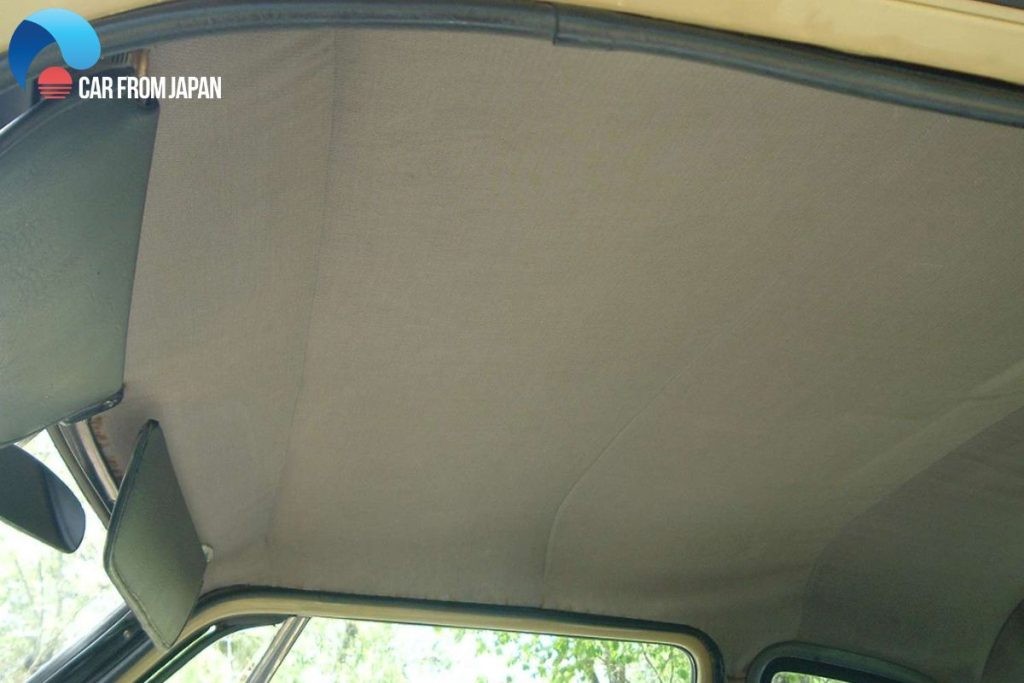
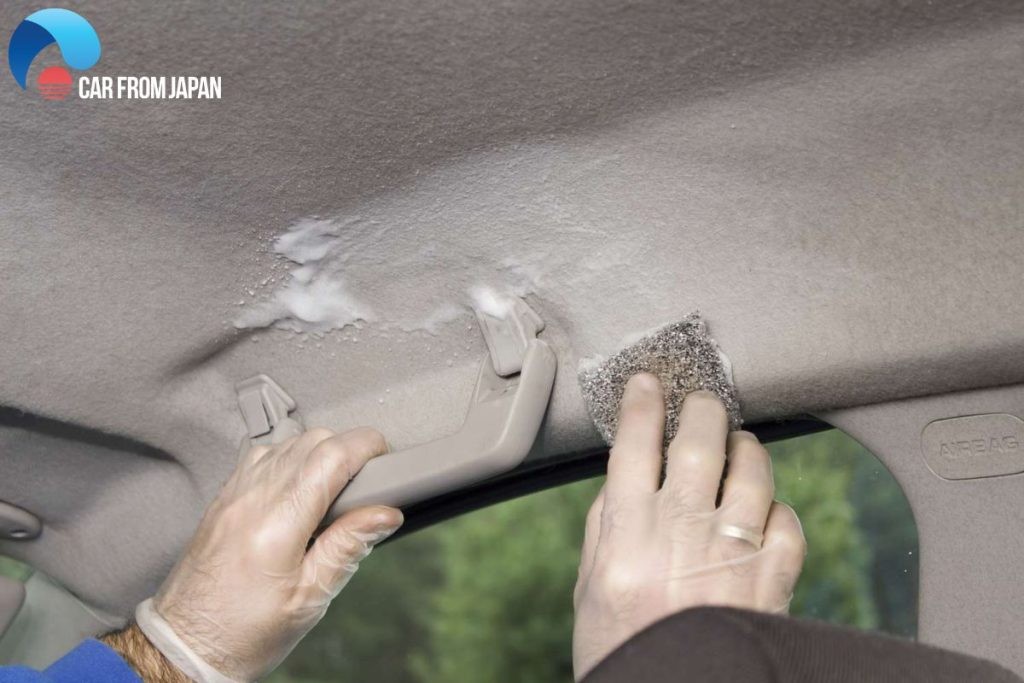
A sagging car ceiling, technically known as the headliner, is a common problem that can detract from your vehicle’s interior aesthetics and even be a sign of underlying issues. If you’re noticing the fabric above you drooping or detaching, you might be wondering how to fix it without the hassle and expense of a full replacement. Fortunately, repairing a sagging headliner yourself is often achievable with the right techniques and a bit of patience. This guide will walk you through effective, DIY methods to restore your car’s headliner, saving you money and keeping your car looking its best.
Understanding Your Car’s Headliner
Before diving into repairs, it’s helpful to understand what a headliner is and its function. The headliner is the fabric material affixed to the interior roof of your car. It’s more than just a cosmetic element; it plays several crucial roles:
- Aesthetics: It provides a smooth, finished look to the car’s interior, enhancing the overall cabin appeal.
- Insulation: The headliner helps insulate the car’s interior, moderating temperature by acting as a barrier against external heat and cold. This insulation contributes to a more comfortable driving experience, especially in extreme weather conditions.
- Sound Absorption: It also helps absorb road noise and wind noise, making the cabin quieter and more enjoyable, particularly at higher speeds.
- Acoustics: For vehicles with premium sound systems, the headliner material can be designed to optimize acoustics within the car.
Typically, a car headliner is constructed from multiple layers. A common composition includes a foam backing, often made of polyurethane, which is bonded to a rigid headliner board. This board is then secured to the car’s roof frame. The foam layer provides cushioning, insulation, and a surface for the fabric to adhere to, creating the soft, insulated ceiling you see and feel inside your car.
Common Causes of Sagging Car Headliners
Over time, and especially with exposure to harsh environmental conditions, the adhesive bonding the headliner fabric to its backing can degrade. This leads to the fabric separating and drooping, resulting in a “sagging headliner.” Several factors contribute to this issue:
1. Heat and Sunlight:
Excessive heat is a primary culprit. When your car roof is repeatedly exposed to intense sunlight and high temperatures, the heat can weaken and eventually melt the adhesive holding the headliner fabric in place. This is particularly common in hotter climates, where the roof of a parked car can reach very high temperatures.
2. Moisture:
Humidity and water leaks can also severely damage your headliner. Moisture seeping into the headliner, often from a leaking sunroof, windshield seal, or even condensation, can be absorbed by the foam backing. This moisture weakens the adhesive, causes the foam to lose its structural integrity, and leads to warping and sagging.
3. Age and Adhesive Degradation:
Even without extreme heat or moisture, the adhesive used in headliners has a lifespan. Over years, the adhesive can naturally break down and lose its bonding strength, especially in older vehicles.
4. Poor Initial Installation:
In some cases, a sagging headliner can stem from manufacturing defects or poor installation practices. If insufficient adhesive was used during the initial installation or improper techniques were employed, the headliner may be prone to sagging prematurely.
5. Physical Stress:
While less common, physical stress can also contribute to sagging. Children or pets inside the car might pull or scratch at the headliner fabric, putting strain on the adhesive and potentially accelerating the sagging process.
DIY Methods: How to Fix Sagging Headliner Without Removal
Replacing the entire headliner can be a significant expense, especially for older vehicles. Fortunately, there are several cost-effective DIY methods to repair a sagging headliner without removing it completely. These techniques are particularly useful for addressing partial sagging or when you want a budget-friendly solution.
1. Headliner Adhesive Spray
Using a specialized headliner adhesive is a straightforward method, particularly effective for localized sagging or when the fabric is detaching around the edges. Regular glue is not suitable for this task; you need a high-temperature, heavy-duty spray adhesive specifically designed for automotive headliners.
Steps:
- Preparation: Protect the surrounding areas of your car interior with masking tape and plastic sheeting to avoid overspray.
- Apply Adhesive: Spray the adhesive liberally onto both the back of the sagging fabric and the corresponding area on the headliner board. Follow the adhesive manufacturer’s instructions regarding drying time and application.
- Reattach Fabric: Carefully press the sagging fabric back into place, smoothing it out to eliminate wrinkles or bubbles. Work in small sections to ensure proper adhesion.
- Cure Time: Allow the adhesive to cure completely, as per the product instructions. You may need to use clamps or props to hold the fabric in place while it dries.
Pros: Relatively easy, good for partial sagging, cost-effective for small areas.
Cons: May not be suitable for extensive sagging, can be messy if not applied carefully, adhesive fumes can be strong.
2. Twist Pins for Sagging Headliner (Saggy Stoppers)
Twist pins, often called “saggy stoppers,” are inexpensive and easy to use, making them a popular solution for more significant sagging issues. These clear plastic pins have a twist-lock mechanism that secures the fabric to the headliner board.
Steps:
- Gather Pins: Purchase clear headliner twist pins online or from auto parts stores.
- Position Fabric: Gently push the sagging headliner fabric back into its original position.
- Insert Pins: Insert the twist pins through the fabric and into the headliner board, twisting them to lock them in place.
- Distribute Pins: Space the pins evenly across the sagging area, arranging them in a pattern if desired for a more aesthetically pleasing look.
Pros: Very affordable, easy to install, effective for extensive sagging, no adhesive fumes.
Cons: Pins are visible (though clear ones are less noticeable), may leave small holes, not a permanent fix, can potentially loosen over time.
3. Sequin Pins or Tacks
Similar to twist pins, sequin pins or tacks can be used to mechanically reattach the headliner fabric. These are very basic and inexpensive options, best suited for temporary fixes or less visible areas.
Steps:
- Gather Pins/Tacks: Acquire sequin pins (small, fine pins with flat heads) or upholstery tacks.
- Position Fabric: Push the sagging fabric back into place.
- Pin/Tack Fabric: Carefully push the pins or tacks through the fabric and into the headliner board.
- Secure and Arrange: Ensure pins/tacks are firmly in place and arrange them neatly.
Pros: Extremely cheap, readily available, quick to apply.
Cons: Very visible, can damage the fabric if not careful, definitely not a permanent or elegant solution, potential for injury from sharp points.
4. Steam Cleaner and Paint Roller Combo
This method uses steam to reactivate the original adhesive, combined with a paint roller to smooth and re-bond the fabric. It’s most effective when the sagging is primarily around the edges and the original adhesive is still somewhat pliable.
Steps:
- Steam Application: Using a steam cleaner with an upholstery attachment, gently apply steam to the sagging areas of the headliner. The steam will help to soften and reactivate the old adhesive. Be careful not to oversaturate the fabric.
- Rolling and Smoothing: Immediately after steaming an area, use a clean paint roller to firmly roll and smooth the fabric back against the headliner board. Apply even pressure to ensure good contact and re-bonding.
- Repeat: Work in sections, steaming and rolling, until the entire sagging area is addressed.
Pros: Can reactivate original adhesive, potentially more permanent than pins, relatively inexpensive if you own a steam cleaner.
Cons: Requires a steam cleaner, technique sensitive (too much steam can damage the fabric), best for edge sagging, may not work if adhesive is completely degraded.
Preventing Future Headliner Sagging
While repairs can fix a sagging headliner, prevention is always better. Here are some tips to help prolong the life of your car’s headliner and avoid future sagging issues:
- Park in Shade: Whenever possible, park your car in shaded areas or garages to minimize exposure to direct sunlight and heat. This is the most significant preventative measure.
- Use Sunshades: When parking in the sun is unavoidable, use windshield sunshades and consider side window shades to reduce heat buildup inside the car.
- Regularly Check for Leaks: Inspect your car’s sunroof seals, windshield and window seals, and roof seams for any signs of leaks. Address leaks promptly to prevent moisture damage to the headliner.
- Maintain Interior Ventilation: On hot days, try to ventilate your car’s interior by cracking windows slightly when parked in a safe location. This can help reduce heat and humidity buildup.
- Gentle Cleaning: When cleaning your car’s interior ceiling, use gentle methods and avoid harsh chemicals or excessive moisture. Refer to guides on how to clean car ceilings for proper techniques.
- Protect from Physical Damage: Discourage children and pets from pulling or scratching at the headliner fabric.
Sagging Headliner Replacement Cost
If DIY repairs aren’t sufficient or you prefer a professional solution, replacing the entire headliner is an option. The cost of headliner replacement varies depending on your vehicle type, complexity of the headliner design (e.g., with sunroof, map lights), and labor rates.
Here’s a general cost summary:
| Vehicle Type | Estimated Replacement Cost |
|---|---|
| Simple Sedan/Hatchback/Coupe (e.g., Accord, Corolla) | $300 – $750 |
| Typical SUV/Crossover (e.g., RAV4, X-Trail) | $500 – $900 |
| Luxury Vehicle (e.g., BMW, Mercedes) | $1,000 – $6,000+ |


These are average ranges, and actual costs can vary. Luxury vehicles with complex headliner designs and high-end materials will typically be at the higher end of the price spectrum. It’s always best to get quotes from local auto upholstery shops for an accurate estimate specific to your car.
Conclusion
A sagging car ceiling is more than just an eyesore; it can impact your car’s overall comfort and value. However, with these DIY methods, you can effectively repair a sagging headliner without the expense of full replacement. Whether you choose adhesive spray, twist pins, or the steam cleaner method, these techniques offer budget-friendly solutions to restore your car’s interior. If you’re unsure about DIY repair, professional headliner replacement is always an option to ensure a flawless finish.
FAQs
How do you know if your ceiling is sagging?
Signs of a sagging car ceiling include:
- Visible drooping fabric hanging down from the roof.
- Bubbling or wrinkles appearing in the headliner material.
- The fabric separating from the edges or corners of the ceiling.
- Sometimes, a cracking or rustling sound when the car moves, indicating the headliner is loose.
Is it OK to fix the headliner sagging myself?
Yes, for many cases of sagging headliners, DIY repair is perfectly feasible and can save you significant money compared to professional replacement. The methods described above are designed for DIYers and are generally straightforward to implement. Headliner repair kits are also available online and in auto parts stores, providing tools and materials for DIY fixes.
Can I paint a headliner?
While technically possible, painting a headliner is generally not recommended. Paint can stiffen the fabric, alter its texture, and may not adhere well long-term due to temperature changes inside the car. Furthermore, achieving an even, professional-looking paint job on a headliner is challenging and time-consuming. It’s usually better to repair the existing fabric or replace it if necessary.
Does car insurance cover the cost of car headliner replacement?
In most cases, standard car insurance policies do not cover headliner replacement due to wear and tear or age-related sagging. Car insurance typically covers damage resulting from accidents, vandalism, or natural disasters. Headliner issues are usually considered maintenance or cosmetic problems, not covered by standard insurance policies. Extended warranties or specific interior protection plans might offer coverage, but it’s best to review your policy details.
