Dealing with damaged rubber around your car window can be a frustrating experience. Whether it’s cracked, torn, or simply worn out, this seemingly minor issue can lead to leaks, wind noise, and even damage to your car’s interior. This guide will provide a comprehensive walkthrough on how to repair rubber around car window effectively, saving you money and keeping your vehicle in top shape.
Learning how to repair rubber around car window isn’t as daunting as it might seem. With the right tools and a little patience, you can often fix the problem yourself. We’ll cover various repair methods, from simple DIY fixes to more involved replacements, and help you choose the best approach for your specific situation.
Here are some common reasons why you might need to repair the rubber around your car window: weather damage, age, improper cleaning techniques, and even accidents. Each of these requires a slightly different approach, and understanding the cause is the first step to a successful repair.
You can learn more about fixing damaged rubber seals by checking out our guide on how to repair a car window trim rubber seal.
Identifying the Damaged Rubber Seal
Before diving into the repair process, you need to identify the specific type of rubber seal that needs attention. There are several different types of rubber seals around a car window, each serving a distinct purpose. The most common are the window run channel, the outer beltline weatherstrip, and the inner window sweep.
Window Run Channel
The window run channel guides the window glass as it moves up and down. Damage to this seal can cause the window to stick, rattle, or even break.
Outer Beltline Weatherstrip
This seal runs along the outside of the window frame and prevents water and wind from entering the car. A damaged outer beltline weatherstrip can lead to leaks and annoying wind noise.
Inner Window Sweep
Located on the inside of the door panel, the inner window sweep helps to keep debris and moisture out of the door.
Knowing the specific seal that needs attention will help you determine the correct repair method and ensure you purchase the right replacement parts. If you’re unsure about which seal is causing the problem, consult a professional. For an in-depth guide on fixing inside rubber molding, visit our page on repair rubber molding inside car window.
DIY Repair Methods for Rubber Around Car Window
For minor damage, like small cracks or tears, you can often repair the rubber seal without replacing it entirely. Here are some common DIY methods:
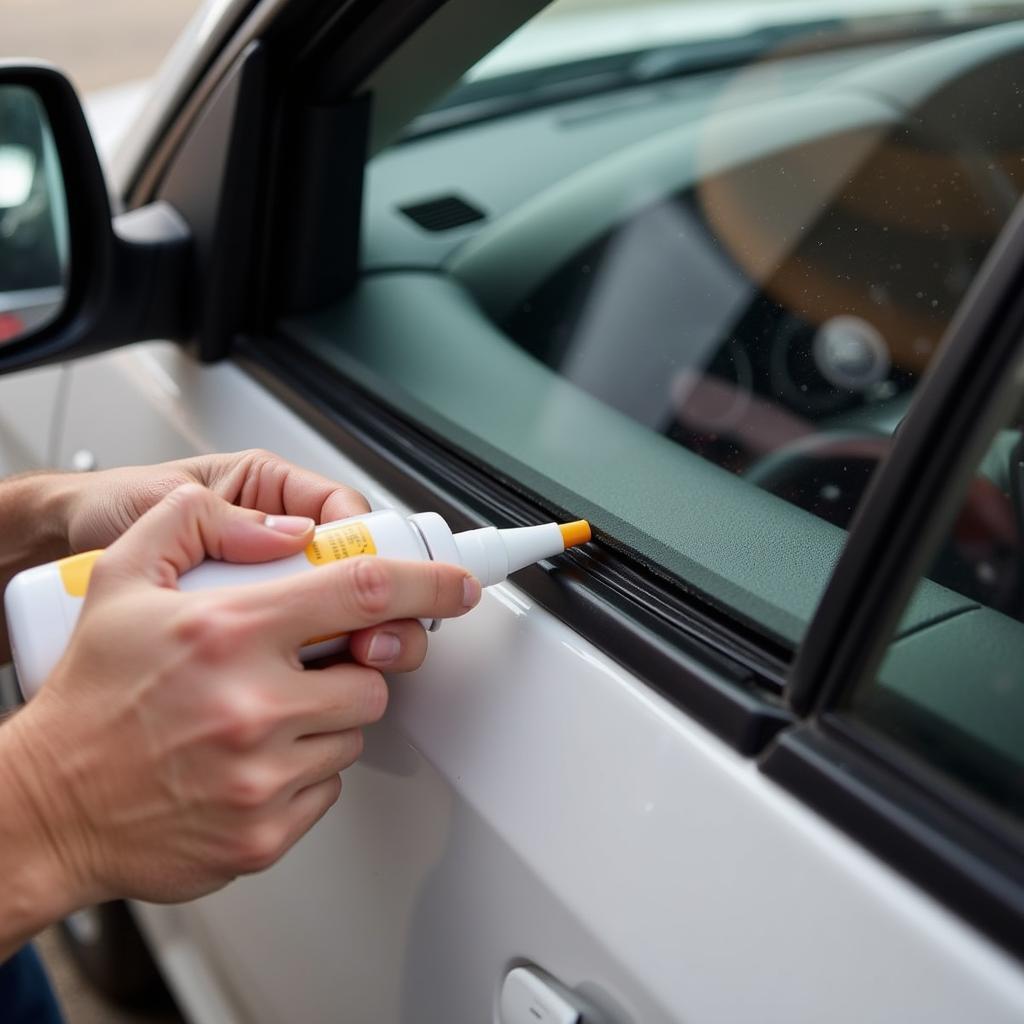
- Rubber Seal Adhesive: This specialized adhesive is designed to bond rubber to rubber and can be used to fill small cracks and tears.
- Liquid Electrical Tape: This flexible sealant can create a waterproof barrier over damaged areas.
- Silicone Sealant: While not specifically designed for rubber, silicone sealant can be used as a temporary fix for small leaks.
Before applying any adhesive, thoroughly clean the damaged area with a degreaser and allow it to dry completely. This will ensure proper adhesion. If the damage is extensive, however, replacement might be the better option. You can find information on the cost of replacing weather stripping on our page about car window weather stripping repair cost.
 Applying Rubber Seal Adhesive to Car Window Seal
Replacing the Rubber Seal
If the damage is too severe for a DIY repair, you’ll need to replace the rubber seal entirely. While this might seem intimidating, it’s a manageable task for many car owners. Here’s a step-by-step guide:
- Purchase the Correct Replacement Seal: Ensure you buy the right seal for your specific car make and model.
- Remove the Old Seal: Carefully pry out the old seal using a plastic trim removal tool to avoid scratching the paint.
- Clean the Area: Remove any remaining adhesive residue and clean the surface thoroughly.
- Install the New Seal: Starting at one end, carefully press the new seal into place, ensuring it sits firmly in the channel.
- Test the Seal: Roll the window up and down several times to ensure it moves smoothly and the seal is properly seated. Check for any leaks or wind noise.
You can find a detailed guide on repairing a damaged window seal at how to repair damaged rubber around my car window.
Conclusion
Knowing how to repair rubber around car window is a valuable skill for any car owner. Whether it’s a simple DIY fix or a complete replacement, addressing damaged rubber seals promptly can prevent further issues and keep your vehicle in optimal condition. By following the steps outlined in this guide, you can save money on costly repairs and maintain the integrity of your car.
FAQ
- What causes rubber seals to deteriorate? Exposure to the elements, age, and improper cleaning methods are common culprits.
- Can I use regular glue to repair rubber seals? No, use a specialized rubber seal adhesive for optimal results.
- How often should I inspect my car’s rubber seals? It’s a good idea to check them at least twice a year, or more frequently if you live in a harsh climate.
- How much does it cost to replace a car window seal? The cost varies depending on the make and model of your car, but you can find detailed information on our page: car window seal leak repair.
- Can I repair a torn rubber seal myself? Yes, minor tears can often be repaired with adhesive.
- How do I prevent my car window seals from drying out? Applying a rubber conditioner regularly can help prevent cracking and deterioration.
- What tools do I need to replace a rubber window seal? A plastic trim removal tool and a pair of scissors are usually sufficient.
For further assistance, don’t hesitate to contact us via WhatsApp: +1(641)206-8880, or Email: [email protected]. Our customer service team is available 24/7.
