Dealing with rock chips is a common frustration for car owners, regardless of vehicle model or paint quality. Those small blemishes on your hood and front bumper, often caused by road debris, can accumulate quickly, detracting from your car’s appearance. Repainting the entire hood might be the ideal solution, but it’s not always budget-friendly or feasible immediately. If you’re looking for a more immediate and affordable fix, tackling these rock chips yourself with touch-up paint can be a great interim solution.
One car owner decided to take matters into their own hands when faced with a hood riddled with rock chips. Starting with readily available touch-up paint, they embarked on a DIY repair journey. The first step involved prepping the area by washing the car hood with dish soap to remove any wax and grime, ensuring a clean surface for the paint to adhere to.
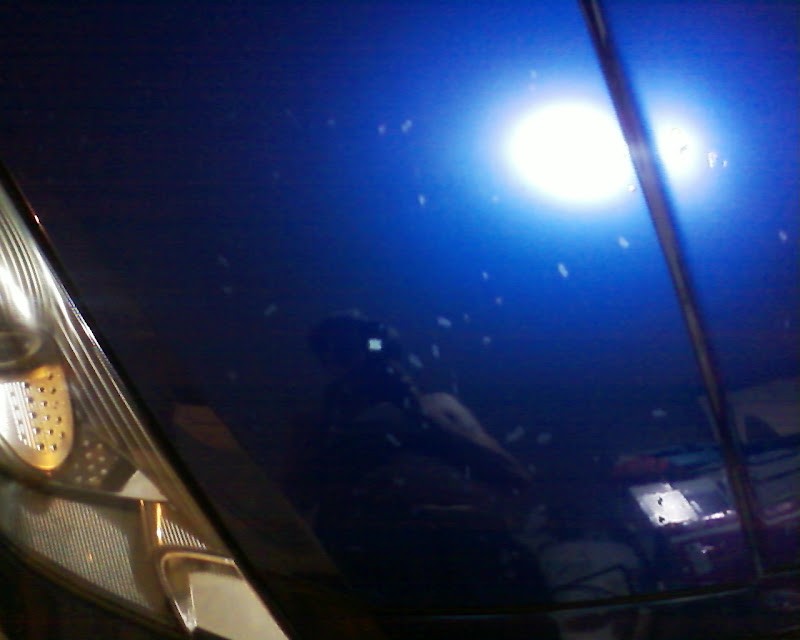
After cleaning and drying the hood, the touch-up paint was applied directly to each rock chip. In an effort to adequately fill each chip, multiple layers of paint were applied, sometimes resulting in overlap and a less-than-perfect application. The user noted that the paint seemed to dry quickly, which encouraged layering. The result, as seen in the images, is a noticeable, albeit not flawless, attempt to cover the chips.
The images illustrate the “polka-dot” effect that can occur when touch-up paint is applied liberally to numerous rock chips without further refinement. While this method covers the exposed metal and prevents rust, the uneven paint application is clearly visible.
This DIY approach raises a couple of important questions for anyone attempting similar rock chip repairs:
- Leveling the Touch-Up Paint: Simply dabbing touch-up paint often leaves raised areas. To achieve a smoother, more professional finish, techniques like wet sanding or using an ultimate compound with a foam pad are often recommended. The user in this example inquired about using an ultimate compound, indicating an understanding that further steps are needed beyond just applying the paint.
- Waxing After Touch-Up: The question of when to wax after applying touch-up paint is also crucial. Fresh paint typically needs time to cure fully before wax is applied. Waxing too soon can trap solvents and hinder the curing process. Manufacturer recommendations for drying and curing times should always be consulted.
In conclusion, this example demonstrates a basic DIY attempt to address car rock chips using touch-up paint. While it provides a visual representation of the initial step, it also highlights the need for further refinement techniques like leveling and proper curing before applying wax for a more aesthetically pleasing and durable repair. For car owners looking to tackle rock chips themselves, understanding these subsequent steps is essential for achieving better results.


