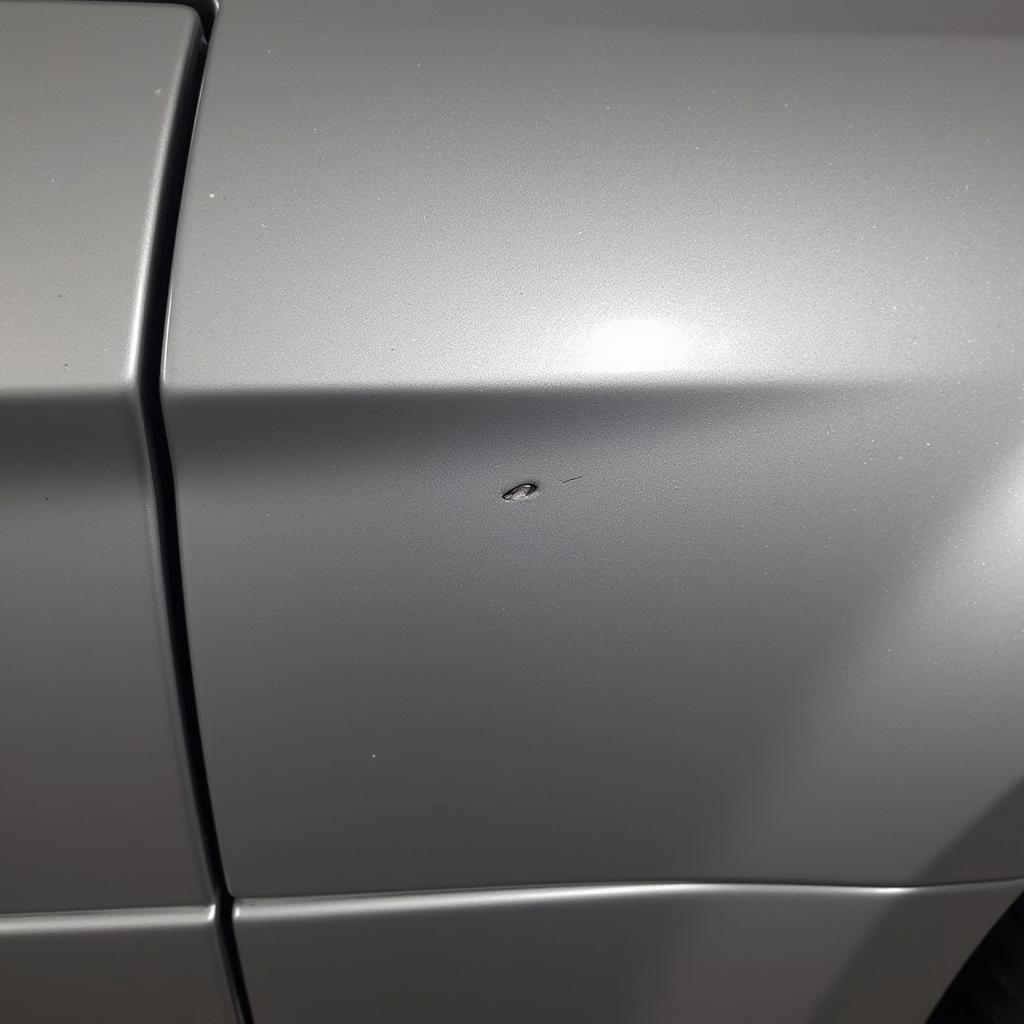
Rock chips in your car’s paint are an unfortunate reality, especially if you frequently drive on highways or gravel roads. These small, yet unsightly blemishes can detract from your car’s appearance and, if left untreated, can lead to rust and further damage. Fortunately, repairing rock chips is often a manageable DIY project that can save you a significant amount of money compared to professional repairs. This guide will walk you through the process of how to repair rock chips in car paint, restoring your car’s finish to its former glory.
Learning how to repair rock chips in car paint not only improves your car’s aesthetics but also protects it from further damage. A small chip can quickly become a larger problem if moisture penetrates the exposed metal, leading to rust. Addressing these chips promptly is key to preserving your car’s value and preventing costly repairs down the road. You can learn more about car paint repair here: car paint repair.
Assessing the Damage and Gathering Supplies
Before you begin the repair process, it’s crucial to assess the extent of the damage. Some chips are superficial, affecting only the clear coat, while others penetrate deeper, exposing the base coat or even the primer. This will determine the necessary repair approach. Once you’ve identified the depth of the chips, gather your supplies. You’ll need touch-up paint, primer (if necessary), rubbing compound, polishing compound, wax, masking tape, sandpaper (various grits), applicator brush or toothpick, and a soft microfiber cloth. If you’re unsure about the correct touch-up paint, refer to your car’s owner’s manual or contact your dealership. Knowing the cost to repair car paint can help you budget accordingly: cost to repair car paint.
Preparing the Area
Thoroughly clean the area around the rock chip with soap and water, then dry it completely. If the chip has exposed bare metal, apply a thin layer of automotive primer to prevent rust. Allow the primer to dry completely before proceeding. Next, lightly sand the chipped area with fine-grit sandpaper (2000-grit or higher) to smooth any rough edges and create a level surface for the touch-up paint. Be careful not to sand too aggressively, as this could damage the surrounding paint.
Applying the Touch-Up Paint
Using a fine-tipped applicator brush or a toothpick, carefully apply the touch-up paint to the chip, filling it slightly above the surrounding paint surface. This “overfilling” technique allows for shrinkage during the drying process. Apply thin coats, allowing each coat to dry completely before applying the next. Avoid applying too much paint at once, as this can lead to runs and drips. You can find tips on how to blend paint car repair.
Sanding and Polishing
Once the touch-up paint is completely dry (usually 24-48 hours), wet-sand the area with increasingly finer grits of sandpaper (starting with 2000-grit and progressing to 3000-grit or higher). This will smooth the repaired area and blend it seamlessly with the surrounding paint. Keep the sandpaper wet throughout the process to prevent scratching. After sanding, use rubbing compound followed by polishing compound to remove any remaining imperfections and restore the paint’s gloss. Finally, apply a coat of wax to protect the repaired area and enhance the shine.
Preventing Future Rock Chips
While it’s impossible to completely eliminate the risk of rock chips, there are preventative measures you can take. Maintaining a safe following distance, avoiding driving on gravel roads whenever possible, and applying paint protection film to vulnerable areas can significantly reduce the occurrence of rock chips.
 Polished Car Paint after Rock Chip Repair
“Preventing rock chips is always preferable to repairing them,” advises John Smith, Automotive Detailing Expert at Smith’s Auto Detailing. “Investing in paint protection film can save you time and money in the long run.”
Conclusion
Repairing rock chips in your car paint is a relatively simple yet effective way to maintain your car’s appearance and prevent further damage. By following these steps, you can achieve professional-looking results and save money on costly repairs. Remember, addressing these chips promptly is key to preserving your car’s value and preventing rust. For more information on repairing rock chips caused by rocks, check out this helpful guide: how to repair car paint chips from rocks.
FAQ
- How long does it take for touch-up paint to dry? Typically, touch-up paint takes 24-48 hours to dry completely.
- Can I repair rock chips on any part of my car? Yes, this method can be used on most painted surfaces of your car.
- What if the rock chip is very deep? For very deep chips, you may need to apply multiple layers of primer and touch-up paint.
- Do I need to use rubbing compound and polishing compound? Using these compounds will help achieve a smooth, professional finish.
- What can I do to prevent future rock chips? Maintaining a safe following distance and applying paint protection film are effective preventative measures.
- How much does it cost to have a professional repair rock chips? The cost can vary depending on the extent of the damage, but DIY repairs are significantly cheaper. Check out paint bubbling on car hood repair cost for related cost information.
- Where can I buy touch-up paint for my car? You can purchase touch-up paint from your car dealership, auto parts stores, or online retailers.
“Regularly inspecting your car for rock chips and addressing them promptly is a crucial part of car maintenance,” adds Jane Doe, Lead Technician at Doe’s Auto Repair. “This proactive approach can prevent minor issues from becoming major headaches.”
Need more help with car repairs? Check out other articles on our website.
For immediate assistance, contact us via WhatsApp: +1(641)206-8880 or Email: [email protected]. Our customer support team is available 24/7.


