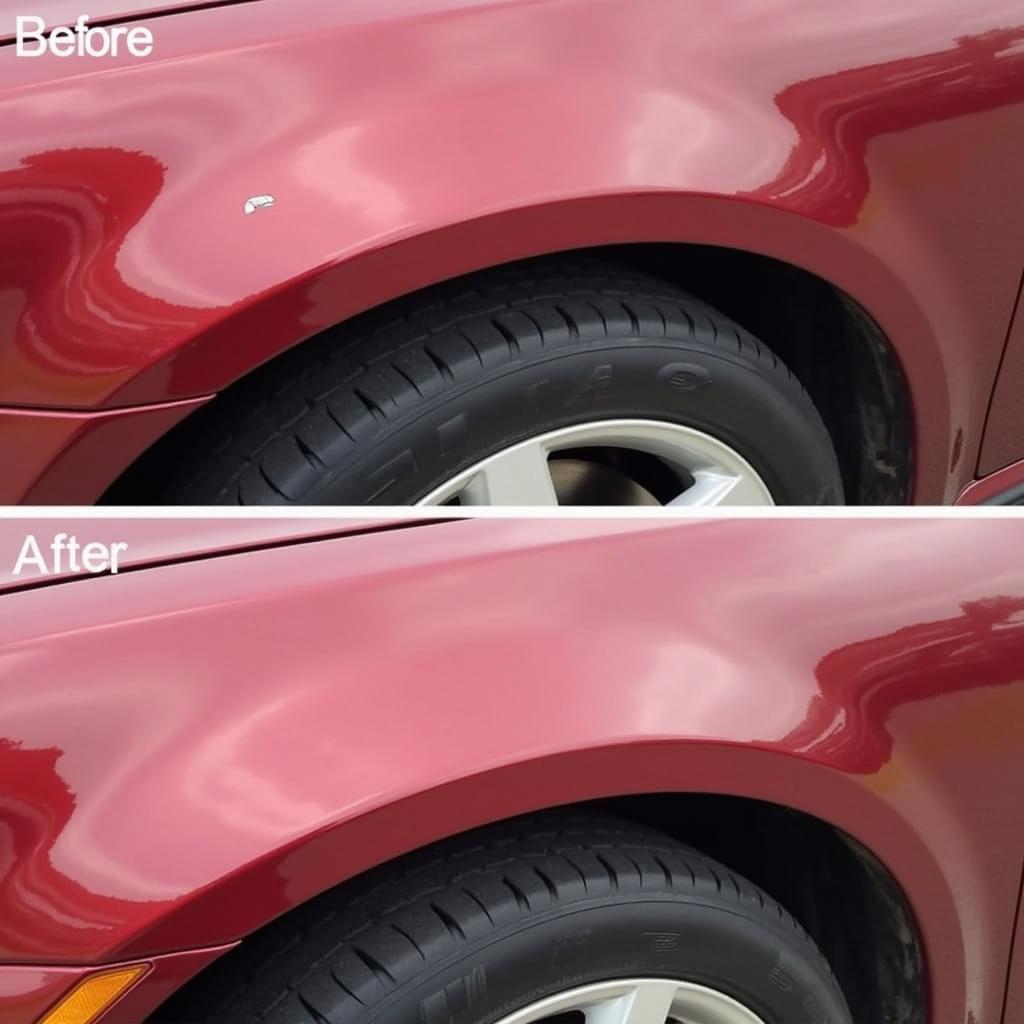
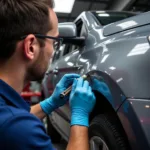
Road chips, those tiny, annoying blemishes in your car’s paint, are an inevitable part of driving. Whether from flying rocks, gravel, or other road debris, these chips not only detract from your car’s appearance but can also lead to rust and further damage if left untreated. Knowing how to repair road chips in car paint is a valuable skill for any car owner. Learn the simple steps you can take to tackle these paint imperfections and keep your car looking its best. This guide provides a comprehensive, step-by-step approach to DIY road chip repair.
Understanding Road Chip Damage
Before diving into the repair process, it’s important to understand the different levels of road chip damage. A minor chip might only affect the clear coat, while a deeper chip can expose the base coat or even the metal underneath. This will determine the necessary repair approach. For more complicated repairs like bumper damage, check out car paint bumper repair.
Assessing the Damage
Examine the chip closely. Is it a superficial scratch, a small chip exposing the primer, or a deep gouge down to the metal? Knowing the extent of the damage will help you choose the right repair method and materials. If the chipping is extensive, consider professional paint chipping on car repair.
Materials You’ll Need
Gathering the necessary materials beforehand will streamline the repair process. You’ll need:
- Touch-up paint (matched to your car’s color code)
- Primer (if the chip reaches the metal)
- Rubbing compound
- Polishing compound
- Wax
- Fine-grit sandpaper (e.g., 2000-grit)
- Masking tape
- Applicator pads or brushes
- Clean microfiber cloths
Step-by-Step Road Chip Repair Guide
Here’s a detailed guide on how to repair road chips in car paint:
-
Clean the Area: Thoroughly wash and dry the area around the chip. Remove any loose paint flakes or debris.
-
Prepare the Chip: If the chip has reached the metal, apply a thin layer of primer to the exposed area. Let it dry completely.
-
Apply Touch-Up Paint: Using a fine-tipped brush or touch-up pen, carefully apply the touch-up paint to the chip. Start with a small amount and build up thin layers until the paint is slightly higher than the surrounding surface. For a specific color, you might find resources for white paint car chip repair helpful.
-
Let it Dry: Allow the touch-up paint to dry completely, which may take several hours or overnight.
-
Sand the Area: Once dry, carefully wet-sand the area with fine-grit sandpaper. Use light pressure and keep the sandpaper wet to avoid scratching the surrounding paint. Sand until the repaired area is smooth and level with the surrounding paint.
-
Polish and Wax: Apply rubbing compound to the repaired area and buff with a clean microfiber cloth. Follow up with polishing compound and finally, wax to restore the shine.
Preventing Future Road Chips
While some road chips are unavoidable, you can take steps to minimize their occurrence:
- Maintain a Safe Following Distance: Keep a safe distance from the vehicle in front of you, especially on gravel roads. This reduces the chances of debris hitting your car.
- Avoid Driving Through Construction Zones: When possible, avoid driving through construction zones where there is a higher risk of flying debris.
- Wax Your Car Regularly: A layer of wax provides a protective barrier against minor scratches and chips. For rust prevention on existing damage, find out how to repair car paint rust.
Professional vs. DIY Road Chip Repair
When should you consider professional road chip repair? While minor chips are easily addressed with DIY methods, deeper chips or those in difficult-to-reach areas might require professional expertise. You can explore mobile car paint repair congleton for professional assistance.
Conclusion
Repairing road chips in your car paint is a simple yet effective way to maintain your vehicle’s appearance and prevent further damage. By following the steps outlined in this guide, you can achieve professional-looking results and protect your car’s finish for years to come. Don’t let small chips detract from your car’s beauty – take action and repair them today! Addressing these imperfections proactively will keep your car looking its best.
FAQ
-
How long does touch-up paint take to dry? Drying time varies depending on the type of paint and environmental conditions, but generally, it takes a few hours to fully cure.
-
Can I use nail polish to repair a car chip? While tempting, nail polish is not designed for automotive paint and won’t provide a durable or long-lasting repair.
-
What if the chip is on a plastic bumper? The same basic repair principles apply, but you may need a specific type of primer and paint designed for plastic surfaces.
-
How do I find my car’s paint code? Your car’s paint code is usually located on a sticker inside the driver’s side doorjamb or in the owner’s manual.
-
When should I seek professional repair? If the chip is large, deep, or in a difficult-to-reach area, it’s best to consult a professional.
-
Can I prevent all road chips? While some chips are unavoidable, maintaining a safe following distance and avoiding construction zones can reduce the risk.
-
What if the chip has already started to rust? You’ll need to remove the rust before applying primer and touch-up paint. You can consult resources on how to repair car paint rust for more information.
Potential Future Road Chip Questions
- What are the best touch-up paint brands for DIY repairs?
- How to repair road chips on different car paint finishes (metallic, pearlescent)?
- Can clear bra protect against road chips?
Need further assistance? Contact us via WhatsApp: +1(641)206-8880 or Email: [email protected]. Our 24/7 customer support team is ready to help.


