Plastic parts are ubiquitous in modern vehicles, and classic cars are no exception. From interior trim to exterior components, plastic has been used for decades due to its versatility and cost-effectiveness. However, these plastic parts can become brittle, cracked, or broken over time, especially in older vehicles. Replacing them can be costly and challenging, as original parts for classic cars are often rare or no longer available. Fortunately, repairing plastic parts is a viable and rewarding option for classic car enthusiasts looking to maintain the originality and aesthetic of their vehicles. This guide will explore several methods for repairing plastic parts on classic cars, ensuring you can restore these components effectively.
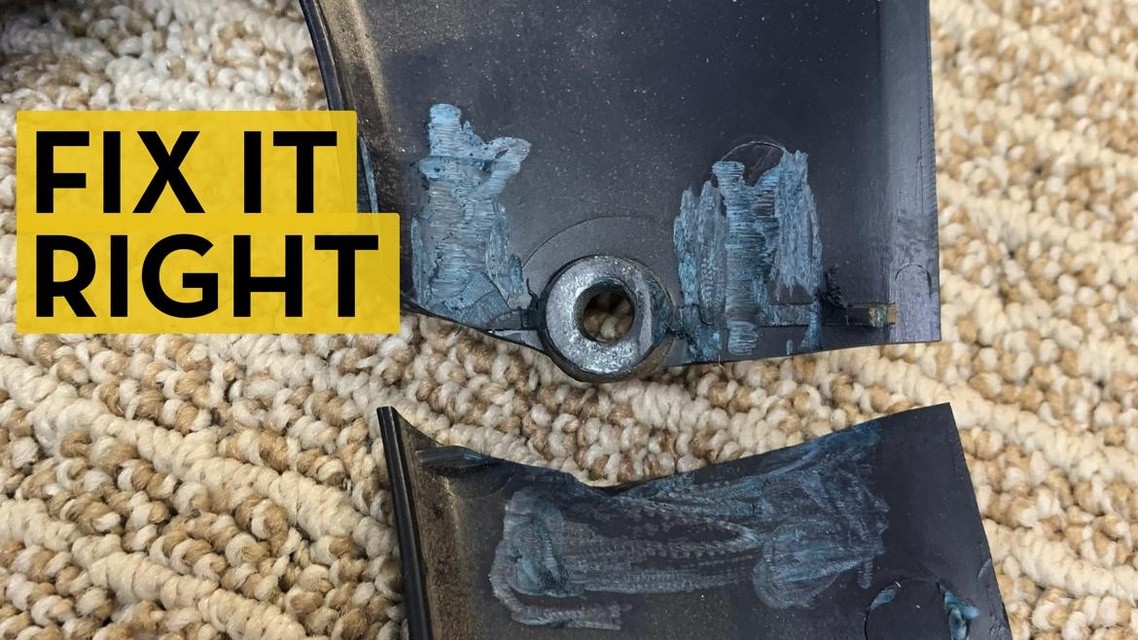 Volkswagen Rabbit GTI with broken A-pillar trim before plastic repair
Understanding the Type of Plastic
Before attempting any repair, it’s crucial to identify the type of plastic you’re working with. Many interior and some exterior parts, especially in cars from the last few decades, are made from ABS (Acrylonitrile Butadiene Styrene). ABS plastic is known for its durability and impact resistance, and importantly, it can be effectively repaired using specific techniques. Other types of plastics might include polypropylene, polyethylene, or fiberglass-reinforced plastics. Identifying the plastic type will guide you in choosing the right repair method and materials.
Common Plastic Repair Methods for Classic Cars
Several methods are effective for repairing plastic parts on classic cars, ranging from simple adhesives to more advanced techniques. Here are some of the most popular and reliable approaches:
ABS Cement Bonding
For ABS plastic parts, ABS cement is an excellent choice. This specialized adhesive chemically bonds ABS plastic together, creating a strong and flexible repair. It works by slightly melting the plastic surfaces and fusing them as it dries. This method is particularly effective for cracks and breaks where pieces fit back together well.
Acetone and ABS Slurry Method
Another effective technique for ABS plastic involves creating an ABS slurry using acetone. This method is particularly useful for filling gaps or reinforcing damaged areas. To create the slurry, simply dissolve small pieces of ABS plastic (like scraps from ABS pipes or donor parts) in acetone. The mixture will form a thick paste that can be applied to the damaged area. For added strength, fiberglass mesh (like drywall repair tape) can be embedded in the slurry to reinforce the repair, similar to working with fiberglass.
Super Glue and Fabric Reinforcement
For smaller cracks or areas needing reinforcement, a combination of super glue (cyanoacrylate adhesive) and fabric can be surprisingly effective. Soak a piece of denim or fiberglass cloth in gel-type super glue and apply it to the back side of the broken plastic part, spanning the crack. The fabric acts as a reinforcement layer, while the super glue hardens to create a strong bond. This method is best suited for areas that are not under significant stress.
Hot Stapler for Structural Repairs
For more significant damage, especially where structural integrity is crucial, a hot stapler is an invaluable tool. This device uses heated staples to embed into the plastic on either side of a crack, effectively “stitching” the pieces together. Hot stapling provides mechanical retention and creates a very strong repair, ideal for load-bearing plastic parts or areas prone to stress. After stapling, the surface can be smoothed and finished for a seamless repair.
Plastic Welding for Comprehensive Restoration
Plastic welding is a more advanced technique that uses a specialized plastic welder to melt and fuse plastic parts together. This method involves using a filler rod made of compatible plastic, which is melted along with the base material to create a strong, seamless weld. Plastic welding is excellent for repairing larger cracks, missing pieces (by grafting in new plastic), and rebuilding damaged sections. It requires more practice and specialized equipment but offers the most professional and durable results.
Step-by-Step Guide: Repairing with Hot Stapler
Let’s outline a basic step-by-step process for repairing plastic trim using a hot stapler:
- Preparation: Clean the plastic part thoroughly with soap and water, and then degrease the repair area with isopropyl alcohol. Ensure the broken edges are clean and fit together as closely as possible.
- Alignment: Clamp or hold the broken pieces together in their original position. Use tape if necessary to maintain alignment.
- Stapling: Select the appropriate staple shape and insert it into the hot stapler. Apply gentle pressure and activate the stapler to embed the staple across the crack, perpendicular to the break. Ensure the staple is embedded securely but not too deep.
- Staple Distribution: Place staples along the crack at intervals of about ½ to 1 inch, or closer for tighter curves or higher stress areas.
- Cooling and Clipping: Allow the staples to cool for a few seconds, then carefully clip off the excess staple legs using side cutters.
- Finishing: Once the structural repair is complete, you can use plastic filler to smooth out the stapled area and blend it with the surrounding surface. Sand the filler smooth and prepare for painting or refinishing as needed.
Tips for Successful Plastic Repair
- Work in a well-ventilated area, especially when using solvents like acetone or adhesives.
- Practice on scrap plastic to get a feel for the chosen repair method before working on the actual car part.
- Take your time and work patiently. Plastic repair often requires multiple steps and careful execution.
- Consider reinforcement for high-stress areas, using fiberglass mesh or metal mesh embedded in the repair material.
- Proper surface preparation is key for any adhesive or filler to bond effectively.
- For painting, use paints specifically designed for plastic to ensure proper adhesion and flexibility.
Conclusion
Repairing plastic parts on classic cars is a worthwhile endeavor that can save you time and money while preserving the originality of your vehicle. By understanding the types of plastic and employing the appropriate repair techniques, from simple bonding to advanced welding, you can effectively restore damaged plastic components and maintain the classic charm of your car for years to come. With the right tools and approach, repairing plastic trim becomes not just a fix, but a rewarding part of classic car ownership and restoration.