Pinstripes on your car, often caused by brushes, branches, or parking mishaps, can be an unsightly annoyance for any car owner. While professional detailing services can handle these scratches, you can effectively remove them yourself with the right tools and techniques. This guide provides a step-by-step approach to repairing pinstripes and restoring your car’s paintwork, focusing on a DIY method using a dual action buffer for optimal results.
Tools You’ll Need:
- Dual Action (DA) Buffer: A quality DA buffer is essential for safe and effective pinstripe removal. Models like the Porter Cable XP are reliable, and more affordable options like those from Harbor Freight can also be effective. Avoid cheap wax spreaders as they lack the necessary power for paint correction.
- Polishing Pads: Choose pads with cutting power to address the scratches. Orange or yellow foam pads, or microfiber pads designed for cutting, are recommended. Microfiber pads are particularly effective for paint correction.
- High-Quality Microfiber Towels: Invest in plush microfiber towels, not the inexpensive, exposed packs. These are crucial for buffing and wiping away compound without scratching the paint. Fold the towels to maximize usage and have multiple clean surfaces available.
- Cutting Compound: A cutting compound is necessary to level the clear coat and remove the scratches. Menzerna Heavy Cut 400 (formerly FG400) is a good option, especially for harder paints, as it cuts effectively and finishes well, often eliminating the need for a separate finishing polish. Meguiar’s M105 is another highly-rated alternative.
Step-by-Step Guide to Pinstripe Repair:
Step 1: Wash and Dry the Area
Begin by thoroughly washing and drying the section of your car where the pinstripes are located. While you don’t need to wash the entire vehicle, ensure the area you’re working on, and a portion of the surrounding panels, are clean. This prevents dirt and debris from being dragged into the paint during the polishing process, which could cause further scratches.
Step 2: Apply Cutting Compound to the Polishing Pad
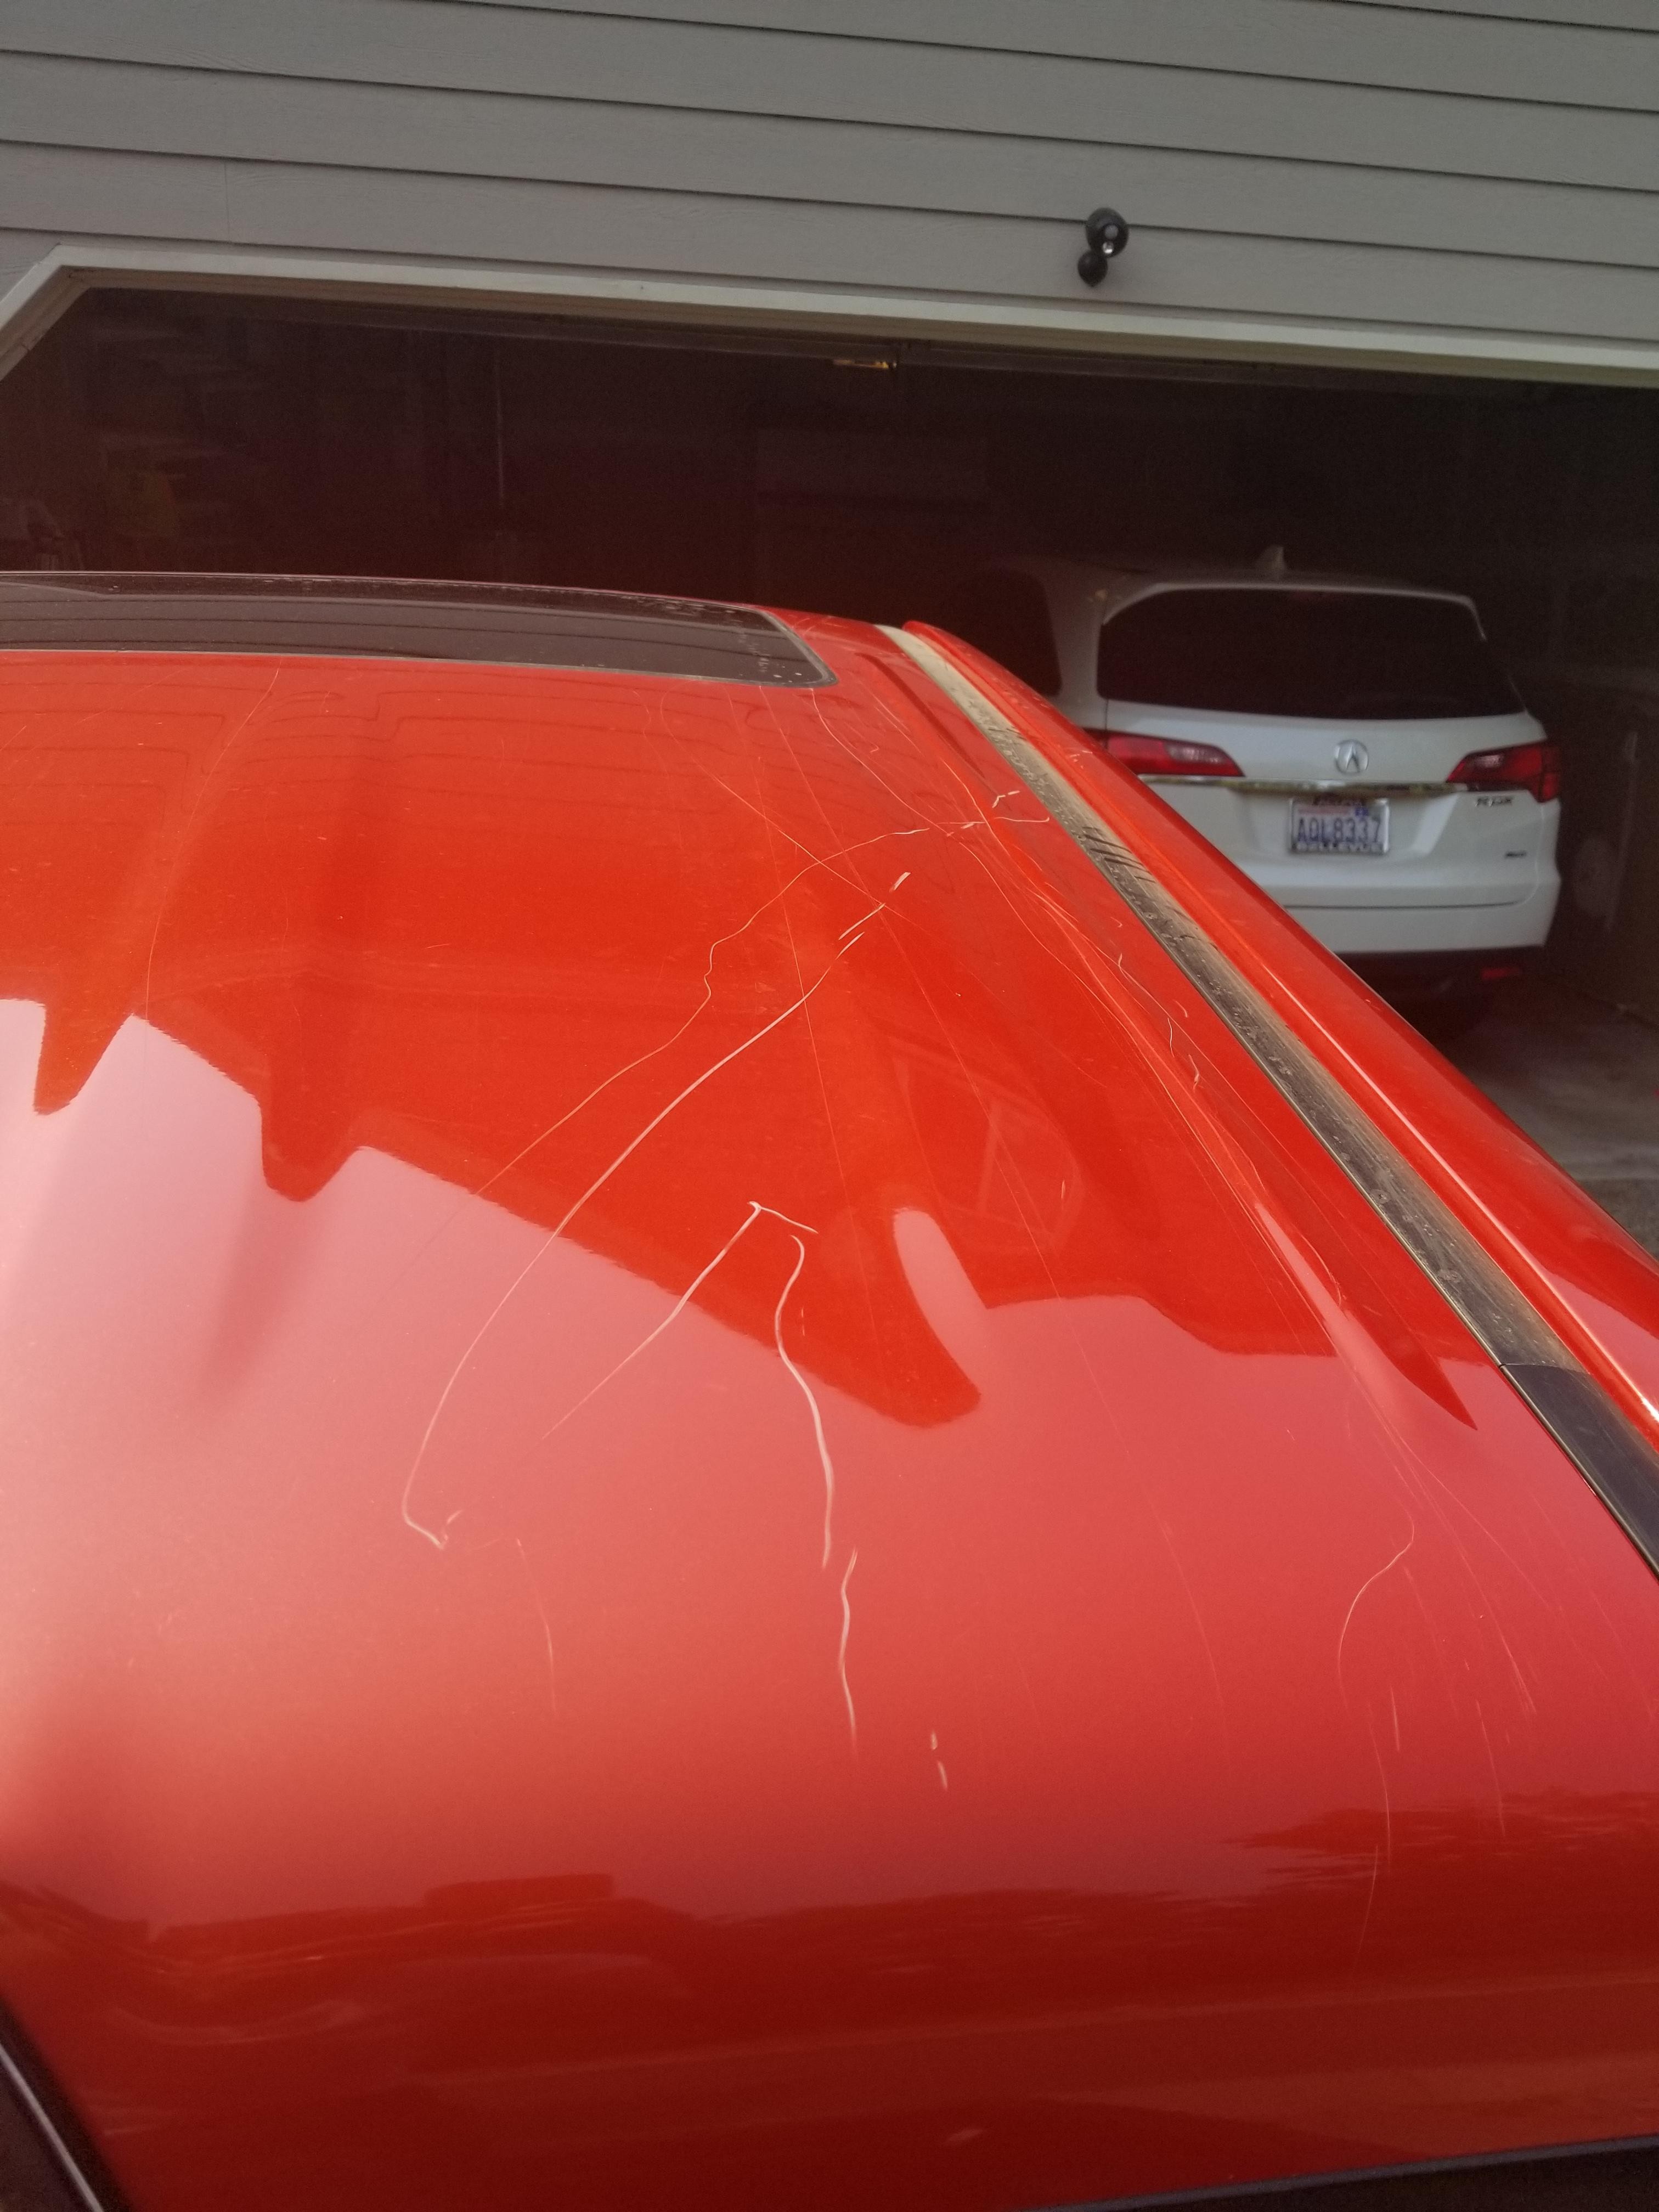
Attach your cutting pad to the DA buffer. Apply a few pea-sized drops of cutting compound evenly around the pad. Avoid placing a large dollop in the center, as this can lead to uneven application. For initial passes, consider starting with a less aggressive pad, such as an orange pad, to assess the severity of the pinstripes. This allows you to determine if the marks are superficial or require a more aggressive approach. In cases of more severe scratches, like those commonly found on vehicle roofs after off-roading, a heavy cutting pad may be necessary from the outset.
Step 3: Prime the Paint Surface
Before you begin buffing, “prime” the paint. Gently touch or “kiss” the paint surface with the pad to distribute a small amount of compound across the area you’ll be working on. This ensures even coverage and lubrication for the buffing process.
Step 4: Buff the Pinstripes
Buff the area using controlled, overlapping passes. Work in a manageable section, approximately 2’x2′. Move the buffer slowly and steadily, spending about 3-5 seconds per foot. Use overlapping strokes, moving left to right, then up and down to ensure consistent coverage. Avoid the temptation to buff the entire length of the scratch at once; focus on smaller sections for more effective scratch removal. Apply moderate pressure and perform 3-4 passes over the section. After each set of passes, wipe away the compound residue with a clean microfiber towel to check your progress. Depending on the depth of the pinstripes, you may need just one pass or several passes to achieve the desired level of correction.
Step 5: Buff off Polish Residue and Inspect
Once you have completed buffing and are satisfied with the pinstripe removal, use a clean microfiber towel to thoroughly buff off any remaining polish residue. Inspect the repaired area in good lighting to ensure the pinstripes are gone and the paint finish is smooth and even.
Additional Pinstripe Removal Examples:
The entire process for repairing pinstripes, such as those on a car roof or smaller sections, typically takes between 20 to 30 minutes. Polishing compounds may produce some dust as they are worked, so it’s advisable to wash or at least rinse down the entire car once you have finished polishing all the affected areas.
With patience and the correct technique, repairing pinstripes yourself is achievable and can significantly improve your car’s appearance. Good luck, and enjoy a scratch-free finish!