Perforated leather car seats add a touch of luxury and sportiness to any vehicle. However, the intricate perforations that make them so appealing can also make them more susceptible to damage. Tears, cuts, and snags can quickly turn your plush seats into an eyesore.
This comprehensive guide will walk you through the steps on how to repair perforated leather car seats and restore their former glory. Whether you’re dealing with minor blemishes or more significant damage, we’ve got you covered.
Understanding Perforated Leather and Common Damages
Perforated leather car seats use small holes punched into the leather to allow for ventilation and increase comfort, especially with heated or cooled seats. These perforations, however, create weaker points in the leather, making it prone to tears and snags.
Common damages to perforated leather car seats include:
- Tears: Tears often occur along seams, perforation edges, or due to sharp objects.
- Cuts: Similar to tears, cuts are usually caused by sharp objects and can sever leather fibers.
- Snags: The delicate perforations can easily snag on jewelry, zippers, or rough clothing.
- Cracks: Prolonged exposure to sunlight and heat can dry out the leather, leading to cracks.
DIY Repair vs. Professional Upholstery Repair
Before diving into DIY repair methods, it’s essential to assess the extent of the damage. Minor tears, cuts, or snags can often be addressed with DIY repair kits and a little patience. However, for extensive damage, deep cuts, or if you’re uncomfortable working with leather, seeking professional upholstery repair is always the best course of action.
Expert Insight: “While DIY repair kits can be effective for minor damage, remember that working with leather requires patience and precision,” says John Miller, a veteran automotive upholsterer with over 20 years of experience. “If you’re unsure about tackling the repair yourself, it’s always best to consult a professional.”
Gathering Your Repair Supplies
To embark on your perforated leather car seat repair journey, you’ll need the following supplies:
- Leather Repair Kit: Choose a high-quality kit specifically designed for leather car seats.
- Cleaning Solution: Use a dedicated leather cleaner to remove dirt, grime, and any residues.
- Microfiber Cloths: These lint-free cloths are ideal for cleaning and applying leather products.
- Scissors: Sharp scissors will help you trim any loose threads or frayed edges.
- Tweezers: Use tweezers for precise placement of repair patches or sub-patches.
- Heat Gun or Hair Dryer (Optional): Applying heat can help activate adhesives and enhance bonding.
Step-by-Step Guide to Repairing Perforated Leather Car Seats
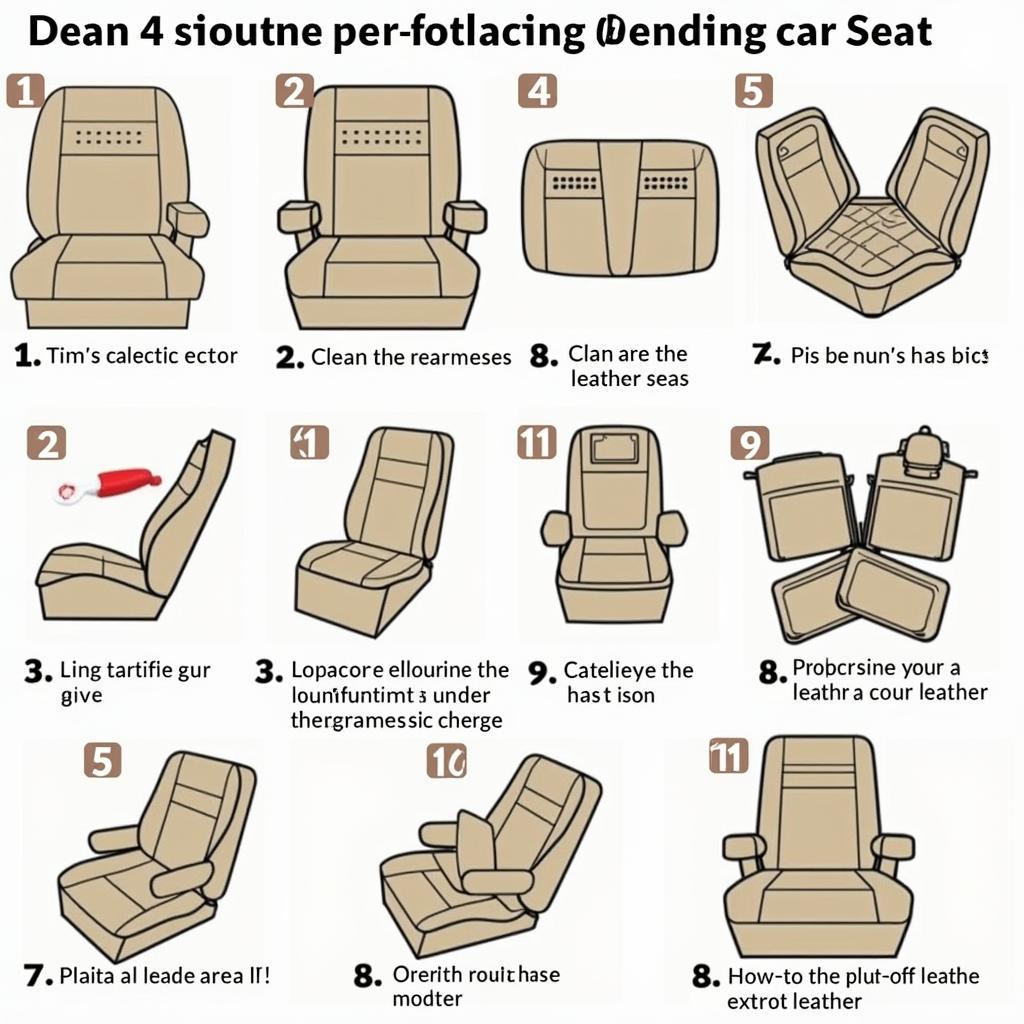
 Steps to repair a perforated leather car seat
Follow these steps to effectively repair your perforated leather car seats:
- Clean the Area: Thoroughly clean the damaged area and surrounding leather with a leather cleaner and a microfiber cloth.
- Assess and Trim: Examine the damage closely and use scissors to carefully trim any loose threads or frayed edges around the affected area.
- Prepare the Repair Patch: Most leather repair kits come with a backing fabric (sub-patch) and a color-matched leather filler compound. Cut a sub-patch slightly larger than the damaged area.
- Apply the Sub-Patch: Following the instructions provided with your repair kit, apply the adhesive to the sub-patch and carefully position it behind the damaged area.
- Fill the Damage: Apply the leather filler compound to the damaged area, ensuring it fills the tear or cut completely. Use a palette knife or a similar tool to create a smooth and even surface.
- Apply Heat (Optional): If your repair kit recommends heat application, use a heat gun or hairdryer on a low setting to activate the adhesive and improve bonding. Be careful not to overheat the leather.
- Match the Texture (If Necessary): Some repair kits include a grain paper that can be used to imprint a matching texture onto the filler compound. Follow the kit instructions for this step.
- Color Matching (If Necessary): If your repair kit includes leather dyes, use them to blend the repaired area with the surrounding leather. Apply the dye in thin coats, allowing each coat to dry completely before applying the next.
- Apply Leather Conditioner: Once the repair is complete and the area is dry, apply a high-quality leather conditioner to the entire seat to restore its suppleness and protect it from future damage.
Preventing Future Damage
Prevention is always the best medicine. Here are some tips to keep your perforated leather car seats looking pristine:
- Regular Cleaning: Regularly clean your leather seats with a dedicated leather cleaner to prevent dirt and grime buildup.
- UV Protection: Park your car in the shade or use a windshield sunshade to protect your seats from harmful UV rays that can cause fading and cracking.
- Use Seat Covers: Consider using breathable seat covers to protect your leather seats from everyday wear and tear, especially if you frequently transport passengers or pets.
- Be Mindful of Sharp Objects: Avoid placing sharp objects on your seats that could cause cuts or punctures.
- Address Damage Promptly: Don’t ignore minor damage. Addressing tears, cuts, or snags early can prevent them from worsening over time.
Conclusion
Repairing perforated leather car seats may seem daunting at first, but with the right tools, patience, and guidance, you can successfully restore your seats to their former glory. Remember to assess the damage carefully, gather the necessary supplies, and follow the step-by-step instructions. For extensive damage or if you’re unsure about DIY repairs, consult a professional upholsterer for expert assistance. By taking proactive steps to care for your leather seats and address damage promptly, you can ensure they remain a luxurious and comfortable feature of your vehicle for years to come.
Frequently Asked Questions
- Can I use super glue to repair a tear in my leather car seat?
Using super glue is not recommended for leather car seat repairs. Super glue is too harsh for leather and can cause further damage, making professional repair more difficult.
- How long does it take for a leather repair to dry completely?
Drying times vary depending on the repair kit and the extent of the damage. Generally, it’s best to allow at least 24 hours for the repair to dry completely before using the seat.
- Can I repair burns or heat marks on my leather car seats?
Repairing burns or heat marks on leather car seats can be challenging and often requires professional attention. Severe burns may require replacing the affected panel.
- How often should I condition my leather car seats?
It’s recommended to condition your leather car seats every three months or as needed, depending on usage and climate conditions.
- Can I use household cleaners on my leather car seats?
Avoid using household cleaners, detergents, or all-purpose cleaners on leather car seats. These products can strip the leather of its natural oils, leading to dryness and cracking.
For more detailed guides on specific types of leather car seat repairs, check out our other helpful resources:
- How to Repair Perforated Leather Car Seats Tear
- Car Leather Seat Tear Repair
- How to Repair a Cut in Leather Car Seat
- How to Repair a Car Seat Upholstery
- How to Repair Perforated Leather Car Seat
Need help with your car repairs? Contact us via WhatsApp: +1(641)206-8880, or email us at [email protected]. We have a 24/7 customer support team ready to assist you.


