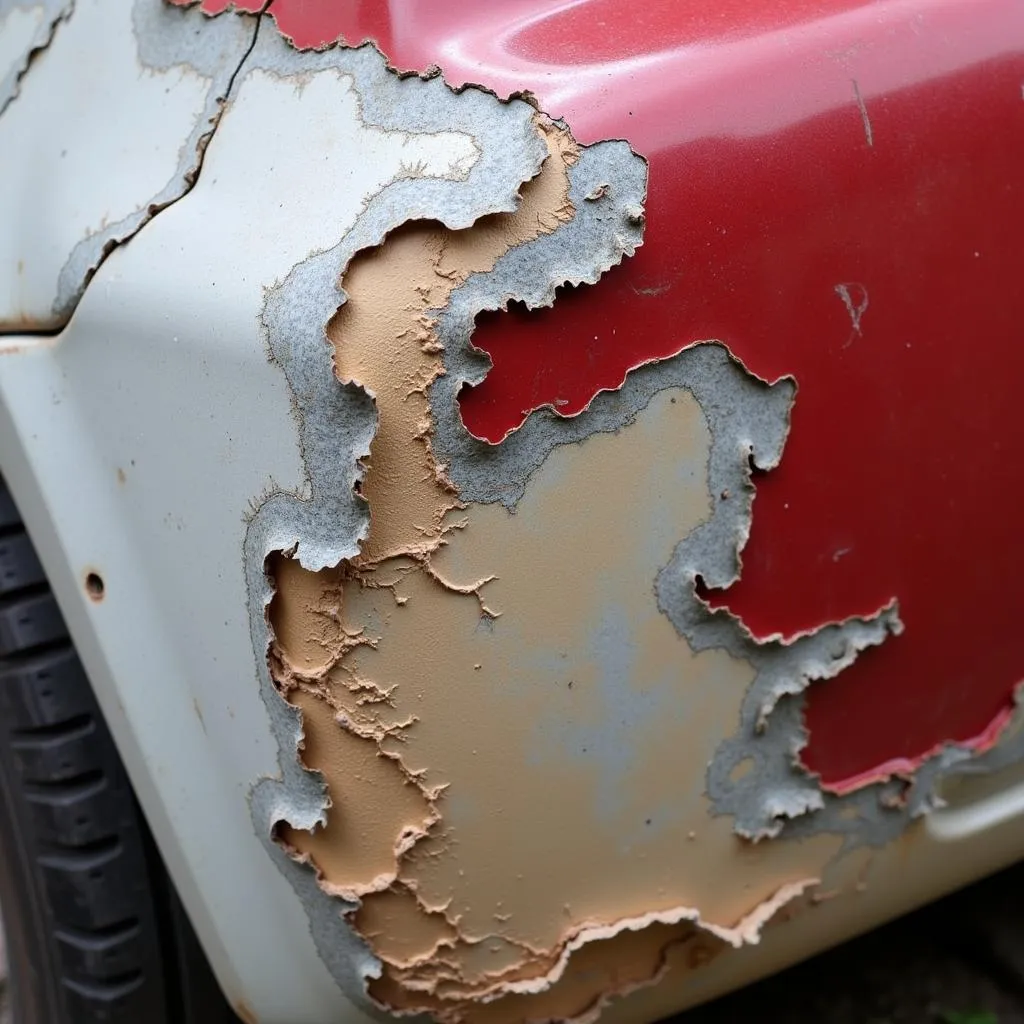
Peeling paint on your car bumper can be an eyesore. Whether caused by sun damage, minor accidents, or road debris, this issue can make your vehicle look older than it is. Thankfully, repairing peeling paint on a car bumper is a manageable DIY project that can save you a trip to the auto body shop. This comprehensive guide will provide a step-by-step approach to help you restore your car bumper’s appearance.
Understanding the Causes of Peeling Paint
Before diving into the repair process, it’s essential to understand what causes paint to peel in the first place. This knowledge helps you address the root cause and prevent future peeling.
- Sun Damage: Prolonged exposure to UV rays can degrade the paint’s protective clear coat, causing it to become brittle and peel.
- Moisture: Water seeping under the paint layers can lead to adhesion problems, eventually causing the paint to bubble and peel.
- Improper Preparation: If the bumper wasn’t properly cleaned and primed before the initial paint application, the paint’s bond to the surface can be weak, leading to peeling.
- Impact Damage: Minor accidents, parking lot bumps, or even road debris impact can chip away the paint, exposing the underlying layers to the elements and making them susceptible to peeling.
Materials You’ll Need for the Repair
Gathering all necessary materials beforehand will streamline the repair process. Here’s what you’ll need:
- Cleaning Supplies: Car wash soap, water, microfiber cloths, wax and grease remover.
- Sandpaper: 220-grit, 400-grit, 600-grit sandpaper
- Primer: Automotive primer specifically designed for plastics (for most bumpers)
- Paint: Matching your car’s paint code (available in spray cans or for use with a spray gun)
- Clear Coat: Automotive-grade clear coat for UV protection and gloss
- Masking Tape & Paper: To protect surrounding areas
- Personal Protective Equipment: Gloves, safety glasses, and a respirator mask
Step-by-Step Guide to Repairing Peeling Paint
Follow these steps carefully to achieve the best results:
-
Clean the Area: Thoroughly wash the bumper with car wash soap and water, ensuring it’s free of dirt and grime. Use a wax and grease remover to remove any residue.
-
Sand the Damaged Area: Using 220-grit sandpaper, sand down the peeling paint and feather the edges into the surrounding area. Gradually move to finer grits (400-grit, then 600-grit) to create a smooth surface for the new paint to adhere to.
-
Mask the Surrounding Area: Use masking tape and paper to protect adjacent areas like headlights, fenders, and trim from overspray.
-
Apply Primer (if necessary): If you sanded down to bare plastic or metal, apply a thin, even coat of primer to the affected area. Primer promotes adhesion and provides a uniform surface for the paint. Allow the primer to dry completely as per the manufacturer’s instructions.
-
Paint Application: Shake the paint can thoroughly (or prepare your spray gun) and apply thin, even coats of paint, allowing each coat to dry completely before applying the next. It’s generally better to apply multiple thin coats than one thick coat to achieve a smooth, factory-like finish.
-
Apply Clear Coat: Once the final coat of paint is dry, apply 2-3 layers of clear coat, allowing adequate drying time between each coat. Clear coat provides UV protection, enhances gloss, and adds durability to your repair.
-
Remove Masking Tape: Once the clear coat is dry to the touch, carefully remove the masking tape and paper.
-
Buffing (Optional): For an even smoother and shinier finish, you can buff the area with a rubbing compound and polishing compound once the clear coat is fully cured (typically after 24-48 hours).
Tips for a Professional-Looking Finish
- Work in a well-ventilated area to avoid inhaling paint fumes.
- Use a tack cloth to remove any dust particles before applying primer or paint.
- Maintain a consistent distance and speed when spraying to avoid runs or uneven coverage.
- If you’re unsure about matching the paint color, consult your car’s owner’s manual or contact your dealership for the exact paint code. Many auto parts stores can also mix paint to match your car’s color.
When to Consider Professional Help
While repairing peeling paint on a car bumper can often be a DIY job, there are situations where seeking professional assistance is recommended:
- Extensive Damage: If the peeling paint is accompanied by deep scratches, dents, or large areas of damage, professional repair might be necessary for optimal results.
- Rust Formation: Peeling paint often exposes the underlying metal to moisture, which can lead to rust. If you notice rust, addressing it promptly by a professional is crucial to prevent further damage.
- Lack of Experience: If you’re uncomfortable with the repair process or lack the necessary tools and experience, it’s best to leave it to the professionals.
Car Bumper Repair London
If you’re in the London area and prefer professional assistance, consider our expert car bumper repair services. We have experienced technicians who can restore your bumper to its former glory.
Maintaining Your Repaired Bumper
To prevent future paint peeling and keep your car looking its best, follow these maintenance tips:
- Regular Washing: Wash your car regularly to remove dirt, grime, and contaminants that can degrade the paint over time.
- Waxing: Applying a coat of wax every few months provides an extra layer of protection against UV rays and environmental damage.
- Touch-Up Paint: Keep a small bottle of touch-up paint that matches your car’s color on hand. This allows you to address minor chips and scratches promptly before they escalate into larger peeling issues.
Conclusion
Repairing peeling paint on your car bumper can seem daunting, but with the right approach and a bit of patience, it’s an achievable DIY task. Following the steps outlined in this guide will help you restore your car bumper’s appearance and protect it from future damage. Remember, regular maintenance and prompt attention to minor issues can go a long way in keeping your car looking its best for years to come.
FAQs
Q: Can I use regular spray paint on my car bumper?
A: It’s not recommended to use regular spray paint on car bumpers. Automotive paint is specifically designed to withstand the rigors of outdoor elements, UV exposure, and minor abrasions.
Q: How long does it take for the paint to cure completely?
A: While the paint may seem dry to the touch within a few hours, it typically takes 24-48 hours for the paint to cure completely. Avoid washing or waxing your car during this time.
Q: Can I sand down the entire bumper and repaint it?
A: While it’s possible to sand and repaint the entire bumper, it’s a more involved process that requires careful preparation and technique. For best results, if the peeling is widespread, consider seeking professional assistance.
Q: What happens if I don’t use a clear coat?
A: While your paint job might initially look fine, skipping the clear coat leaves it vulnerable to UV damage, fading, and scratching. The clear coat provides essential protection and enhances the gloss of your paintwork.
Car Bumper Repair Material
Need high-quality materials for your car bumper repair? Find everything you need on CarRepairOnline, your one-stop shop for all car repair needs.
Remember, if you’re facing challenges with your car bumper or need expert advice, don’t hesitate to contact us via WhatsApp at +1(641)206-8880 or email us at [email protected]. Our dedicated customer support team is available 24/7 to assist you.


