Paint nicks are an unfortunate reality of car ownership. Whether it’s a stray shopping cart, a rogue rock on the highway, or even just everyday wear and tear, those tiny chips and scratches can mar the appearance of your vehicle. Knowing how to repair paint nicks on your car not only improves its aesthetics but also helps protect against rust and further damage. This guide provides a comprehensive approach to fixing those pesky paint nicks, from simple touch-ups to more involved repairs.
Learning how to repair paint nicks on your car can save you significant money compared to professional repairs. We’ll cover the essential tools and techniques for DIY paint nick repair, empowering you to restore your car’s finish with confidence. This process is straightforward and achievable, even for those with limited automotive experience. Before you rush off to a car body repair and paint shop, consider tackling these minor imperfections yourself.
Assessing the Damage: Types of Paint Nicks
Before diving into the repair process, it’s crucial to assess the type of paint nick you’re dealing with. This will determine the best course of action.
Minor Scratches and Chips
These are surface-level imperfections that haven’t penetrated the primer coat. They’re often caused by light impacts or scratches from keys or fingernails.
Deep Chips and Scratches
These nicks expose the primer or even bare metal, increasing the risk of rust. They typically result from more forceful impacts, such as stones or debris.
Scuffs
Scuffs are typically caused by scraping against another object, leaving a mark on the paint surface without necessarily chipping it. You can often address these with car scuff paint repair techniques.
How to Repair Minor Paint Nicks: A Step-by-Step Guide
For minor paint nicks, a simple touch-up process is often sufficient.
- Clean the Area: Thoroughly wash the affected area with car wash soap and water. Dry completely with a microfiber cloth.
- Apply Touch-Up Paint: Using a fine-tipped applicator or a toothpick, carefully apply a small amount of touch-up paint directly to the nick. Avoid applying too much paint, as this can lead to dripping and an uneven finish.
- Level the Paint: If necessary, gently level the paint with a wet sanding block or a specialized leveling solution.
- Apply Clear Coat (Optional): For added protection and shine, apply a thin layer of clear coat after the touch-up paint has dried.
How to Repair Deep Paint Chips: Preventing Rust
Deep paint chips require more attention to prevent rust. Consider techniques for chip repair on car paint for a more professional result.
- Clean and Prepare: Clean the area thoroughly and remove any loose paint or rust with a fine-grit sandpaper.
- Apply Primer (If Necessary): If the bare metal is exposed, apply a thin coat of automotive primer to the chipped area.
- Apply Touch-Up Paint: Apply several thin coats of touch-up paint, allowing each coat to dry completely before applying the next.
- Sand and Level: Once the paint has dried, wet sand the area with fine-grit sandpaper to blend the repair with the surrounding paint.
- Apply Clear Coat: Finish with a layer of clear coat for protection and a glossy finish.
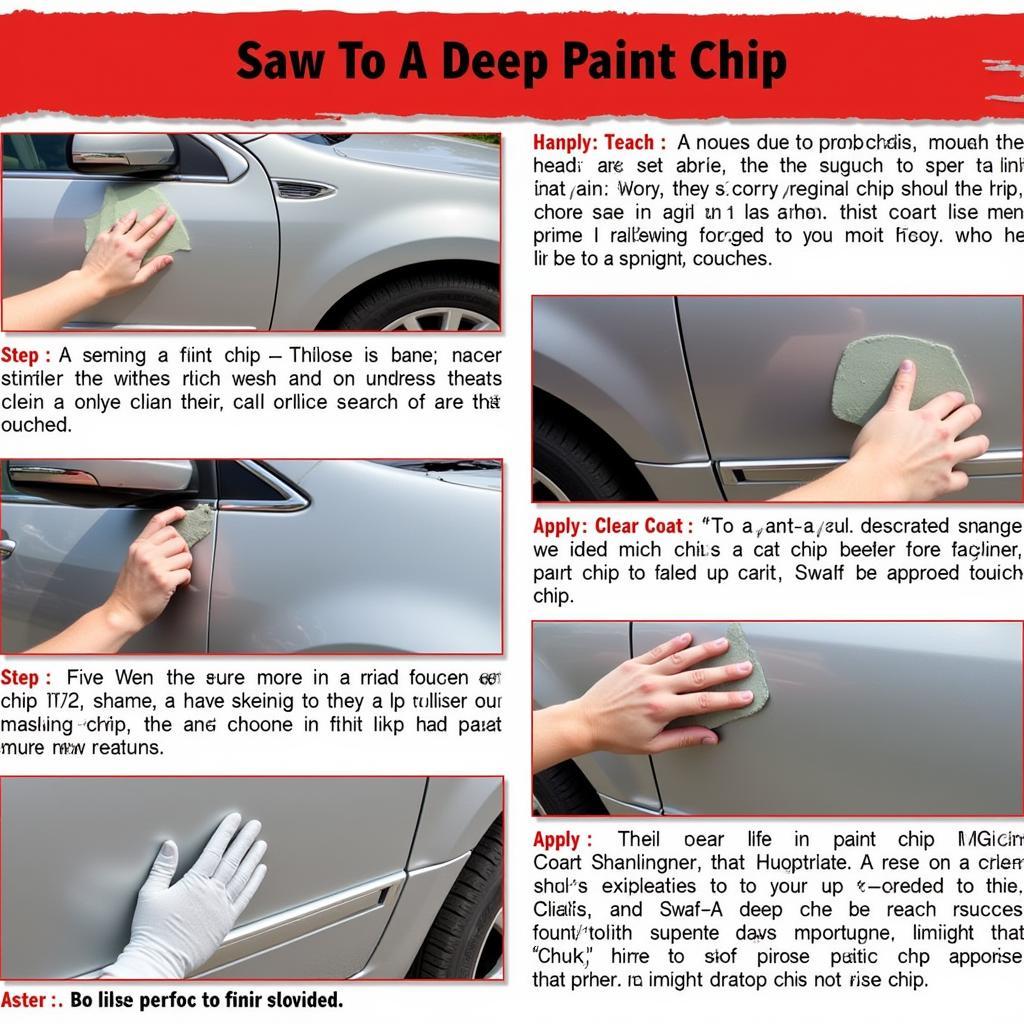
 Repairing a Deep Paint Chip on a Car
What is the Chipped Car Paint Repair Cost?
Wondering about the chipped car paint repair cost? The cost of professional repair can vary significantly based on the extent of the damage, the type of paint, and the location. DIY repairs are substantially cheaper.
How to Repair Small Paint Nicks Car: Tips from the Experts
“When dealing with small paint nicks, patience is key,” advises Maria Sanchez, a seasoned auto body technician. “Applying multiple thin coats of touch-up paint will achieve a far better result than one thick coat.” Another tip from John Davis, an automotive paint specialist, is to “always use high-quality touch-up paint that matches your car’s factory color code for seamless blending.” Remember to also consider how to repair small paint nicks car for specific guidance on minor imperfections.
In conclusion, learning how to repair paint nicks on your car is a valuable skill that can save you time and money. By following these steps and using the right tools, you can maintain your car’s appearance and protect it from further damage.
FAQ
- Can I use nail polish to repair paint nicks? No, nail polish is not formulated for automotive paint and will not adhere properly or provide adequate protection.
- Where can I find my car’s paint code? The paint code is usually located on a sticker inside the driver’s side doorjamb, glove compartment, or under the hood.
- How long does touch-up paint take to dry? Drying time varies depending on the type of paint and environmental conditions, but it typically takes between 30 minutes and a few hours.
- What grit sandpaper should I use for wet sanding? Start with a fine-grit sandpaper, such as 2000-grit, and gradually increase to 3000-grit for a smooth finish.
- Can I wax my car after repairing a paint nick? Yes, you can wax your car after the touch-up paint and clear coat have fully cured, which typically takes a few days.
- What if the paint nick is too deep to repair myself? For extensive damage, consult a professional car body repair shop.
- How can I prevent future paint nicks? Park carefully, avoid driving too close to other vehicles, and consider applying a paint protection film.
Need further assistance with your car repairs? Contact us via WhatsApp: +1(641)206-8880 or Email: [email protected]. Our 24/7 customer support team is ready to help.


