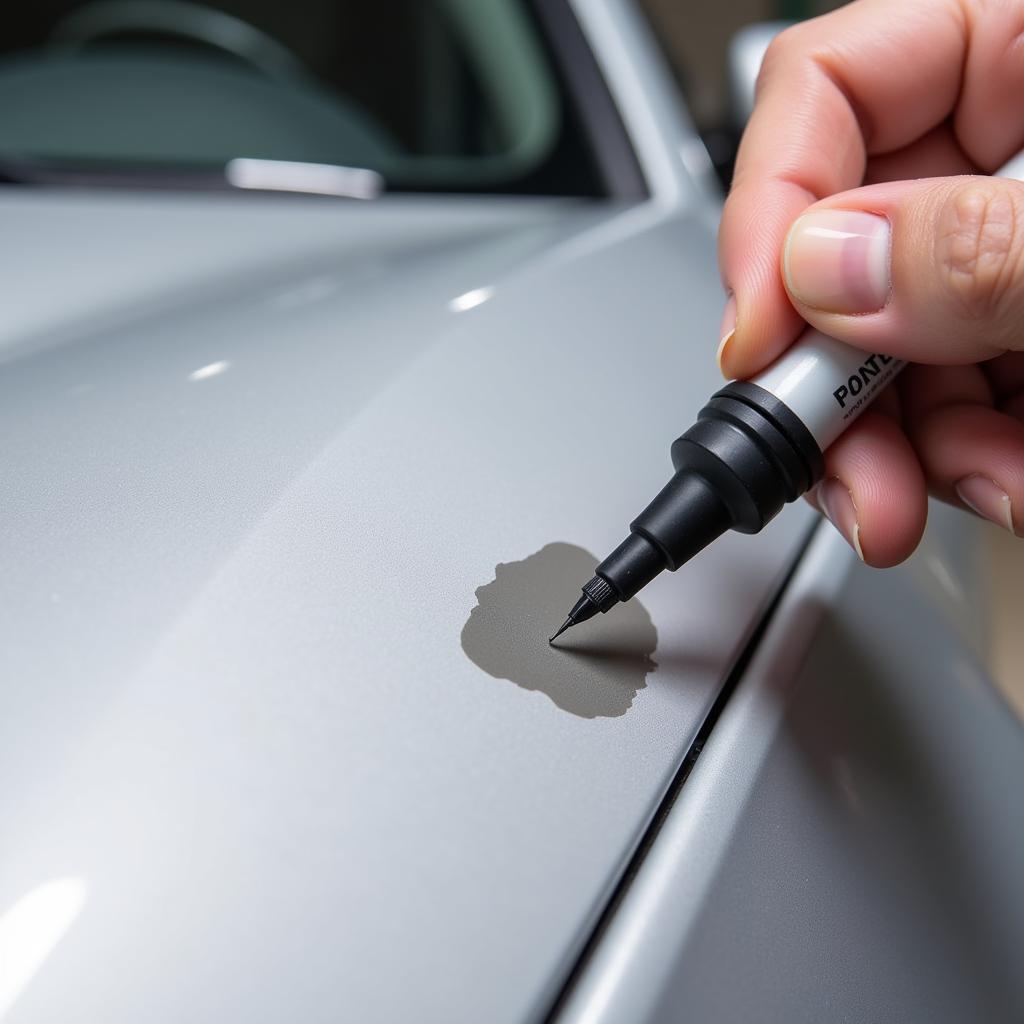
Paint chips are an unfortunate reality of car ownership. Whether it’s a stray rock on the highway, a careless door ding in a parking lot, or simply the wear and tear of time, these small blemishes can detract from your car’s appearance and even lead to rust. Fortunately, repairing paint chips is often a manageable DIY project that can save you a significant amount of money compared to a professional repair. This guide will walk you through the process of how to repair paint chips on cars, from assessing the damage to achieving a seamless finish.
Learning how to repair paint chips on cars yourself can not only save you money but also give you a sense of accomplishment. Before you start, it’s crucial to assess the severity of the damage. Minor chips, affecting only the clear coat or top layer of paint, can often be addressed with touch-up paint and a bit of polishing. Deeper chips, however, may require more extensive preparation, including sanding and priming, to ensure a proper and lasting repair. Knowing how to identify the type of damage will help you choose the right repair method and achieve the best results.
Identifying the Chip and Gathering Your Supplies
The first step in repairing paint chips on cars is identifying the depth of the damage. Is it a superficial scratch, or does it go down to the metal? This will determine your approach. For minor chips, a touch-up paint pen or bottle, some rubbing compound, and a microfiber cloth will suffice. For deeper chips, you’ll also need primer, fine-grit sandpaper, and potentially a clear coat.
 Repairing Minor Paint Chip on Car
Knowing how to repair chips in paint on cars starts with having the right materials. A quality paint chip repair kit can make the process much smoother. Consider the location of the chip. Is it in a highly visible area? This might necessitate a more meticulous approach.
Preparing the Area
Before applying any paint, clean the area around the chip thoroughly with soap and water, then dry it completely. For deeper chips, lightly sand the area with fine-grit sandpaper to smooth out any rough edges and create a better surface for the primer and paint to adhere to. Be sure to remove any dust or debris created by sanding.
Applying Primer (For Deep Chips)
If the chip has penetrated the primer layer and exposed the bare metal, you’ll need to apply primer before the touch-up paint. This prevents rust and provides a uniform base for the paint. Apply a thin coat of automotive primer to the chipped area, allowing it to dry completely according to the manufacturer’s instructions.
Applying Touch-Up Paint
Once the primer is dry (if applicable), apply the touch-up paint to the chip. Use thin coats, allowing each coat to dry before applying the next. It’s better to apply multiple thin coats than one thick coat, which can lead to bubbling or an uneven finish. You might find paint chip repair kits car helpful for this process.
“When applying touch-up paint, patience is key,” says renowned auto detailer, Michael Davis. “Several thin coats will yield a much better result than one thick, gloppy application.”
Leveling the Paint (For Deep Chips)
If you’ve filled a deep chip, the touch-up paint may sit slightly proud of the surrounding paint. Once the paint is completely dry, you can carefully level it by wet sanding with very fine-grit sandpaper (2000-grit or higher). This process requires a gentle touch to avoid removing too much paint. Remember, you can always remove more, but you can’t add it back once it’s gone. For advice on how long this process might take, check out how long to repair car paint damage.
Applying Clear Coat (If Necessary)
Some cars have a clear coat over the base color. If your car does, and the chip penetrates the clear coat, you’ll need to apply a clear coat after the touch-up paint has dried and been leveled. This restores the original shine and protects the underlying paint.
Polishing and Finishing
Once the clear coat is dry (if applicable), you can polish the area with rubbing compound to blend the repair seamlessly with the surrounding paint. Use a microfiber cloth and apply gentle pressure in circular motions. This step removes any remaining imperfections and restores the gloss of the paint. For more complicated repairs, consider searching for “car repair paint near me” to locate professional assistance. You can also check out our guide on repair deep paint chip car for more detailed instructions.
“A final polish truly makes the repair invisible,” advises Maria Sanchez, a leading automotive paint specialist. “It’s the final touch that brings the whole process together.”
Conclusion
Repairing paint chips on cars is a straightforward process that can significantly improve your car’s appearance and protect it from further damage. By following these steps and taking your time, you can achieve professional-looking results and save yourself the cost of a trip to the body shop. Now that you know how to repair paint chips on cars, you can keep your vehicle looking its best for years to come.
FAQ
- What type of paint should I use for touch-ups? Always use automotive touch-up paint that matches your car’s exact color code.
- Can I repair paint chips in any weather? Ideally, repair paint chips in a dry, well-ventilated area with moderate temperatures.
- How long does the repair take? The repair time varies depending on the chip’s depth and the drying times of the products used.
- What if the chip is very large or deep? For extensive damage, it’s best to consult a professional auto body repair shop.
- Can I wax my car after repairing a paint chip? Yes, you can wax your car after the repair area is completely dry and cured.
- Where can I find my car’s paint code? The paint code is usually located on a sticker inside the driver’s side doorjamb or in the owner’s manual.
- What if the touch-up paint doesn’t match perfectly? Slight color variations can occur. Blending and polishing can help minimize the difference.
Common Scenarios
- Scenario 1: Small rock chip on the hood. Solution: Clean the area, apply touch-up paint, and polish.
- Scenario 2: Deep scratch on the bumper exposing metal. Solution: Clean, sand, prime, apply touch-up paint, level, apply clear coat (if applicable), and polish.
- Scenario 3: Numerous chips along the lower panels. Solution: Assess the depth of each chip and address them individually using the appropriate methods.
Further Reading
For more information, please visit our articles on related topics: How to remove scratches from car paint, DIY car detailing tips, and protecting your car’s paint in winter.
Need help with your car repair? Contact us via WhatsApp: +1(641)206-8880 or Email: [email protected]. Our customer support team is available 24/7.


