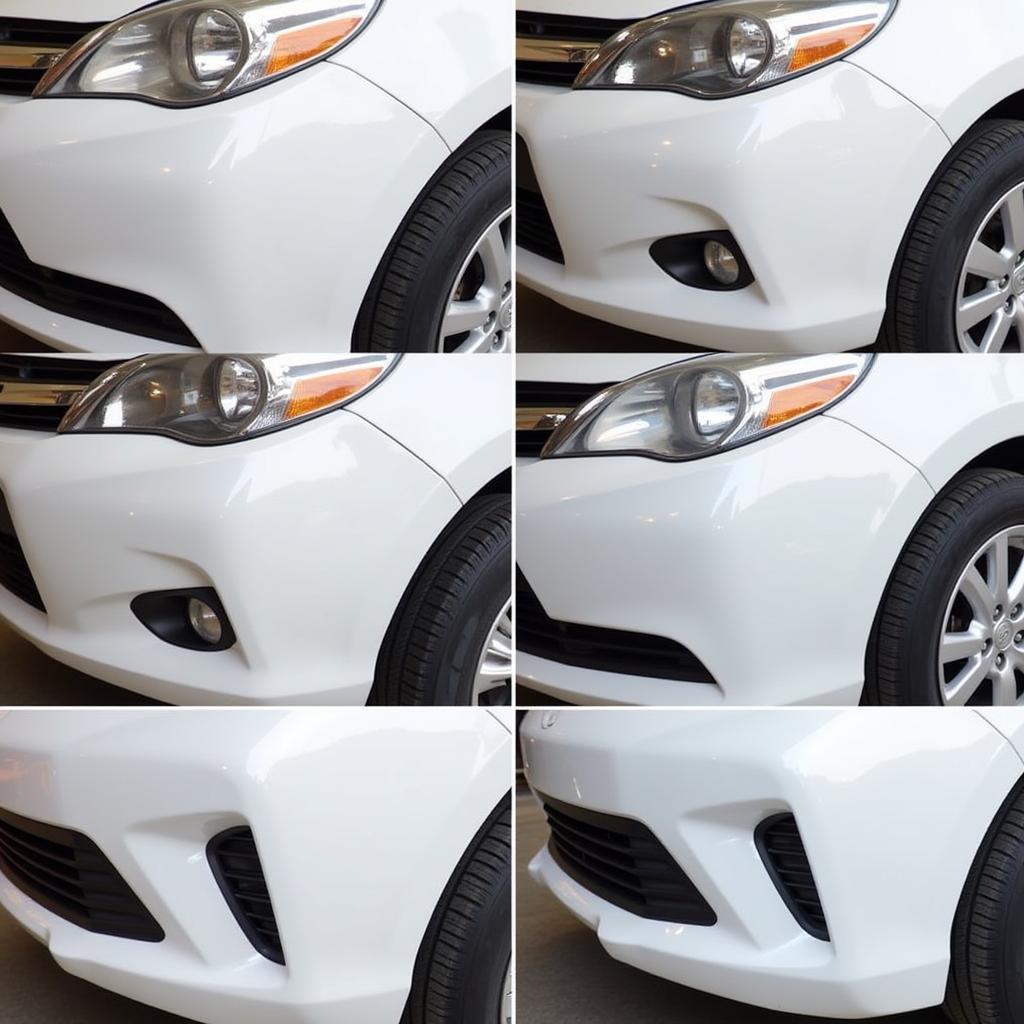
Fixing those pesky paint chips on your car bumper can feel daunting, but with a little know-how, you can tackle this common car repair yourself and save money. This guide will provide a step-by-step approach to repairing paint chips, from simple touch-ups to more involved repairs, empowering you to restore your bumper’s appearance. Whether it’s a minor scratch or a more noticeable chip, you’ll learn how to address the issue effectively. Learn the techniques, tools, and tips needed for a professional-looking finish.
how to repair paint chip on car bumper
Assessing the Damage: How Bad is the Chip?
Before you start, it’s essential to evaluate the extent of the damage. Is it a superficial scratch, a chip that’s reached the primer, or has it gone down to the bare metal? This assessment determines the appropriate repair method. A minor scratch might only require touch-up paint, whereas a deeper chip necessitates more extensive preparation.
Gathering Your Supplies: The Right Tools for the Job
Having the correct tools and materials makes the repair process smoother and yields better results. You’ll need items like touch-up paint (matched to your car’s color code), primer, sandpaper, rubbing compound, polishing compound, masking tape, and applicators. A clean microfiber cloth is also crucial for achieving a polished finish.
Step-by-Step Guide to Repairing Paint Chips
Here’s a detailed guide to effectively repair paint chips on your car bumper:
- Clean the Area: Thoroughly clean the chipped area with soap and water, then dry it completely. This removes any dirt or debris that could interfere with the repair.
- Sanding (If Necessary): If the chip is deep and has exposed the metal or primer, lightly sand the area with fine-grit sandpaper to create a smooth surface for the primer and paint to adhere to.
- Applying Primer (If Necessary): If you’ve sanded down to the metal, apply a thin coat of automotive primer to the chipped area. Let it dry completely according to the manufacturer’s instructions.
- Applying Touch-Up Paint: Using a fine-tipped brush or touch-up pen, carefully apply thin layers of touch-up paint to the chipped area. Allow each layer to dry before applying the next. Avoid applying too much paint at once to prevent runs and drips.
- Leveling the Paint: Once the touch-up paint is dry, you might need to level the repaired area with the surrounding paint. Wet sanding with very fine-grit sandpaper can help achieve a smooth, even surface.
- Compounding and Polishing: After leveling, use rubbing compound followed by polishing compound to remove any sanding marks and blend the repaired area seamlessly with the rest of the bumper.
Preventing Future Paint Chips: Protecting Your Bumper
While repairs are effective, prevention is always better. Consider applying a clear protective film or coating to your bumper to safeguard it against future chips and scratches. Regular washing and waxing can also help maintain the paint’s integrity and prevent minor damage.
DIY vs. Professional Repair: When to Seek Expert Help
While minor paint chips are manageable DIY projects, larger or more complex damage might require professional attention. If the chip is extensive, involves significant cracking, or you’re not comfortable with the repair process, seeking a professional car paint repair service is the best course of action.
“For deep chips that expose the bare metal, it’s crucial to address the issue promptly to prevent rust,” advises John Smith, Senior Automotive Technician at Smith Auto Repair. “Applying primer before the touch-up paint is essential in these cases.”
How Long Does the Repair Take?
The repair time depends on the severity of the chip and the drying time of the products used. Minor touch-ups can be completed in a few hours, while more involved repairs might take a day or two, considering the drying times for primer and paint layers.
“Regular waxing provides an extra layer of protection and can help prevent minor chips and scratches,” adds Maria Garcia, Certified Auto Detailer at Garcia’s Auto Detailing.
In conclusion, repairing paint chips on your car bumper is a manageable task that can significantly improve your vehicle’s appearance. By following the steps outlined in this guide and using the right tools and techniques, you can achieve professional-looking results and protect your car from further damage. Addressing paint chips promptly not only enhances aesthetics but also prevents potential rust issues, ensuring the longevity of your car’s bodywork.
FAQ
- Can I use any type of touch-up paint? (No, you need to use paint specifically matched to your car’s color code.)
- Do I always need to apply primer? (Only if the chip has reached the metal or primer layer.)
- How many coats of touch-up paint should I apply? (Apply thin layers until the chip is filled and level with the surrounding paint.)
- Can I wash my car after the repair? (Yes, but wait until the paint is completely dry, usually 24-48 hours.)
- What if the chip is very large? (For large or complex chips, professional repair is recommended.)
- How can I find my car’s paint code? (The paint code is usually found on a sticker inside the driver’s side doorjamb or in the owner’s manual.)
- What if I can’t find a perfect color match for my car’s paint? (Consult a professional auto paint supplier for assistance.)
Do you have any other questions about car maintenance or repairs? Check out our articles on how to change your oil and how to check your tire pressure.
Need expert assistance with your car repair? Contact us via WhatsApp: +1(641)206-8880, or Email: [email protected]. Our 24/7 customer service team is ready to help.


