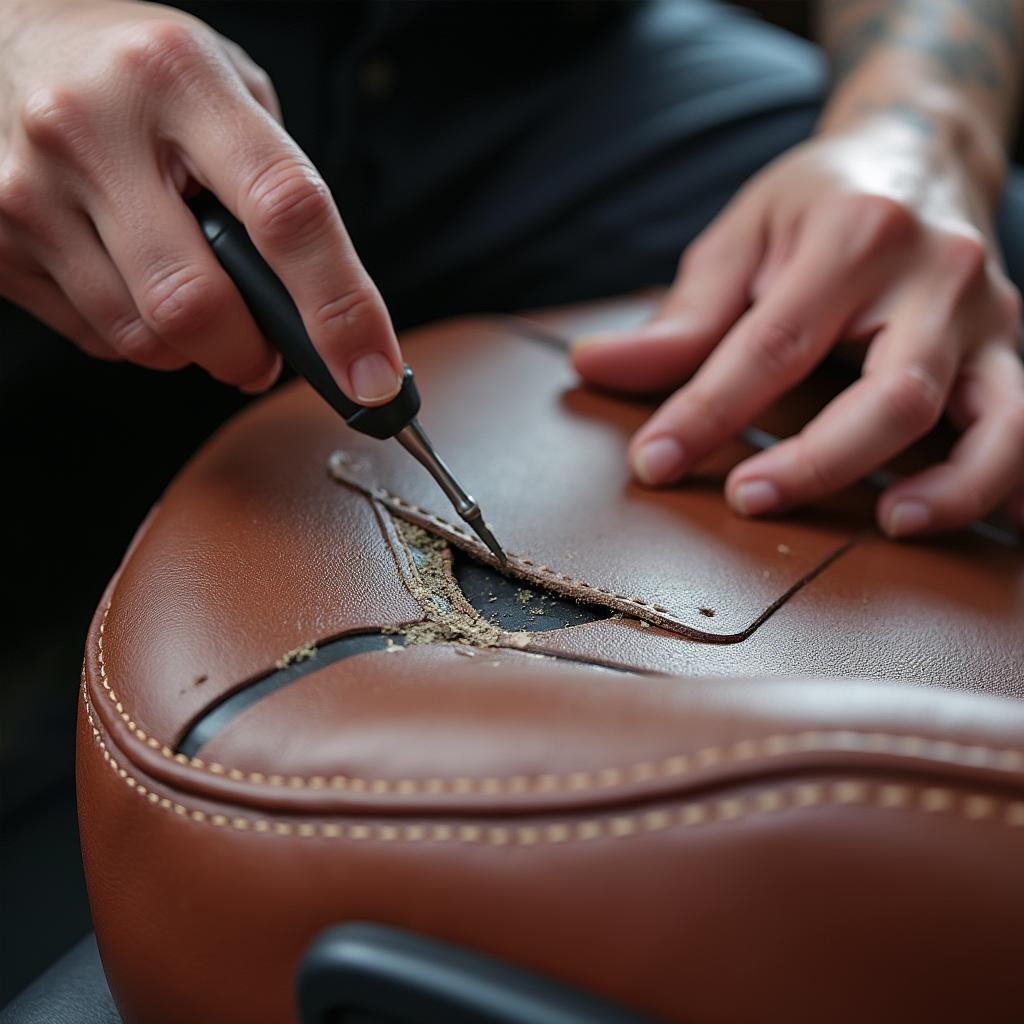
Leather car seats exude luxury and class, but they’re also prone to wear and tear. Scratches, cracks, and fading can make your once pristine interior look worn out. Fortunately, you don’t always need a professional to restore your leather car seats. This guide will walk you through effective DIY methods for repairing different types of damage, helping you save money and bring back that showroom shine.
 Leather Car Seat Repair Kit
Assessing the Damage: What Kind of Repair Does Your Seat Need?
Before you begin, it’s crucial to identify the type of damage your leather car seat has sustained. This will determine the best repair approach.
- Scratches and Scuffs: These are superficial damages that affect the leather’s topcoat.
- Cracks and Tears: These are deeper damages that penetrate the leather’s surface, often due to aging or dryness.
- Fading and Discoloration: This occurs over time due to sun exposure and wear, causing the leather to lose its original color.
- Stains and Spills: These are caused by liquids or substances penetrating the leather’s pores.
DIY Repair Methods for Different Damage Types
Repairing Scratches and Scuffs
- Cleaning: Start by cleaning the affected area with a leather cleaner and a microfiber cloth. This removes dirt and debris that can hinder the repair process.
- Leather Filler (if needed): For deeper scratches, use a leather filler to even out the surface. Apply thinly and let it dry completely.
- Color Matching: Select a leather dye that closely matches your seat’s color. Test it on a hidden area first to ensure a perfect match.
- Dye Application: Apply the leather dye to the scratched area using a sponge or brush, working in thin, even coats.
- Sealing: Once the dye dries, apply a leather sealant to protect the repair and restore the leather’s shine.
For detailed instructions on repairing scratched leather, see our comprehensive guide on how to repair scratched leather car seats.
Addressing Cracks and Tears
- Cleaning: Thoroughly clean the area around the crack or tear with a leather cleaner.
- Leather Repair Patch (if needed): For larger tears, use a leather repair patch as backing support. Adhere it beneath the tear using leather adhesive.
- Leather Filler: Fill the crack or tear with a flexible leather filler. Press it firmly into the damaged area and smooth it out evenly.
- Sanding and Leveling: Once dry, sand the filler using fine-grit sandpaper until it’s flush with the leather surface.
- Color Matching and Application: Follow steps 3 and 4 from the scratch repair method to color-match and apply leather dye.
- Sealing: Finish by applying a leather sealant to protect the repair and restore the leather’s supple feel.
If you’re dealing with scraped leather, our guide on how to repair scraped leather car seats provides specific techniques and tips.
Restoring Faded and Discolored Leather
- Cleaning: Begin by cleaning the seats with a leather cleaner to remove dirt and grime.
- Leather Degreaser (if needed): If the leather is excessively oily or has product buildup, use a leather degreaser to prepare the surface for dyeing.
- Leather Dye: Choose a high-quality leather dye that matches your seat’s original color.
- Dye Application: Apply the leather dye evenly to the entire seat surface using a sponge or paintbrush. Multiple thin coats provide better coverage than one thick coat.
- Sealing: Once the dye dries completely, apply a leather conditioner to moisturize the leather and a leather sealant to protect the color and enhance its shine.
Handling Stains and Spills
- Immediate Action: Blot spills immediately with a clean cloth to prevent the liquid from soaking into the leather.
- Mild Soap Solution: For fresh stains, try a mild soap solution (a few drops of dish soap in water) and a microfiber cloth. Gently rub the stain in a circular motion.
- Specialized Leather Cleaners: For stubborn stains, use a specialized leather cleaner formulated to tackle specific substances like ink, grease, or food.
- Professional Cleaning (if needed): For deep-set or extensive stains, consider professional leather cleaning services.
For more information on repairing leather furniture and car seats, check out this helpful resource: how to repair scratched leather furniture and leather car seats.
Tips for Successful Leather Car Seat Repair
- Patience is Key: Leather repair requires patience, especially when color matching and applying dye.
- Work in a Well-Ventilated Area: Leather dyes and sealants often have strong odors, so ensure proper ventilation.
- Test Products First: Always test any product on a hidden area of the seat to check for color accuracy and potential adverse reactions.
- Regular Maintenance: Prevent future damage by regularly cleaning and conditioning your leather car seats.
“Investing a little time in learning how to repair your own leather car seats can save you a significant amount of money in the long run,” says John Miller, an experienced automotive upholsterer. “With the right tools and a bit of patience, you can achieve professional-looking results.”
Conclusion
Repairing your leather car seats doesn’t have to be a daunting task. By understanding the type of damage and following the appropriate repair methods, you can restore their beauty and prolong their lifespan. Remember to prioritize regular cleaning and conditioning to keep your leather seats looking their best for years to come. If you need help with a specific issue or want to learn about repairing cigarette burns in cloth car seats, we have resources for that too! Check out our article on how to repair a cigarette burn in a cloth car seat. And for all your leather car seat repair needs, remember our comprehensive guide on how to repair car seat leather.

