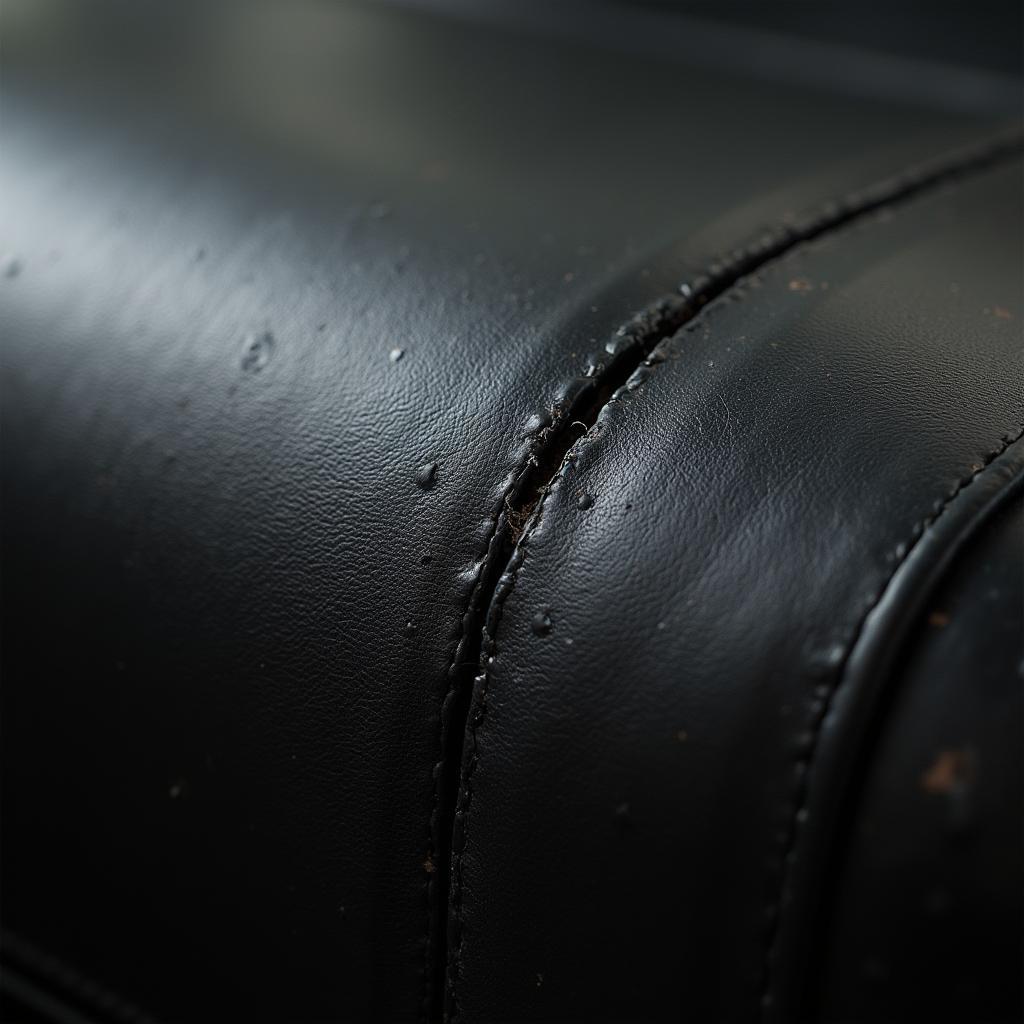
A cracked vinyl car seat can be an eyesore and even impact the resale value of your car. Fortunately, with a few simple tools and a bit of patience, you can repair minor cracks in your vinyl car seat yourself and restore its appearance. This guide will walk you through the process step-by-step.
 Repairing a Crack in a Vinyl Car Seat
Understanding Vinyl Repair
Before diving into the repair, it’s essential to understand that a successful fix depends on the severity of the damage. This guide focuses on repairing minor cracks in vinyl car seats. Larger tears or holes may require professional attention or even seat cover replacement.
Gathering Your Supplies
Having the right tools on hand can make the repair process smoother. Here’s what you’ll need:
- Vinyl Repair Kit: These kits are available at most auto parts stores and online. They typically include a vinyl filler, color matching guide, adhesive, and various grain papers to match your vinyl’s texture.
- Cleaning Solution: Use a gentle cleaner specifically designed for vinyl or leather surfaces. Avoid harsh chemicals like bleach or ammonia-based products.
- Microfiber Cloths: These are perfect for cleaning and applying solutions without scratching the vinyl.
- Masking Tape: Useful for protecting surrounding areas during the repair process.
- Scissors: For cutting patching materials to size.
- Hair Dryer: Optional, but helpful for accelerating the drying process of certain vinyl repair products.
Step-by-Step Repair Guide
Follow these steps carefully to achieve the best results:
-
Clean the Area: Thoroughly clean the cracked area and surrounding vinyl with your chosen cleaning solution and a microfiber cloth. This removes dirt, grime, and debris that could interfere with the repair. Allow the area to dry completely.
-
Prepare the Crack: Using your fingers or a small tool (like a toothpick), gently push the edges of the crack together to assess how well they meet. If there are any loose or frayed pieces of vinyl, carefully trim them away with small scissors.
-
Apply Vinyl Filler (if needed): If the crack is deep or has missing vinyl, apply a small amount of vinyl filler to the damaged area. Use the provided applicator or a toothpick to push the filler into the crack, ensuring a smooth and even surface. Refer to your specific vinyl repair kit’s instructions for drying times.
-
Apply Adhesive: Once the filler is dry (if used), apply a thin layer of adhesive to the back of the vinyl patch provided in your repair kit. Carefully align the patch over the crack, ensuring it covers the entire damaged area and adheres firmly. Press down on the patch with your fingers for a minute or two to ensure a strong bond.
-
Match the Texture (if needed): Some vinyl repair kits include grain papers for replicating the texture of your car seat’s vinyl. If your kit includes these, follow the manufacturer’s instructions to transfer the desired grain pattern onto the repaired area. This step helps create a seamless and natural look.
-
Apply Colorant (if needed): If your vinyl repair kit includes a colorant, use the provided guide to match the color of your car seat as closely as possible. Apply the colorant in thin, even coats, allowing each coat to dry completely before applying the next. It’s better to build up the color gradually than to apply too much at once.
-
Seal and Protect: Once the colorant is dry (if used), apply a vinyl sealant or protectant to the repaired area. This helps to seal the repair, prevent future cracking, and protect the vinyl from fading and UV damage.
Tips for a Seamless Repair
- Work in a well-ventilated area, as some vinyl repair products may have strong odors.
- Test any cleaner or repair product on a hidden area of your car seat first to ensure compatibility with your vinyl.
- Patience is key! Allow ample drying time between each step for optimal results.
- If you’re unsure about any step in the process, consult a professional for assistance.
Conclusion
Repairing a minor crack in your vinyl car seat is a manageable DIY project that can save you money and maintain the appearance of your vehicle’s interior. By following these steps carefully and using the right tools and techniques, you can achieve professional-looking results and extend the life of your car seats.

