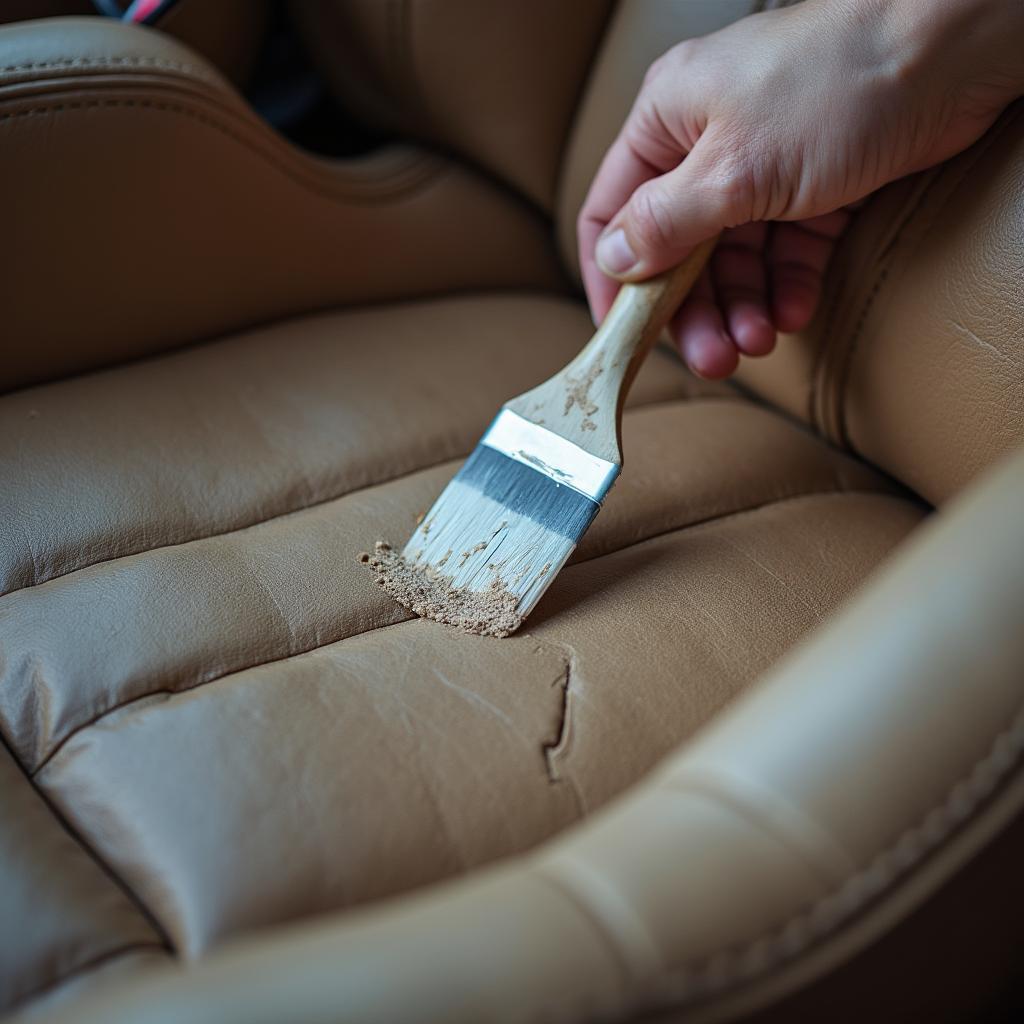
Leather car seats, while luxurious and stylish, are susceptible to damage over time. Scratches, cracks, and fading can make your once pristine interior look worn and tired. Thankfully, you don’t need to spend a fortune on professional repairs. A DIY leather seat repair kit can be a cost-effective and straightforward solution for restoring your seats to their former glory. In this comprehensive guide, we will walk you through everything you need to know about how to repair leather car seats with a leather seat repair kit for cars.
Before we dive into the step-by-step process, it’s essential to choose the right leather repair kit for your needs. Consider factors like the type of damage, color matching, and the kit’s included materials.
Understanding Leather Damage and Choosing the Right Kit
Not all leather damage is created equal. Identifying the specific issues with your car seats will help you select the most effective repair kit.
Common types of leather damage:
- Scratches: Light surface abrasions that haven’t penetrated the leather’s topcoat.
- Scuffs: Similar to scratches but often deeper and may involve color transfer.
- Cracks: Linear splits or tears in the leather, often due to drying, aging, or extreme temperatures.
- Burns: Damage caused by heat, often resulting in discoloration and material distortion.
- Fading: Loss of color vibrancy due to sun exposure or wear.
Once you’ve assessed the damage, you can start looking for a leather seat repair kit for cars that addresses those specific needs.
Factors to consider when choosing a kit:
- Type of damage: Kits are often specialized for scratches, cracks, or a combination of issues.
- Color matching: Ensure the kit offers a color that closely matches your leather’s original shade. Many kits provide a color mixing guide for optimal results.
- Materials: High-quality kits will include leather filler, a colorant, a sealant, and various applicators.
- Reviews: Check online reviews to gauge the effectiveness and ease of use of different kits.
Gathering Your Supplies
Once you’ve selected the right leather repair kit, gather the following additional items to ensure a smooth repair process:
- Cleaning Supplies: A gentle leather cleaner, microfiber cloths, and isopropyl alcohol for prepping the area.
- Masking Tape: To protect surrounding areas from accidental color transfer or filler spills.
- Scissors: For trimming patches or cutting the provided materials to size.
- Hair Dryer: Optional, but helpful for accelerating the drying process of certain materials.
- Gloves: To protect your hands from chemicals and ensure a clean working environment.
How to Repair Leather Seat Repair Kit For Cars: A Step-by-Step Guide
Now, let’s break down the repair process into manageable steps:
1. Preparation is Key:
- Begin by thoroughly cleaning the damaged area with a leather cleaner and microfiber cloth.
- Use isopropyl alcohol to remove any remaining dirt, oils, or residue. This ensures optimal adhesion of the repair materials.
2. Addressing Cracks and Deep Scratches:
- If you are dealing with cracks or deep scratches, a leather filler is essential.
- Apply the filler according to the manufacturer’s instructions, carefully filling in the damaged areas.
- Use a palette knife or a similar tool to smooth out the filler, ensuring it’s level with the surrounding leather surface.
3. Color Matching and Application:
- Once the filler is dry, it’s time to address the color of the repair.
- If your kit requires color matching, follow the provided guide to mix the appropriate shades.
- Apply the colorant in thin, even coats, using the provided applicator sponge or brush.
- Allow each coat to dry completely before applying the next. Multiple thin coats provide a more natural finish than one thick layer.
4. Heat Setting (Optional):
- Some leather repair kits recommend using a hair dryer to heat-set the colorant.
- Hold the hair dryer a safe distance away from the repaired area and apply heat in circular motions.
- This helps the colorant bond more effectively with the leather.
5. Applying the Sealer:
- The final step is applying a leather sealant to protect the repair and restore the leather’s natural sheen.
- Apply the sealant evenly using a clean applicator pad or cloth.
- Allow the sealant to dry thoroughly as per the kit’s instructions.
Tips for Professional Results
- Patience is Paramount: Don’t rush the process. Allow ample drying time between each step for optimal results.
- Less is More: Apply fillers and colorants in thin layers to avoid a bulky or unnatural finish.
- Practice Makes Perfect: Consider practicing on a hidden area of the seat or a similar piece of leather before tackling the main repair.
- Lighting Matters: Work in a well-lit area to ensure accurate color matching and to clearly see the repair progress.
- Don’t Be Afraid to Seek Professional Help: If the damage is extensive or you’re not comfortable with a DIY approach, consult a professional leather repair specialist.
Conclusion
Repairing your own leather car seats with a leather seat repair kit is a practical and rewarding DIY project. By understanding the type of damage, choosing the right kit, and following these step-by-step instructions, you can restore your leather seats to their former glory and prolong their lifespan. Remember, patience and attention to detail are key to achieving professional-looking results. Now that you are equipped with this knowledge, you can confidently tackle those leather repairs and enjoy the satisfaction of a job well done.


