Leather car seats exude luxury and comfort, but over time, wear and tear can lead to unsightly seam damage. Before you spend a fortune on professional repairs, consider tackling those torn seams yourself. With a little patience and the right tools, you can have your leather car seats looking their best again.
Assessing the Damage: What You’re Up Against
The first step is to evaluate the severity of the damage. Minor seam separation might only require a simple adhesive solution, while significant tears might demand more involved patching techniques. Understanding the extent of the damage will help you gather the right materials and choose the most appropriate repair method.
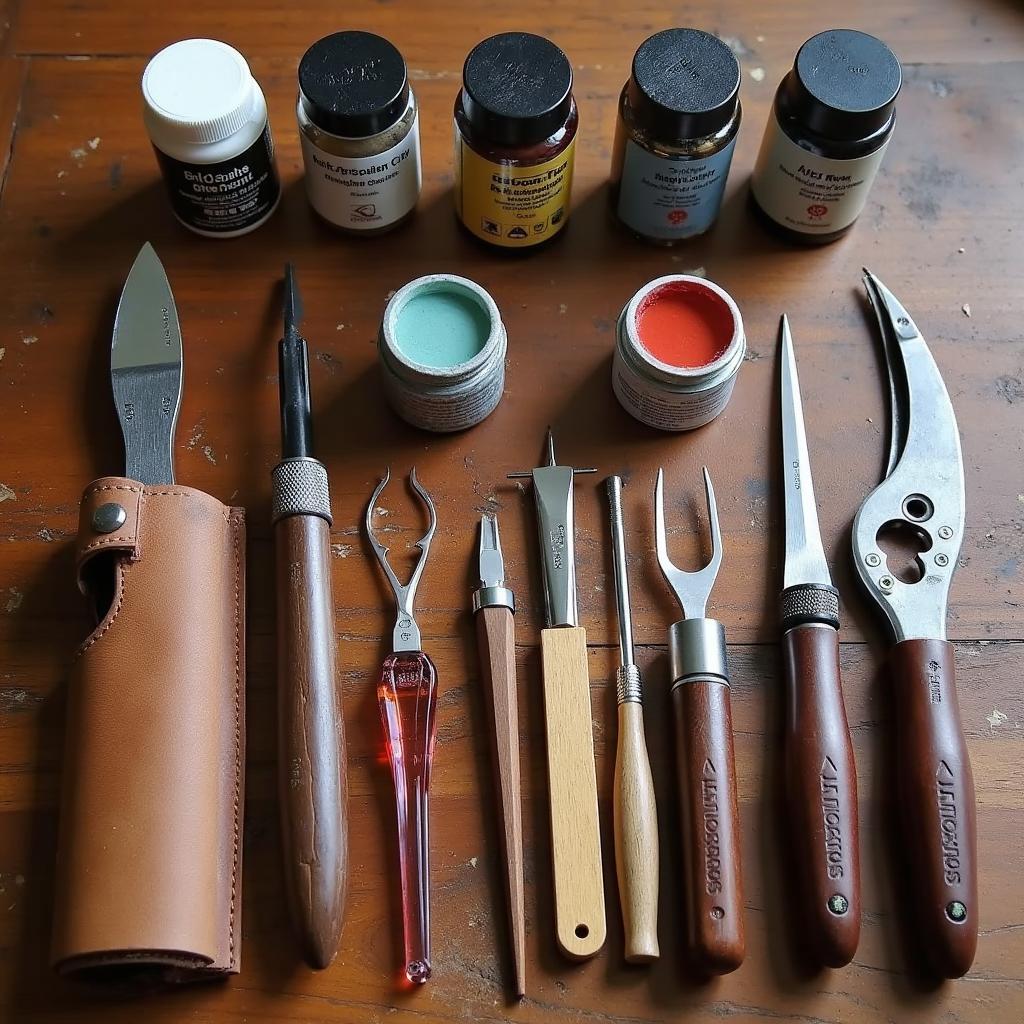
Gathering Your Repair Arsenal: Tools and Materials
Before you begin your leather car seat seam repair, ensure you have the following:
- Leather Repair Kit: A comprehensive kit will contain most of the essentials, including adhesive, filler, colorant, and various applicators.
- Leather Cleaner and Conditioner: Proper cleaning and conditioning are crucial before and after the repair to remove dirt, oils, and ensure the leather is in optimal condition for adhesion.
- Subpatch Material: Depending on the severity of the tear, you might need a subpatch material like a thin, flexible fabric or leather to support the repair.
- Scissors: Sharp scissors are essential for trimming subpatch materials and any loose threads.
- Clamps (optional): Small clamps can be helpful to hold the repaired seam together while the adhesive dries.
Step-by-Step Guide to Repairing Leather Car Seat Seams
-
Clean the Area: Thoroughly clean the damaged seam and the surrounding leather using a dedicated leather cleaner. This removes dirt, grime, and any conditioners that might interfere with adhesion. Allow the area to dry completely.
-
Assess and Prepare: If the tear is significant and involves missing leather, you might need to use a subpatch. Cut a piece of subpatch material slightly larger than the tear and tuck it underneath the damaged seam using tweezers.
-
Apply Adhesive: Carefully apply a thin layer of leather adhesive to the underside of the torn seam edges. Follow the manufacturer’s instructions for drying time and clamping pressure if necessary.
-
Press and Secure: Carefully align the torn seam edges and press them together firmly. Use your fingers or a blunt tool to ensure good contact and remove any excess adhesive that squeezes out. If using clamps, apply gentle pressure to hold the seam together as the adhesive dries.
-
Fill if Necessary: For larger tears, you might need to use a leather filler to create a smooth, even surface. Apply the filler in thin layers, allowing each layer to dry completely before applying the next.
-
Color Matching (if applicable): If the repair is noticeable, you can use a leather colorant to blend it seamlessly with the surrounding leather. Test the color on an inconspicuous area first to ensure a perfect match. Apply thin layers of colorant until you achieve the desired result.
-
Condition the Leather: Once the repair is complete and the adhesive and colorant have dried, apply a high-quality leather conditioner to the entire seat. This will help moisturize the leather, protect it from future damage, and ensure a uniform finish.
Tips for Professional-Looking Results
- Practice Makes Perfect: If you’re unsure about your skills, practice on an old piece of leather or an inconspicuous area of the car seat before tackling the main repair.
- Patience is Key: Allow ample drying time for the adhesive, filler, and colorant. Rushing the process can lead to subpar results.
- Less is More: When applying adhesive, filler, or colorant, start with a thin layer and build up gradually as needed. It’s easier to add more than to remove excess.
- Professional Help: If the damage is too extensive or you’re uncomfortable with the repair process, don’t hesitate to consult a professional leather repair specialist.
Maintaining Your Repaired Leather Car Seats
Once you’ve successfully repaired your leather car seat seams, proper maintenance is crucial to prevent future damage and keep them looking their best:
- Regular Cleaning: Regularly clean your leather car seats with a dedicated leather cleaner to remove dirt, dust, and grime.
- Conditioning is Key: Leather needs to be moisturized to stay supple and prevent cracking. Apply a high-quality leather conditioner every few months or as needed.
- UV Protection: Prolonged exposure to sunlight can fade and damage leather. Park your car in the shade whenever possible or use a sunshade to protect your seats.
- Address Spills Promptly: Wipe away spills immediately to prevent them from staining the leather.
By following these tips and taking proper care of your leather car seats, you can ensure they remain a luxurious and comfortable part of your driving experience for years to come.
Frequently Asked Questions about Repairing Leather Car Seat Seams
Q: Can I use super glue to repair leather car seat seams?
A: While super glue might seem like a quick fix, it’s not recommended for leather car seat repairs. Super glue can create a rigid bond that can crack and peel over time, especially with the constant flexing and movement of car seats. Opt for a flexible leather adhesive specifically designed for such repairs.
Q: How long does it take for leather adhesive to dry?
A: Drying times vary depending on the type of leather adhesive you choose. Always refer to the manufacturer’s instructions for specific drying times and clamping recommendations.
Q: Can I repair leather car seats that have been dyed?
A: Yes, you can repair dyed leather car seats. However, finding an exact color match for the colorant might be more challenging. It’s essential to test the colorant on an inconspicuous area before applying it to the repaired area.
Q: How can I prevent future damage to my leather car seats?
A: Regular cleaning, conditioning, and UV protection are key to preventing future damage. Consider using seat covers when transporting pets or cargo that could potentially scratch or stain the leather.
Q: When should I consult a professional for leather car seat repairs?
A: If the damage is extensive, involves complex tears or significant color loss, or you’re uncomfortable attempting the repair yourself, it’s best to consult a professional leather repair specialist.
Do you have further questions or need personalized advice on repairing your car’s interior? Don’t hesitate to contact our expert team via WhatsApp: +1(641)206-8880 or email us at [email protected]. We’re available 24/7 to assist you! For more insights on car upholstery repair, check out our guides on how to repair torn car seat fabric, how to repair torn car seat leather, how to repair a torn leather seat in car, and how to repair torn car seats. We also have a comprehensive guide on how to repair torn seam in car seat that might prove useful.


