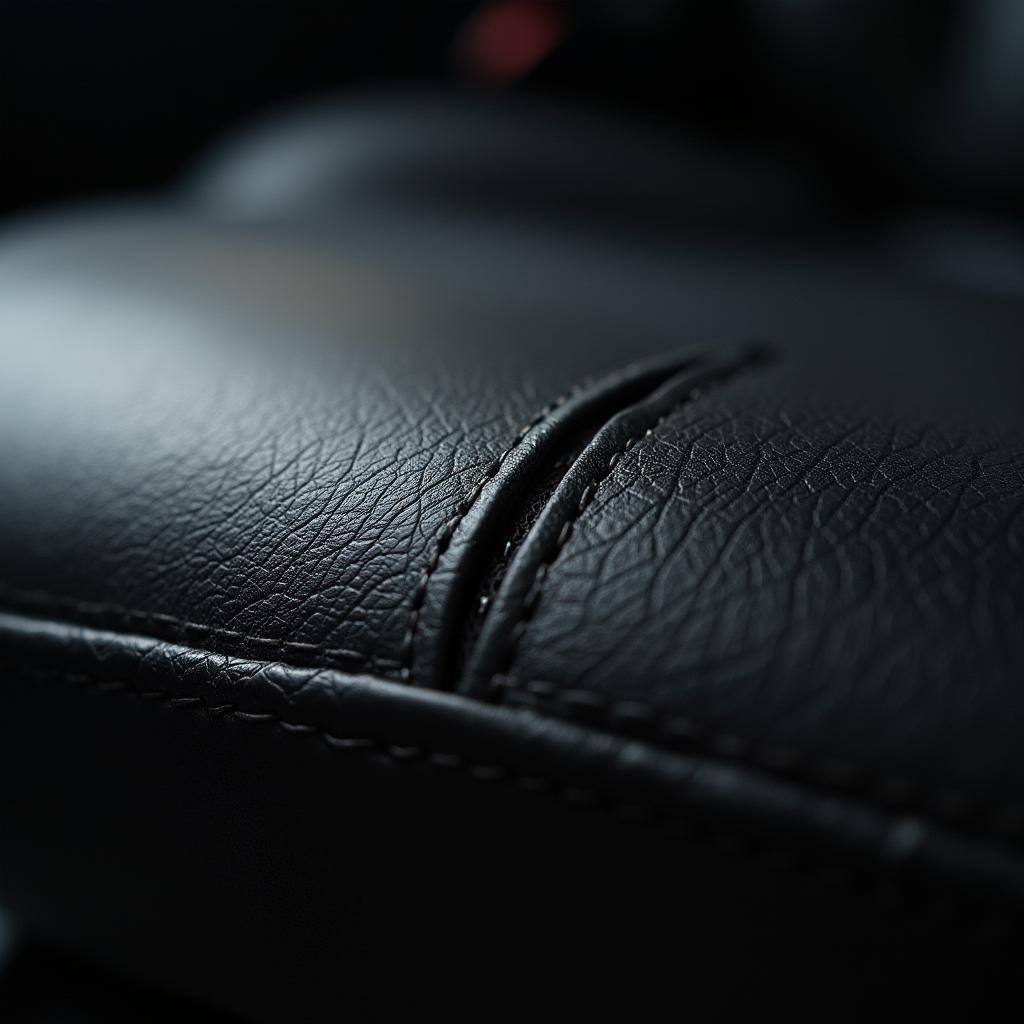
Discovering a rip or tear in your leather car seat can be a frustrating experience. But before you panic, know that repairing minor damage is often possible with the right approach and a bit of patience. This comprehensive guide will walk you through the steps of how to repair a leather car seat rip, helping you restore your car’s interior and protect your investment.
Understanding the Damage: Types of Leather Car Seat Rips
Before diving into the repair process, it’s essential to assess the type of rip you’re dealing with. This will determine the best course of action and the materials you’ll need.
- Small Tears and Cracks: These are common and often result from regular wear and tear or dryness.
- Seam Rips: These occur along the stitched seams of the seat and can be caused by excessive weight or force.
- Punctures and Holes: These are often caused by sharp objects and can be more challenging to repair depending on the size and location.
DIY Repair or Professional Help: When to Call in the Experts
While many minor leather car seat rips can be addressed with DIY methods, some situations warrant professional attention. If you’re facing any of the following, consider seeking help from a qualified car upholstery repair shop:
- Extensive Damage: Large rips, tears, or holes exceeding a few inches might require more advanced techniques and materials.
- Airbag Deployment: If the rip occurred during airbag deployment, it’s crucial to have the seat inspected for underlying damage.
- Valuable Leather: If your car has high-end or delicate leather, professional repair can help preserve its value.
If your car seat damage falls under the DIY category, let’s move on to gathering the necessary tools and materials.
Essential Tools and Materials for Leather Car Seat Repair
Having the right tools and materials on hand will make the repair process smoother and more successful. Here’s what you’ll need:
- Leather Repair Kit: Choose a high-quality kit that matches your car’s leather color and grain.
- Leather Cleaner and Conditioner: These are crucial for preparing the area and ensuring proper adhesion of repair materials.
- Scissors and Utility Knife: For trimming patching materials and cleaning up edges.
- Tweezers: Useful for precise placement of patches and removing debris.
- Rubbing Alcohol: To clean the area and remove any residue.
- Microfiber Cloths: For applying cleaners, conditioners, and buffing.
- Heavy Objects (books, weights): For applying pressure during the drying process.
Step-by-Step Guide to Repairing a Leather Car Seat Rip
Follow these steps carefully to achieve a seamless and long-lasting repair:
-
Clean the Area: Thoroughly clean the ripped area and surrounding leather with leather cleaner to remove dirt, grime, and oils. Allow it to dry completely.
-
Trim Loose Threads (if applicable): If dealing with a seam rip, carefully trim any loose threads using sharp scissors. Avoid cutting into the leather itself.
-
Prepare the Patch (if necessary): For larger rips or holes, cut a piece of leather patching material slightly larger than the damaged area. Test the color match on a hidden area before proceeding.
-
Apply Leather Filler (if necessary): For deep rips or holes, use a leather filler to build up the area and create a level surface. Follow the manufacturer’s instructions for drying time.
-
Apply Leather Adhesive: Apply a thin layer of leather adhesive to the back of the patch (if using) or directly to the edges of the rip.
-
Position the Patch: Carefully align the patch over the rip, ensuring it lays flat and smooth against the leather surface. Press firmly to secure it in place.
-
Apply Pressure: Place a piece of wax paper or parchment paper over the repaired area, followed by heavy objects to apply even pressure. Allow it to dry completely according to the adhesive’s instructions (usually 24 hours).
-
Apply Leather Dye (if necessary): If the color match isn’t perfect, use a matching leather dye to blend the repair. Apply in thin coats, allowing each coat to dry completely.
-
Condition the Leather: Once the repair is dry and the dye (if used) has set, apply a high-quality leather conditioner to the entire seat. This will help restore moisture, flexibility, and protect the leather from future damage.
Preventing Future Leather Car Seat Rips
Prevention is key to maintaining the pristine condition of your leather car seats. Here are some proactive measures:
- Regular Cleaning and Conditioning: Clean your leather seats regularly using a pH-neutral cleaner and condition them every few months to prevent drying and cracking.
- Avoid Sharp Objects: Be mindful of what you bring into your car. Sharp objects like keys, pens, and tools can easily puncture or scratch leather.
- Use Seat Covers: Consider using seat covers, especially if you frequently transport pets, children, or cargo.
- Address Spills Immediately: Clean up spills as soon as they happen to prevent stains and damage to the leather.
By following these tips and taking proper care of your leather car seats, you can enjoy their comfort and luxurious appeal for years to come.
Finding Reliable Car Seat Repair Near Me
If you’re unsure about tackling a leather car seat repair yourself or if the damage is extensive, seeking professional help is always a wise decision. Search for “car power seat repair shop near me” or “best car seat repair near me” online to find reputable businesses in your area.
Remember, a well-maintained car interior not only enhances your driving experience but also contributes to the overall value of your vehicle.


