Leather car seats add a touch of luxury and sophistication to any vehicle. However, they are susceptible to wear and tear, from everyday use to accidental damage. Knowing how to repair leather car seat upholstery can save you money and maintain the pristine look of your interior. This guide will walk you through the process, offering practical tips and techniques to tackle common issues like scratches, scuffs, cracks, and even tears.
Leather upholstery repair doesn’t have to be a daunting task. With the right materials and a bit of patience, you can restore your car seats to their former glory. Whether you’re dealing with a minor scratch or a more significant tear, understanding the basics of leather repair is essential. For example, understanding the difference between pigmented and aniline leather is crucial for selecting the correct repair products and techniques. Visit our page on car leather seat upholstery repair for more information on this topic.
Understanding Leather Types and Damage
Before you begin any repair, it’s important to identify the type of leather in your car. Common types include pigmented leather, which has a protective coating, and aniline leather, which is more natural and absorbent. This distinction influences the type of repair kit or products you should use. Identifying the specific damage is also key. Is it a surface scratch, a deep crack, or a full-blown tear? Each requires a slightly different approach.
Assessing the Damage to Your Leather Car Seats
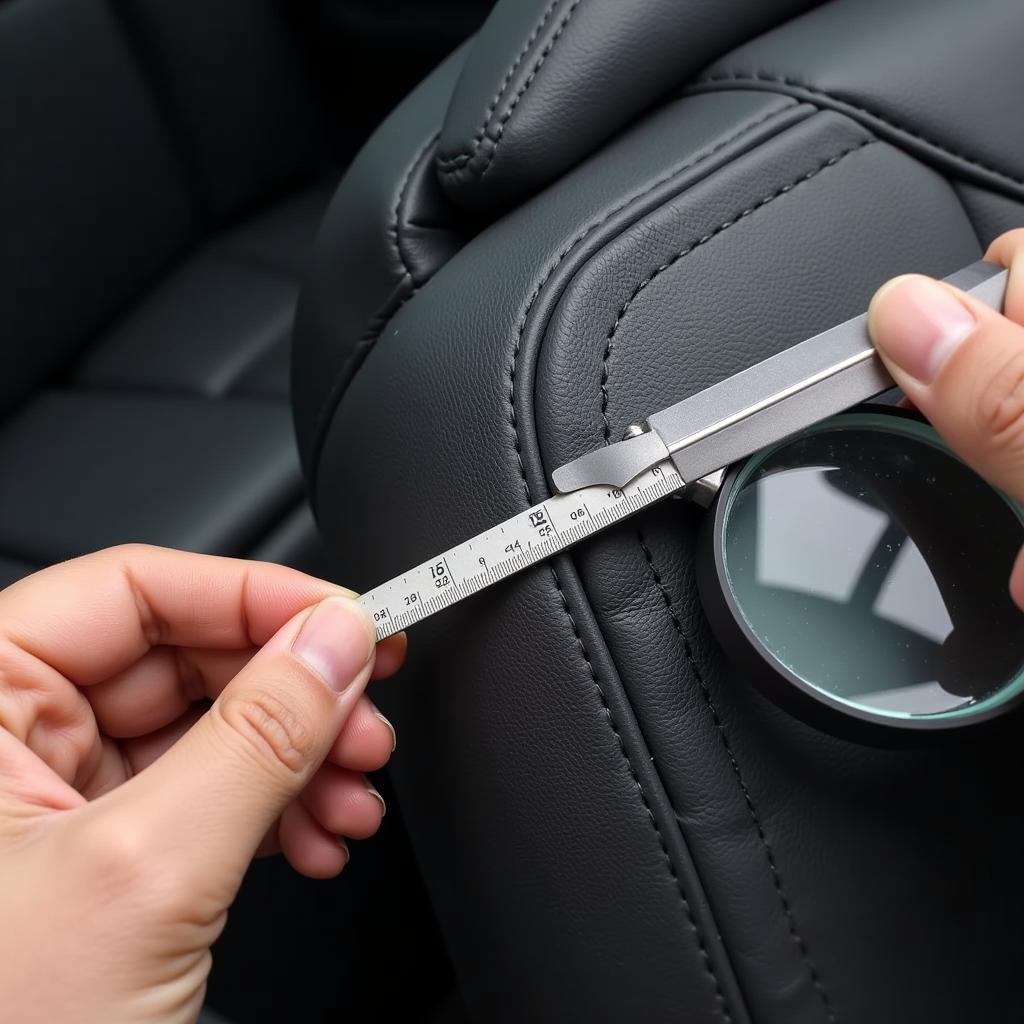
Examine the affected area closely. Determine the extent of the damage, considering its depth, size, and location. For small scratches and scuffs, a simple leather cleaner and conditioner might suffice. For deeper cracks and tears, you’ll need a repair kit or professional assistance.
 Assessing Leather Car Seat Damage
Gathering Your Repair Materials
Once you’ve assessed the damage and identified your leather type, gather the necessary materials. A basic leather repair kit typically includes a leather cleaner, filler, adhesive, colorant, and a finishing sealant. You’ll also need tools like a spatula, sandpaper, and applicator pads. If you are repairing a tear, you might need a backing material or patch. Looking to fix a tear specifically? Check out our guide on repairing a tear in leather car seat.
Choosing the Right Leather Repair Kit
Not all leather repair kits are created equal. Choose a kit specifically designed for car seat upholstery, ensuring it matches the color and type of your leather. High-quality kits contain durable materials that provide a lasting repair. For black leather seats, a black leather car seat repair kit is recommended.
Step-by-Step Leather Repair Guide
- Clean the Area: Thoroughly clean the damaged area with a leather cleaner to remove dirt, grime, and any existing conditioners. This ensures proper adhesion of the repair materials.
- Prepare the Surface: If the damage is deep, use fine-grit sandpaper to smooth the edges of the tear or crack. This creates a better surface for the filler to adhere to.
- Apply the Filler: For cracks and tears, apply a leather filler to fill the gap. Use a spatula to spread the filler evenly and smoothly. Allow it to dry completely.
- Sand and Smooth: Once the filler is dry, sand the area again to blend it seamlessly with the surrounding leather.
- Apply the Colorant: Apply the colorant to the repaired area, matching it as closely as possible to the original leather color. Use thin coats and allow each coat to dry before applying the next.
- Seal and Protect: Finally, apply a leather sealant to protect the repaired area and restore the leather’s natural sheen. This will also help prevent future damage. Need help repairing a torn car seat? Check our guide.
Maintaining Your Repaired Leather Seats
After repairing your leather seats, proper maintenance is essential to prolong the life of the repair and keep your seats looking their best. Regular cleaning and conditioning will help prevent future cracking and fading. Avoid using harsh chemicals or abrasive cleaners, which can damage the leather. If you’re dealing with a torn seat, see our article on how to repair a torn seat in car.
Tips for Long-lasting Leather Upholstery
- Regular Cleaning: Clean your leather seats regularly with a gentle leather cleaner and a soft microfiber cloth.
- Conditioning: Apply a leather conditioner every few months to keep the leather supple and prevent cracking.
- Protection from Sunlight: Park your car in the shade or use a sunshade to protect your leather seats from direct sunlight, which can cause fading and drying.
In conclusion, repairing leather car seat upholstery is a manageable task that can save you money and preserve the beauty of your car’s interior. By following these steps and using the right materials, you can effectively address common leather damage and keep your seats looking their best for years to come.
FAQ
- What is the best way to clean leather car seats?
- How can I prevent cracks in my leather seats?
- Can I repair a tear in my leather car seat myself?
- What type of leather repair kit should I use?
- How often should I condition my leather seats?
- How do I match the color of the repair material to my leather seats?
- What should I do if my leather seats are severely damaged?
Need more help? Check out our other helpful articles related to this topic. You may want to learn more about how to repair a torn car seat.
Need expert assistance? Contact us via WhatsApp: +1(641)206-8880, or Email: [email protected]. Our 24/7 customer support team is always ready to help.


