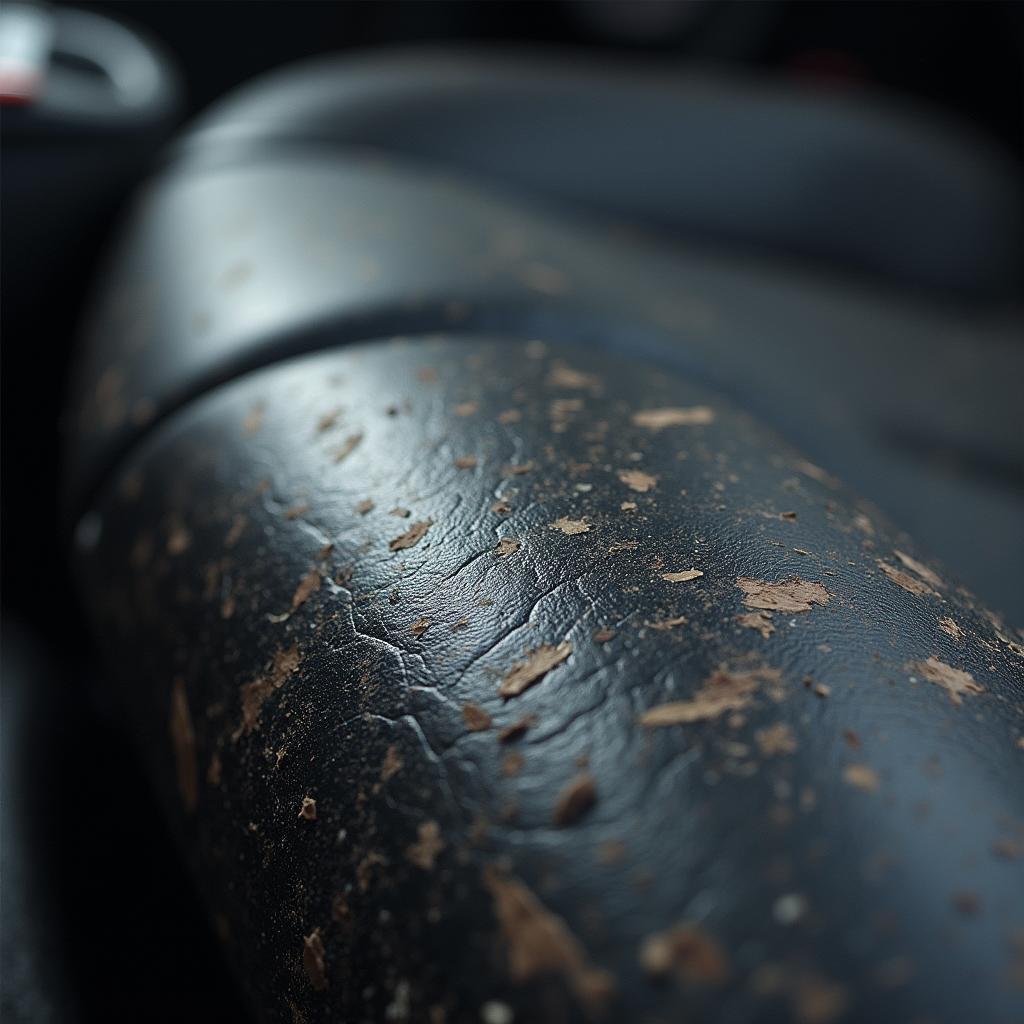
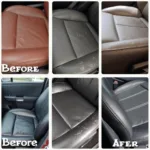
Scratches on your leather car seats can be an eyesore, diminishing the luxurious feel of your car’s interior. But before you panic, remember that repairing minor scratches is often achievable at home without professional help. This guide will provide you with a comprehensive, step-by-step approach to effectively repair those pesky scratches and restore your car’s interior to its former glory.
Understanding Leather Car Seat Scratches
Before diving into the repair process, it’s crucial to understand the nature of the scratch. Leather, being a natural material, is susceptible to scratches that vary in depth and severity.
-
Surface Scratches: These are minor abrasions that haven’t penetrated the leather’s top layer (often called the “topcoat” or “finish”). They often appear as light marks and are usually the easiest to address.
-
Deep Scratches: These penetrate beyond the surface layer, reaching the leather’s fibers. Deep scratches are more noticeable and require a more involved repair process.
Gathering Your Repair Arsenal
Successfully tackling leather car seat scratches requires the right tools and materials. Here’s what you’ll need:
-
Cleaning Supplies: A gentle leather cleaner, microfiber cloths, and warm water are essential for prepping the damaged area.
-
Leather Filler (for Deep Scratches): This helps fill in deep grooves and create a smooth surface for subsequent repairs. Choose a filler that matches your leather’s color.
-
Leather Repair Kit: These kits usually contain a colorant, sealant, and applicator tools to conceal the scratch and protect the repaired area. Select a kit that closely matches your leather’s color and finish.
-
Heat Gun or Hair Dryer: Heat helps the leather filler and repair compounds to bind effectively. A heat gun offers more controlled heat, but a hairdryer on a low setting can work too.
-
Fine-grit Sandpaper (Optional): For deep scratches, fine-grit sandpaper (around 600-grit) can help smooth out the filled area before applying the colorant.
How to Repair Scratches in Leather Car Seats: A Step-by-Step Guide
Follow these steps to effectively repair those unsightly scratches:
Step 1: Clean the Affected Area
Begin by thoroughly cleaning the scratched area with a gentle leather cleaner and a microfiber cloth. This removes dirt, grime, and any residues that could hinder the repair process.
Step 2: Assess the Scratch Depth
Determine whether you’re dealing with surface scratches or deep ones. This will guide your next steps.
Step 3: Treat Deep Scratches with Leather Filler
For deep scratches, apply a small amount of leather filler onto the scratched area. Use a palette knife or your finger to gently work the filler into the groove, ensuring a smooth and even application. Remove any excess filler and allow it to dry completely.
“Choosing the right leather filler is crucial,” advises Johnathan Miller, a seasoned automotive leather restoration expert. “It’s essential to select a filler that closely matches your leather’s color and texture for seamless repair.”
Step 4: Sand the Filled Area (if necessary)
If you’ve used a leather filler, lightly sand the dried filler with fine-grit sandpaper to create a smooth and even surface. Be gentle to avoid damaging the surrounding leather.
Step 5: Apply the Leather Colorant
Using the applicator provided in your leather repair kit, dab a small amount of colorant onto the scratched area. Work the colorant into the scratch using gentle, circular motions. Apply multiple thin coats, allowing each coat to dry thoroughly before applying the next.
Step 6: Seal the Repaired Area
Once the colorant is dry, apply a leather sealant to the repaired area. This protects the repaired scratch and helps it blend seamlessly with the surrounding leather.
Step 7: Allow to Dry and Cure
Allow the sealant to dry completely. For optimal results, avoid using your car for at least 24 hours after completing the repair. This gives the repair compounds ample time to cure and bond properly.
Tips for a Flawless Finish
-
Work in a Well-Ventilated Area: Leather repair products often have a strong odor.
-
Test on a Hidden Area First: Before applying any product to the visible scratch, test it on a hidden area of your car’s leather upholstery to ensure color compatibility and avoid any unforeseen reactions.
-
Patience is Key: Allow each layer of filler, colorant, and sealant to dry thoroughly before proceeding to the next step.
Conclusion
Repairing scratches on your leather car seats is a manageable DIY project that can save you time and money. By following these detailed steps and employing the right techniques, you can effectively restore your car’s interior and regain that luxurious feel. Remember, patience and attention to detail are crucial for a successful repair.
If you’re unsure about any step or dealing with extensive damage, it’s always best to consult a professional automotive upholstery repair specialist. They possess the expertise and specialized tools to handle complex repairs and restore your leather car seats to their former glory.


