Leather car seats add a touch of luxury and comfort to any vehicle. However, over time, they can suffer from wear and tear, leading to unsightly cracks, scratches, and tears. Knowing how to repair leather car seat damage can save you the expense of professional repairs or replacement. This guide will provide you with a comprehensive overview of various leather car seat repair techniques.
Repairing a leather car seat yourself can be a rewarding experience. It not only saves you money but also allows you to maintain the pristine condition of your car’s interior. From minor scuffs to more significant damage, understanding the right techniques and using the correct products can make a world of difference. Let’s delve into the various methods for how to repair leather car seat damage effectively.
Identifying the Damage and Choosing the Right Repair Method
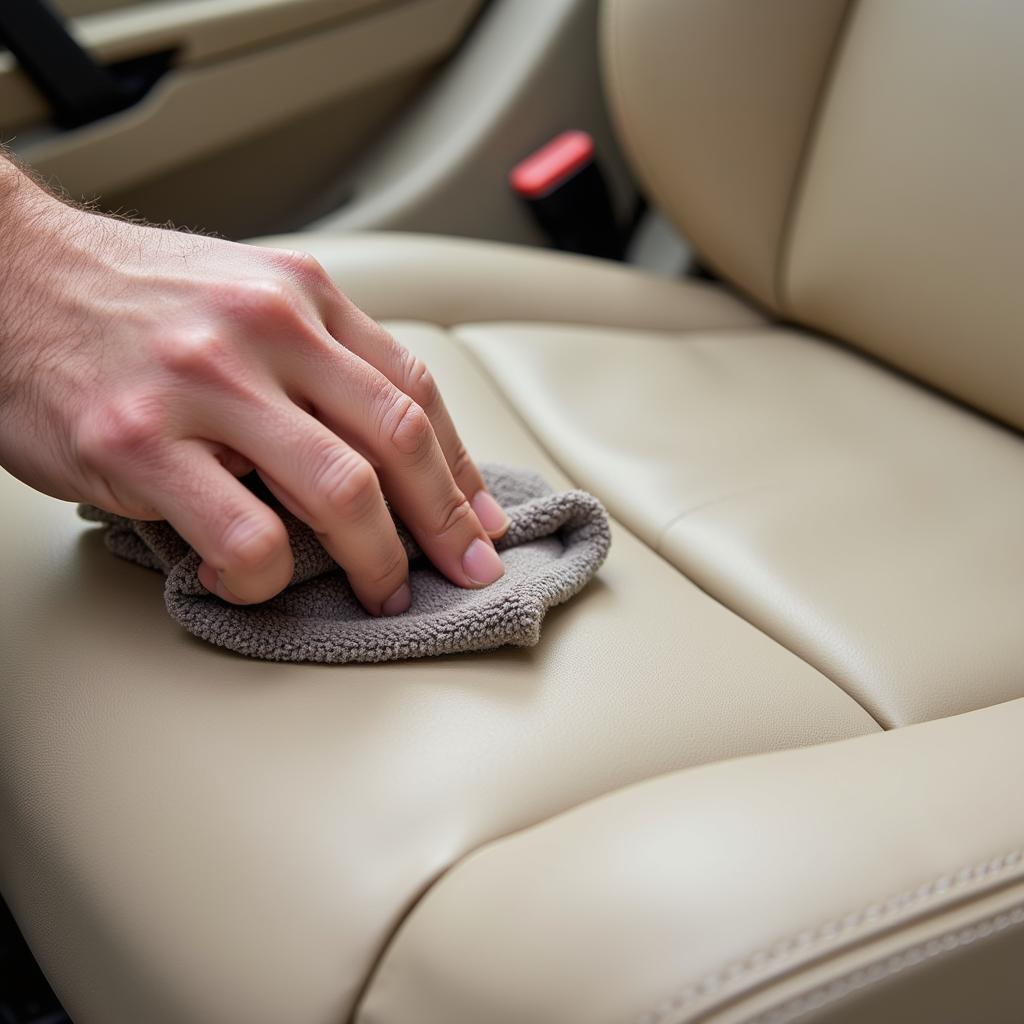
The first step in how to repair leather car seat damage is to assess the extent of the problem. Is it a small scuff, a deep crack, a tear, or a burn? Each type of damage requires a specific approach. For minor scuffs and scratches, a leather cleaner and conditioner might be sufficient. For deeper cracks and tears, you’ll need a leather repair kit, which typically includes a filler, adhesive, and color-matching compounds. Knowing the specific type of damage will help you choose the right tools and materials for an effective repair.
 Repairing Minor Scuffs on a Leather Car Seat
For burns, a professional might be necessary, especially if the damage has penetrated the leather’s top layer. It’s always best to start with the least invasive method and escalate if necessary. This ensures you don’t cause further damage to the leather during the repair process. Remember to always test any product on a hidden area of the seat first to ensure compatibility with your leather type.
Step-by-Step Guide to Repairing Cracks in Leather Car Seats
Cracks in leather car seats are a common problem caused by exposure to sunlight, heat, and general wear and tear. How to repair a leather car seat cracks can be tackled effectively with a few simple steps. First, clean the area thoroughly with a leather cleaner. Then, apply a leather filler to the crack, ensuring it fills the gap completely. Once the filler dries, use a fine-grit sandpaper to smooth the surface. Finally, apply a leather colorant that matches your car seat’s original color to blend the repair seamlessly. Multiple thin coats are generally recommended for a professional finish.
Remember to work in a well-ventilated area and wear gloves to protect your hands. Patience and attention to detail are crucial for achieving a seamless repair that restores the original look and feel of your leather car seats.
Dealing with Tears and Scuffs on Leather Car Seats
Tears and scuffs require slightly different approaches. For minor scuffs, how to repair leather car seats scuff often involves using a leather repair compound. Apply the compound to the scuffed area and buff it gently with a soft cloth to restore the leather’s shine. For tears, you’ll need a leather repair kit that includes a patching material and adhesive. Cut a patch slightly larger than the tear, apply the adhesive, and carefully place the patch over the tear, ensuring a smooth and even surface.
For more complex upholstery repairs, you may consider how to repair leather car seat upholstery professionally. If you’re unsure about how to proceed, it’s always best to consult a professional to avoid causing further damage.
Preventing Future Damage
Preventing damage is often easier than repairing it. Regularly cleaning and conditioning your leather car seats can help prevent cracking and fading. Using a leather protectant can also create a barrier against spills and UV damage. Consider using seat covers, especially if you frequently transport children or pets. These simple steps can significantly extend the life of your leather car seats and keep them looking their best.
Conclusion
Knowing how to repair leather car seat damage can save you time and money. Whether you’re dealing with minor scuffs or more significant tears, understanding the right techniques and using the appropriate products are key to a successful repair. How to repair leather car seat stitching is a common query for DIY enthusiasts, and while it can be challenging, the results can be very satisfying. Remember to always test products in a hidden area first and consider consulting a professional for more extensive damage. With a little patience and attention to detail, you can keep your leather car seats looking like new for years to come.
FAQ
-
What is the best way to clean leather car seats? Use a dedicated leather cleaner and a soft microfiber cloth.
-
Can I use any type of filler for repairing cracks? Use a leather-specific filler for best results.
-
How do I match the color of the repair to my car seat? Leather repair kits often include color-matching compounds.
-
When should I consider professional repair? For large tears, burns, or extensive damage.
-
How can I prevent future damage to my leather seats? Regular cleaning, conditioning, and the use of a leather protectant can help.
-
What should I do if I have a large hole in my leather car seat? How to repair leather car seat large hole can be challenging; consider professional help.
-
How often should I condition my leather car seats? Every few months, or as needed, depending on usage and climate.
Need more information on car seat repair? Check out our articles on specific leather car seat issues.
For any assistance, contact us via WhatsApp: +1(641)206-8880 or Email: [email protected]. Our customer service team is available 24/7.


