Leather car armrests can suffer from wear and tear over time, especially in frequently used vehicles. Tears, cracks, and general wear can detract from your car’s interior appearance. Instead of professional reupholstery, which can be costly, repairing your leather car armrest at home is a surprisingly straightforward DIY project. This guide will walk you through the process, allowing you to restore your armrest and save money.
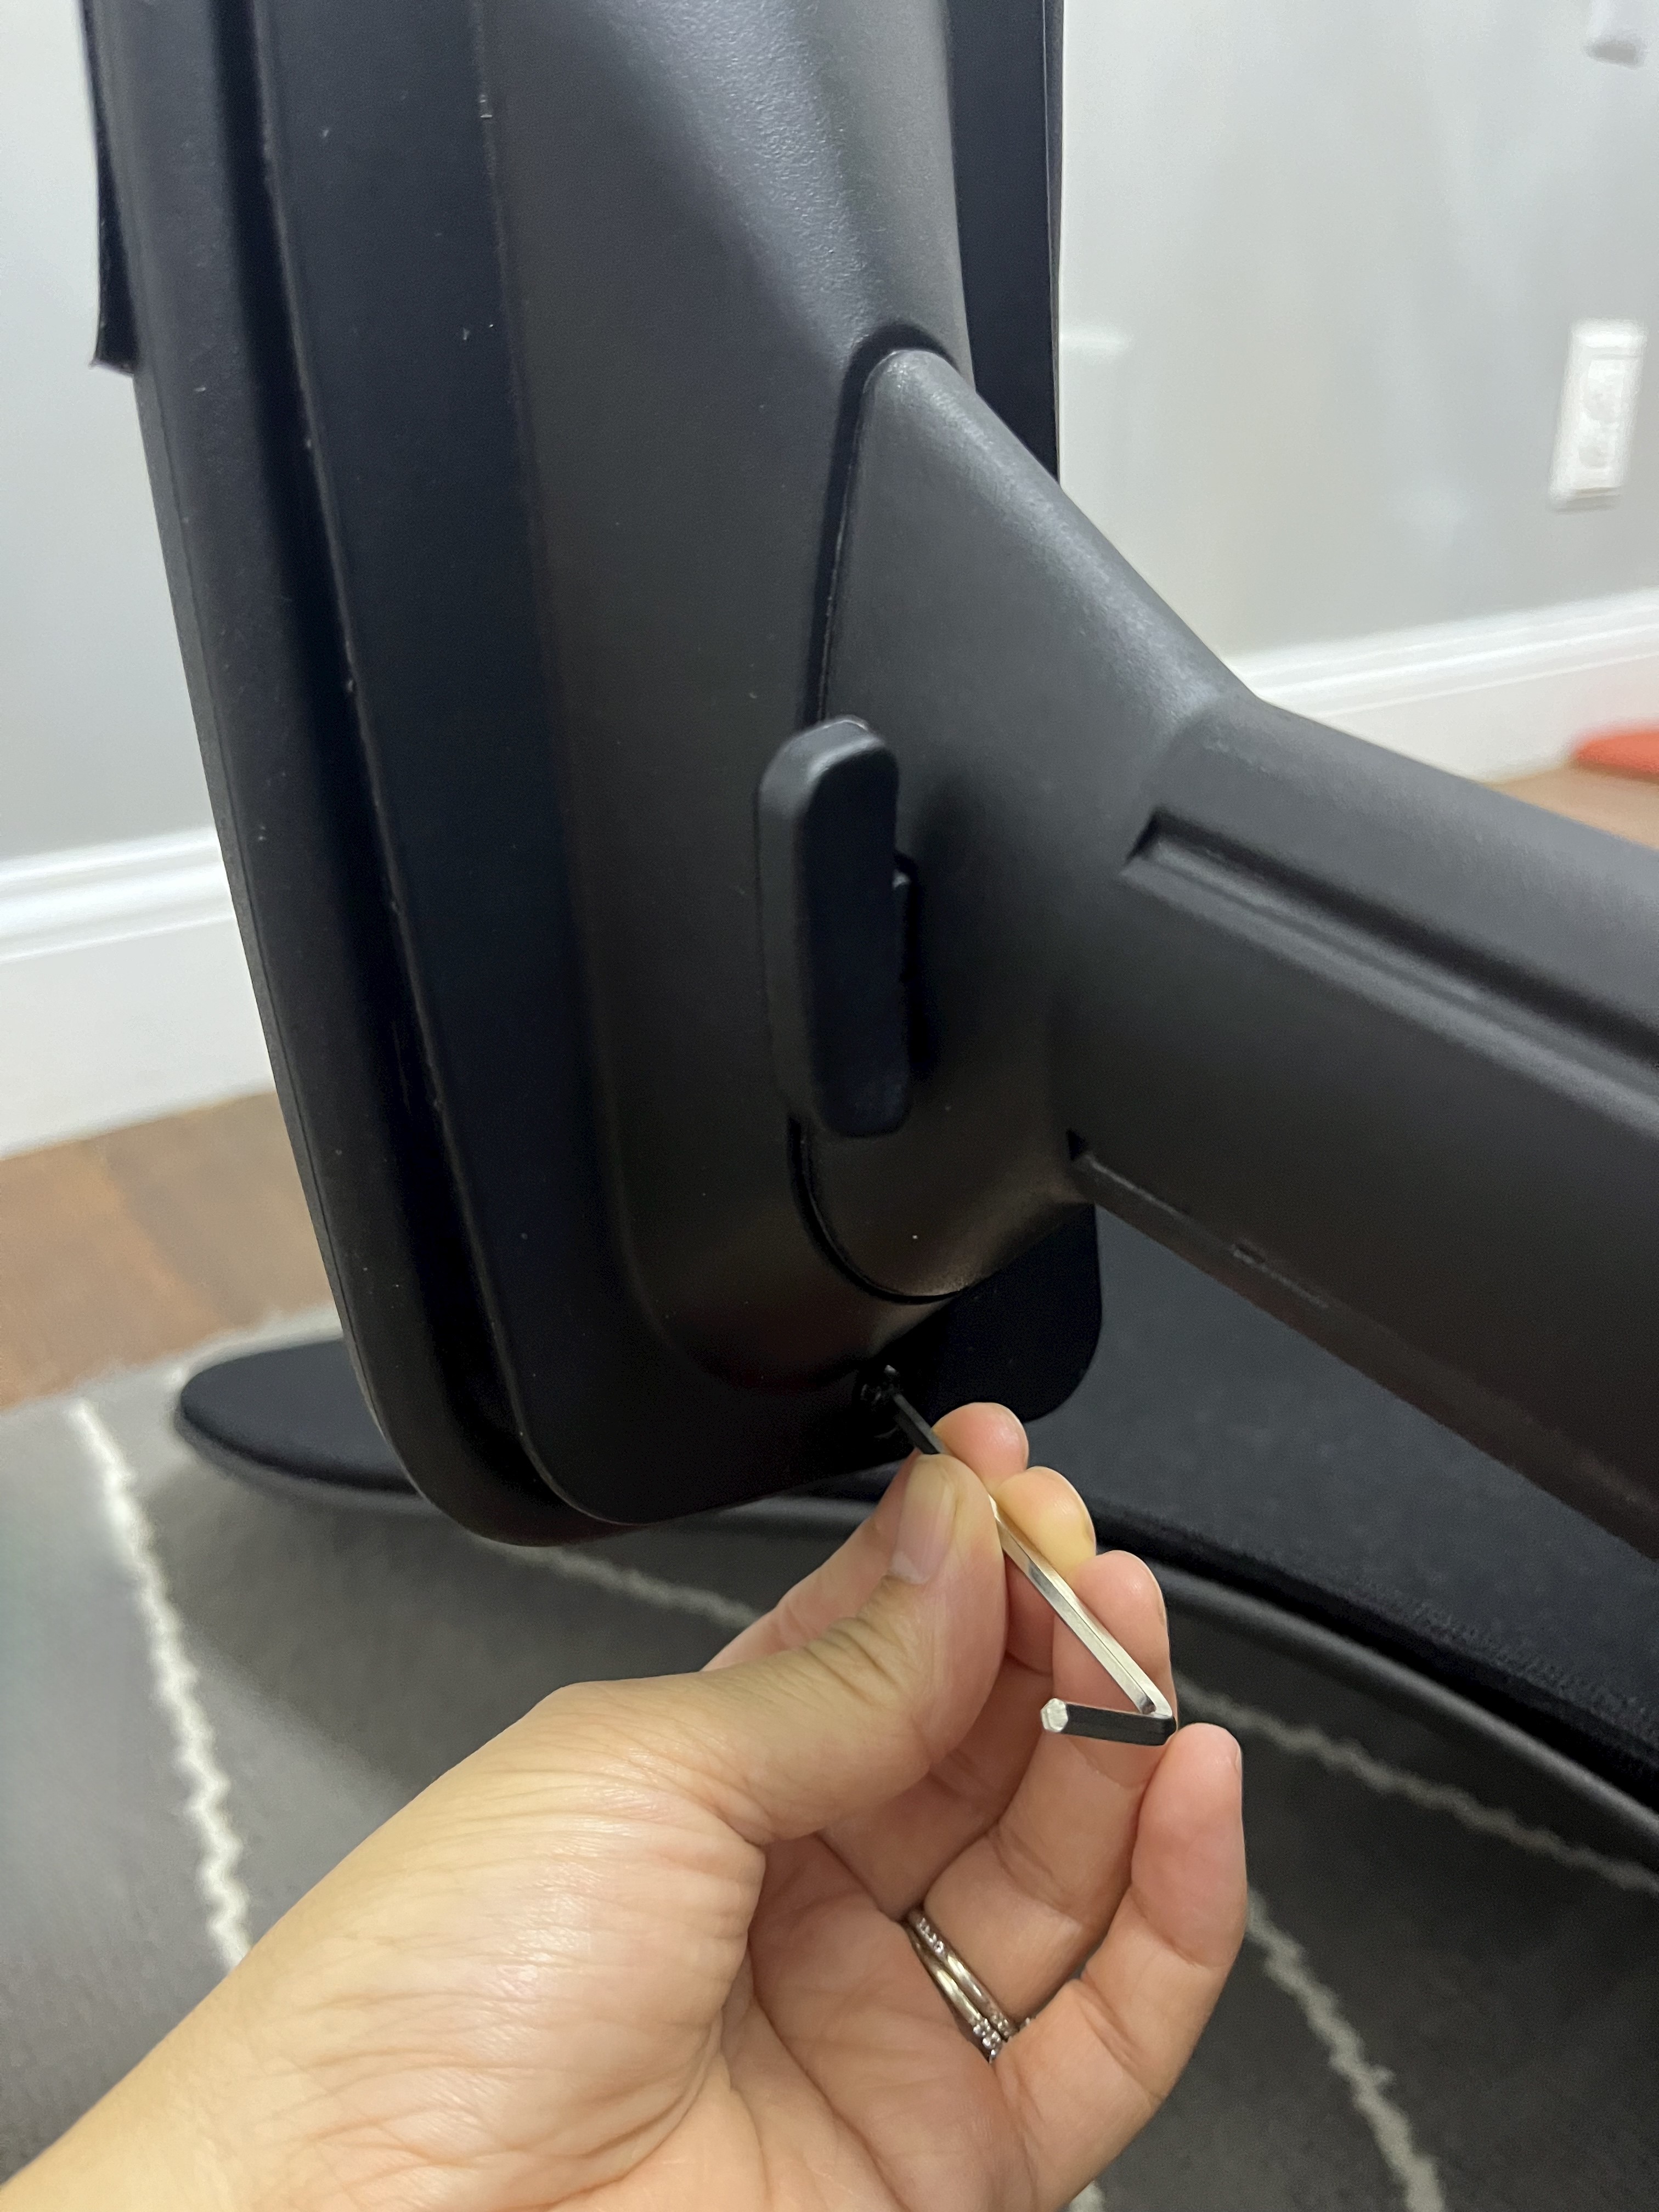
First, you’ll need to remove the armrest from your car. Typically, this involves locating screws, often hidden under plastic covers, and unscrewing them. The location and number of screws can vary depending on your car model, so consult your car’s repair manual if needed. In many cases, like the example shown, a single screw might be all that secures the armrest.
Once the armrest is detached, the next step is to remove the old, damaged leather covering. This is usually attached with staples on the underside of the armrest. Using a staple remover or a pair of pliers, carefully pluck out each staple. Take your time to avoid damaging the underlying material of the armrest.
Now you need replacement leather. A cost-effective and sustainable approach is to repurpose leather from thrift store finds. Leather jackets are an excellent source of material. Look for jackets in good condition but perhaps with minor wear in less critical areas. Cut pieces from the jacket that are large enough to cover your armrest, allowing for some overlap for stapling.
With your new leather pieces ready, it’s time to re-cover the armrest. Stretch the leather tightly over the armrest and begin stapling it to the underside. A staple gun is essential for this step. Ensure you use a staple gun strong enough to penetrate both the leather and the armrest material, which is often plastic or wood. Work your way around the armrest, pulling the leather taut to achieve a smooth, wrinkle-free finish. If your staple gun isn’t very powerful, you might need to apply extra pressure or even pre-punch holes in the leather for easier stapling. Don’t worry too much about minor imperfections, as they will often be hidden once the armrest is reinstalled.
Finally, reattach the repaired armrest back onto your car seat. Align it with the screw holes and tighten the screws. With the armrest back in place, you can enjoy the improved look and feel of your car interior, all thanks to a simple and satisfying DIY leather car armrest repair. This project not only saves you money but also gives a new lease of life to old materials, contributing to sustainable practices.

