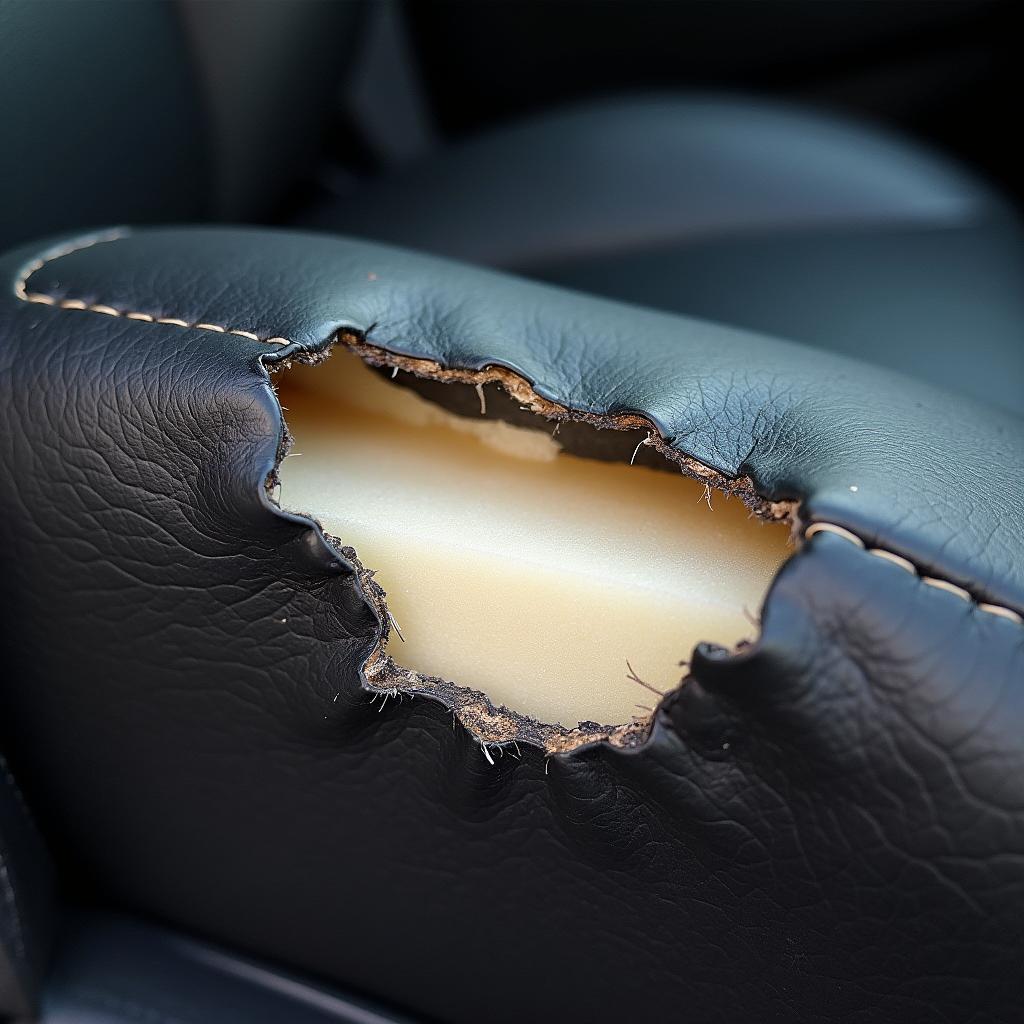
Leather car seats can add a touch of luxury and sophistication to any vehicle. However, over time, they can be prone to wear and tear, especially large tears that can be an eyesore and affect the overall value of your car. While it might seem daunting, repairing large tears in leather car seats is possible with the right tools, materials, and a good dose of patience.
Assessing the Damage: Is it Fixable?
Before diving into the repair process, it’s crucial to assess the severity of the damage. While some tears are repairable, others might require professional intervention or even a complete seat replacement.
Here’s a quick checklist:
- Size: Smaller tears are generally easier to fix than larger ones. A tear that’s more than a few inches long and wide might be too complex for a DIY repair.
- Location: Tears on the seat’s surface are simpler to repair than those on the side bolsters or seams, which experience constant stress and movement.
- Underlying Structure: Check if the tear has damaged the seat’s foam padding or structural components. If so, you’ll need professional help.
Gathering Your Repair Arsenal: Tools and Materials
For a successful DIY repair, you’ll need the following:
- Leather Repair Kit: These kits are widely available online and at auto parts stores. Choose a kit that closely matches your car’s leather color and grain.
- Leather Cleaner and Conditioner: Proper cleaning and conditioning are essential for preparing the leather and ensuring the repair adheres correctly.
- Scissors and Utility Knife: For trimming loose threads and shaping the repair patch.
- Alcohol Wipes: To clean the damaged area and remove any residue.
- Hair Dryer: Used to speed up the drying process of the leather filler and adhesive.
- Tweezers: Helpful for precise placement of the repair patch and tucking in edges.
- Heavy Objects (Books, Weights): To apply even pressure on the repaired area while it dries.
Step-by-Step Guide to Repairing Large Tears
Here’s a comprehensive guide to tackling those unsightly tears:
-
Clean and Prep the Area: Thoroughly clean the torn area with leather cleaner, ensuring it’s free from dirt, grime, and oils. Use alcohol wipes to remove any remaining residue.
-
Trim Loose Threads: Using sharp scissors, carefully trim any loose threads or frayed edges around the tear. Avoid cutting into the leather itself.
-
Apply the Leather Filler (If Needed): For larger tears with significant material loss, use a leather filler to build up the area and create a smooth surface for the patch. Apply the filler in thin layers, allowing each layer to dry completely before applying the next. Use a hairdryer to speed up the drying process.
-
Cut and Position the Repair Patch: Most leather repair kits come with a backing fabric that acts as a patch. Cut a patch slightly larger than the tear, ensuring it covers the entire damaged area. Use tweezers to position the patch carefully underneath the tear, making sure it aligns smoothly with the surrounding leather.
-
Apply Leather Adhesive: Apply a thin layer of leather adhesive to the back of the patch and carefully press it onto the underside of the torn leather. Avoid using excessive adhesive, which can seep out and create an uneven surface.
-
Bond the Patch and Apply Pressure: Once the patch is securely in place, apply firm and even pressure to the repaired area. Use heavy objects like books or weights to distribute the pressure evenly and allow the adhesive to cure completely. Refer to the adhesive’s instructions for the recommended drying time.
-
Apply Leather Dye (If Needed): If the repair kit doesn’t include a color-matched patch, use the provided leather dye to blend the repair seamlessly with the surrounding leather. Apply the dye in thin coats, allowing each coat to dry thoroughly.
-
Apply Leather Conditioner: Once the repair is complete and the dye (if used) is dry, apply a high-quality leather conditioner to the entire seat. This will help restore the leather’s natural oils and prevent future cracking.
Expert Insights
“While DIY repairs can be effective for minor tears, it’s crucial to remember that leather repair is a delicate process,” says renowned automotive upholstery expert, John Miller. “For larger, more complex tears, especially those involving structural damage, seeking professional help is always the best course of action. Professionals have the expertise, tools, and experience to ensure a flawless and long-lasting repair.”
Conclusion: Restoring Your Car’s Interior
Repairing large tears in leather car seats might seem challenging, but by following these steps and arming yourself with the right tools and materials, you can achieve impressive results. Remember, patience and attention to detail are key to a successful repair. And if you’re unsure about tackling the repair yourself, don’t hesitate to consult with a professional. By taking the time to care for your leather car seats, you can restore their beauty, prolong their lifespan, and keep your car’s interior looking its best.


